


![How to Build an AI Assistant with Keith Moehring [MAICON 2025 Speaker Series]](https://www.marketingaiinstitute.com/hubfs/MAICON-Speaker_Series%20%281%29.png)


![[The AI Show Episode 156]: AI Answers - Data Privacy, AI Roadmaps, Regulated Industries, Selling AI to the C-Suite & Change Management](https://www.marketingaiinstitute.com/hubfs/ep%20156%20cover.png)
![[The AI Show Episode 155]: The New Jobs AI Will Create, Amazon CEO: AI Will Cut Jobs, Your Brain on ChatGPT, Possible OpenAI-Microsoft Breakup & Veo 3 IP Issues](https://www.marketingaiinstitute.com/hubfs/ep%20155%20cover.png)


_incamerastock_Alamy.jpg?width=1280&auto=webp&quality=80&disable=upscale#)
_Brain_light_Alamy.jpg?width=1280&auto=webp&quality=80&disable=upscale#)


![Nothing Phone (3) has a 50MP ‘periscope’ telephoto lens – here are the first samples [Gallery]](https://i0.wp.com/9to5google.com/wp-content/uploads/sites/4/2025/06/nothing-phone-3-telephoto.jpg?resize=1200%2C628&quality=82&strip=all&ssl=1)


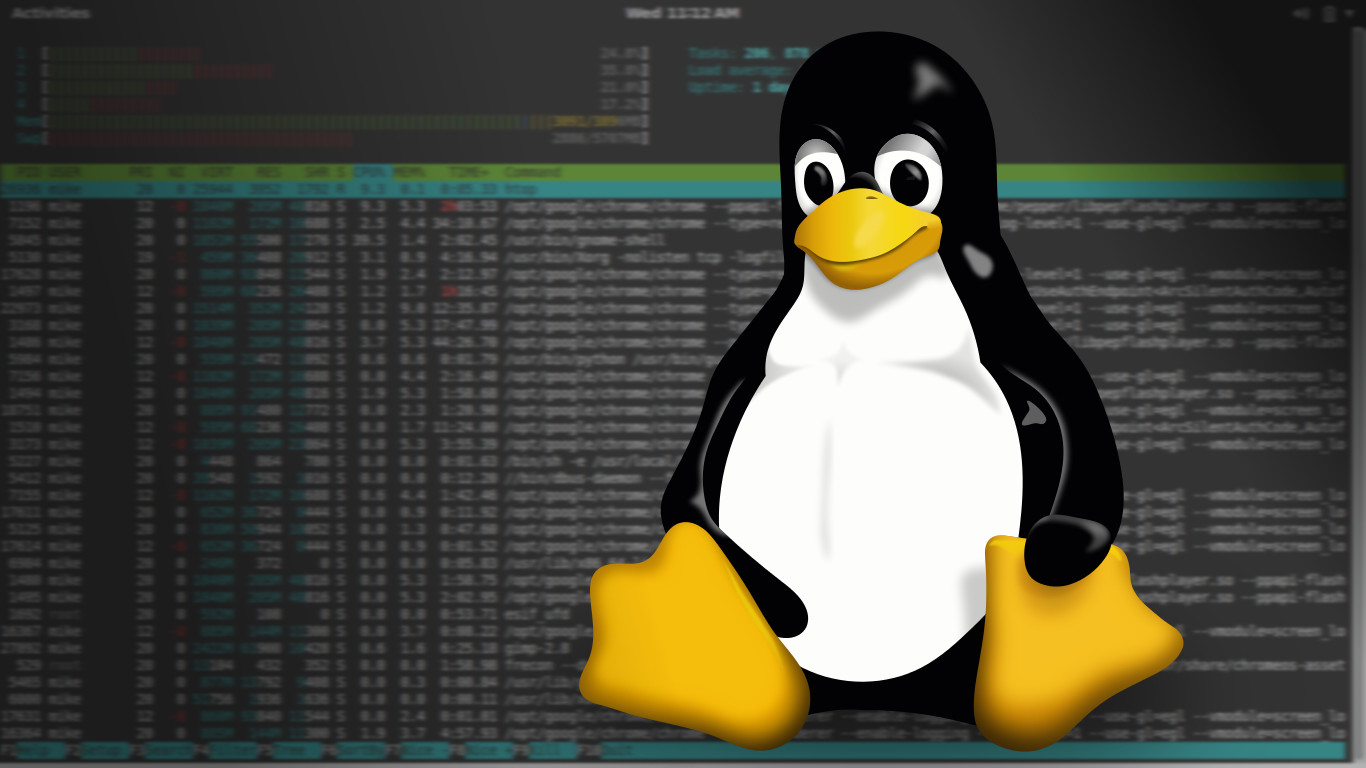
A Simple Guide to Creating & Connecting to a Linux VM on Azure
First, you want to log on to your azure portal @portal.azure.com Then search for the virtual machine resource using the search bar Clicking on the first result opens up the Virtual Machines page, where we can create and manage our VMs. Next, (1) Click create, then (2) Azure VM A new page opens up with options for creating our VM Create a new resource group for the VM. Give the VM a name. Select the desired region to deploy the VM. Select the availability option, In this case no redundancy is required. Select the security type — standard Then select the image for the VM. Ubuntu is the choice of linux image for this VM. Scrolling down, Select the size of the VM based on computing demands. The authentication type is set to SSH public key. The username for the Administrator account is set. select Generate a new key pair Name the key pair. Then click review and create. The other settings are automatically managed when we skip them. After the machine is successfully validated, go ahead to create the VM. A pop-up would appear, click “download the private key and create the resource.” The private key is then downloaded and the resource is deployed. It took less than a minute to do so, which is also dependent on the size of the resource. Click Go to resource and copy the public IP address. Go to your downloads folder to see the downloaded private key. On a windows device, proceed to opening the VM via powershell or command prompt using ssh -i filepath administratorusername@IPaddress. On a mac device, you need to set a read-only permission for the file for it to be accessible and avoid errors whilst trying to access it via terminal. To do this, first copy the file path name, (right click on the file name and hold option, the option would then appear) Then open the Terminal app, run the command chmod 400 “filepath.pem” Then proceed to connect to the VM using the Linux key using ssh -i filepath administratorusername@IPaddress. Press Enter to run, and yes to connect to the VM The VM would then open. Cheers!

First, you want to log on to your azure portal @portal.azure.com
Then search for the virtual machine resource using the search bar
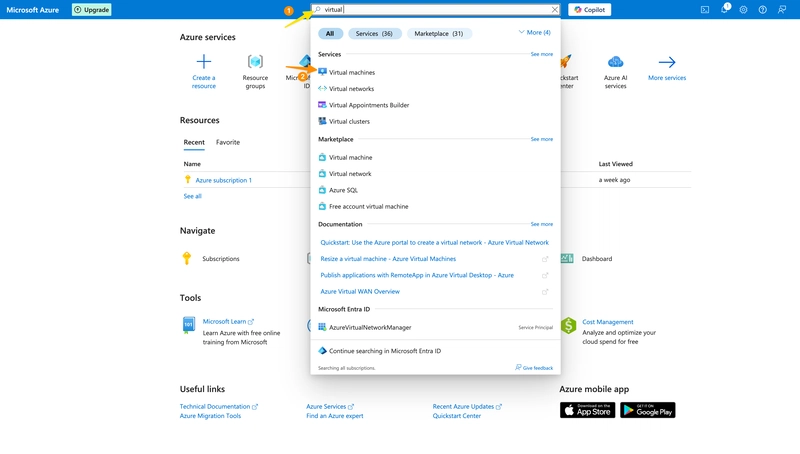
Clicking on the first result opens up the Virtual Machines page, where we can create and manage our VMs.
Next, (1) Click create, then (2) Azure VM

A new page opens up with options for creating our VM
Create a new resource group for the VM.
Give the VM a name.
Select the desired region to deploy the VM.
Select the availability option, In this case no redundancy is required.
Select the security type — standard
Then select the image for the VM. Ubuntu is the choice of linux image for this VM.

Scrolling down,
Select the size of the VM based on computing demands.
The authentication type is set to SSH public key.
The username for the Administrator account is set.
select Generate a new key pair
Name the key pair.
Then click review and create.

The other settings are automatically managed when we skip them.
After the machine is successfully validated, go ahead to create the VM.

A pop-up would appear, click “download the private key and create the resource.”

The private key is then downloaded and the resource is deployed. It took less than a minute to do so, which is also dependent on the size of the resource.
Click Go to resource and copy the public IP address.

Go to your downloads folder to see the downloaded private key.
On a windows device, proceed to opening the VM via powershell or command prompt using ssh -i filepath administratorusername@IPaddress.
On a mac device, you need to set a read-only permission for the file for it to be accessible and avoid errors whilst trying to access it via terminal.
To do this, first copy the file path name, (right click on the file name and hold option, the option would then appear)

Then open the Terminal app, run the command chmod 400 “filepath.pem”

Then proceed to connect to the VM using the Linux key using ssh -i filepath administratorusername@IPaddress.

Press Enter to run, and yes to connect to the VM

The VM would then open.
Cheers!