Building Multimodel AI Chat Bot in .NET with ChatGPT and Database Branching in Neon Postgres
AI is evolving very fast in 2025. Almost every new software product is built with AI features. Today I want to show you how you can build your own AI-powered application. We will build a multimodel AI chatbot using ChatGPT. Here are a few things you need to consider before building such an application: Using multiple AI models and comparing the prompt results How to analyze the results and improve how each model performs Having a list of pre-defined requirements for each model Isolating data in the database for each model As you know, I have been intensively using Neon Serverless Postgres for my projects. And I found Neon's branching feature a perfect match for building this AI chatbot. I was able to create a separate branch for each AI model and play with data in isolation. It's like creating a separate branch in the GIT for developing a new feature. The best part? You can get started with Neon and branching for free. In this post, I will show you: How to get started with ChatGPT and get responses How to set up database branching in Neon for multimodel prompts How to implement a chatbot backend that generates answers with multiple models in ChatGPT Explore a chatbot frontend application Let's dive in. On my website: antondevtips.com I share .NET and Architecture best practices. Subscribe to my newsletter to improve your .NET skills. Download the source code for this newsletter for free. Getting Started with ChatGPT First, to get started with ChatGPT you need to register an account in OpenAI API website. Next, you need to create an API Key: From April 2025, you need to charge your account by 5$ to be able to call OpenAI models via API. When using OpenAI models via API, you consume a certain number of tokens. On the official website you find more information on the pricing details for 1M tokens. Now we can start building our application. To get started with ChatGPT you need to install the following Nuget package for OpenAI: dotnet add package OpenAI First, let's set up the OpenAI client with your API key from appsettings.json: { "AiConfiguration": { "ApiKey": "your-api-key-here" } } public record AiResponse(string Answer); public class ChatGptService { private readonly AiConfiguration _configuration; public ChatGptService(IOptions configuration) { _configuration = configuration.Value; } public async Task RespondAsync( string prompt, string model, CancellationToken cancellationToken = default) { var client = new ChatClient(model: model, apiKey: _configuration.ApiKey); var message = new UserChatMessage(prompt); var response = await client.CompleteChatAsync([message], cancellationToken: cancellationToken); return new AiResponse(response.Value.Content[0].Text); } } As you can see, you can call OpenAI model with a few lines of code. Now let's create a webapi endpoint for our chatbot: public static class AiModels { public const string Gpt35Turbo = "gpt-3.5-turbo"; public const string Gpt4 = "gpt-4o"; } public record ChatResponse(Guid PromptId, string Response, string Model); app.MapPost("/api/ai/chat", async ( [FromBody] ChatRequest request, ChatGptService aiService, CancellationToken cancellationToken) => { var aiResponse = await aiService.RespondAsync(request.Prompt, AiModels.Gpt35Turbo, cancellationToken); var respone = new ChatResponse(Guid.NewGuid(), response.Answer, AiModels.Gpt35Turbo); return Results.Ok(respone); }) .WithName("ChatWithAi") .WithOpenApi(); You can use multiple models for OpenAI, in this application, I used gpt-3.5-turbo and gpt-4o. For more AI use cases, refer to official documentation. Setting up Database Branching in Neon Neon Serverless Postgres provides a powerful branching feature (like in the GIT) that lets you create isolated copies of your database. This is perfect for our multimodel AI chatbot as we can store and analyze responses from different models separately. Branching allows you to: Create a new branch for each model Isolate data for each model Run parallel tests safely Wipe experiments without touching trusted data (main production branch) Neon's branching is a Git-like fork at the storage engine level. You can create a new branch with a single CLI/API call or via the Neon console. A new branch is created instantly (in a second), inherits schema and data from its parent branch. You can get started with Neon for free in the Azure Marketplace. Select "Get It Now" and select a free tier to get started with: Enter database project details, Postgres version and click "Create": After our database is ready, you can navigate to Neon Console: Let's create a project with 2 branches there: gpt-3.5-turbo gpt-4o If you want to get started from zero with Neon, explore one of my previous posts. For each branch, copy a co

AI is evolving very fast in 2025.
Almost every new software product is built with AI features.
Today I want to show you how you can build your own AI-powered application.
We will build a multimodel AI chatbot using ChatGPT.
Here are a few things you need to consider before building such an application:
- Using multiple AI models and comparing the prompt results
- How to analyze the results and improve how each model performs
- Having a list of pre-defined requirements for each model
- Isolating data in the database for each model
As you know, I have been intensively using Neon Serverless Postgres for my projects.
And I found Neon's branching feature a perfect match for building this AI chatbot.
I was able to create a separate branch for each AI model and play with data in isolation.
It's like creating a separate branch in the GIT for developing a new feature.
The best part? You can get started with Neon and branching for free.
In this post, I will show you:
- How to get started with ChatGPT and get responses
- How to set up database branching in Neon for multimodel prompts
- How to implement a chatbot backend that generates answers with multiple models in ChatGPT
- Explore a chatbot frontend application
Let's dive in.
On my website: antondevtips.com I share .NET and Architecture best practices.
Subscribe to my newsletter to improve your .NET skills.
Download the source code for this newsletter for free.
Getting Started with ChatGPT
First, to get started with ChatGPT you need to register an account in OpenAI API website.
Next, you need to create an API Key:
From April 2025, you need to charge your account by 5$ to be able to call OpenAI models via API.
When using OpenAI models via API, you consume a certain number of tokens.
On the official website you find more information on the pricing details for 1M tokens.
Now we can start building our application.
To get started with ChatGPT you need to install the following Nuget package for OpenAI:
dotnet add package OpenAI
First, let's set up the OpenAI client with your API key from appsettings.json:
{
  "AiConfiguration": {
    "ApiKey": "your-api-key-here"
  }
}
public record AiResponse(string Answer);

public class ChatGptService
{
    private readonly AiConfiguration _configuration;

    public ChatGptService(IOptions<AiConfiguration> configuration)
    {
        _configuration = configuration.Value;
    }

    public async Task<AiResponse> RespondAsync(
        string prompt,
        string model,
        CancellationToken cancellationToken = default)
    {
        var client = new ChatClient(model: model, apiKey: _configuration.ApiKey);

        var message = new UserChatMessage(prompt);
        var response = await client.CompleteChatAsync([message],
            cancellationToken: cancellationToken);

        return new AiResponse(response.Value.Content[0].Text);
    }
}
As you can see, you can call OpenAI model with a few lines of code.
Now let's create a webapi endpoint for our chatbot:
public static class AiModels
{
    public const string Gpt35Turbo = "gpt-3.5-turbo";
    public const string Gpt4 = "gpt-4o";
}

public record ChatResponse(Guid PromptId, string Response, string Model);

app.MapPost("/api/ai/chat", async (
    [FromBody] ChatRequest request,
    ChatGptService aiService,
    CancellationToken cancellationToken) =>
{
    var aiResponse = await aiService.RespondAsync(request.Prompt, AiModels.Gpt35Turbo,
        cancellationToken);

    var respone = new ChatResponse(Guid.NewGuid(), response.Answer, AiModels.Gpt35Turbo);
    return Results.Ok(respone);
})
.WithName("ChatWithAi")
.WithOpenApi();
You can use multiple models for OpenAI, in this application, I used gpt-3.5-turbo and gpt-4o.
For more AI use cases, refer to official documentation.
Setting up Database Branching in Neon
Neon Serverless Postgres provides a powerful branching feature (like in the GIT) that lets you create isolated copies of your database.
This is perfect for our multimodel AI chatbot as we can store and analyze responses from different models separately.
Branching allows you to:
- Create a new branch for each model
- Isolate data for each model
- Run parallel tests safely
- Wipe experiments without touching trusted data (main production branch)
Neon's branching is a Git-like fork at the storage engine level.
You can create a new branch with a single CLI/API call or via the Neon console.
A new branch is created instantly (in a second), inherits schema and data from its parent branch.
You can get started with Neon for free in the Azure Marketplace.
Select "Get It Now" and select a free tier to get started with:
Enter database project details, Postgres version and click "Create":
After our database is ready, you can navigate to Neon Console:
Let's create a project with 2 branches there:
gpt-3.5-turbogpt-4o
If you want to get started from zero with Neon, explore one of my previous posts.
For each branch, copy a connection string from the "Connection Strings" tab.
We will use it in our application.
On the free plan you can create up to 10 branches, and you can scale for production as you go.
Let's start building our chatbot.
Building a Multimodel AI Chatbot
First, we need to create a model for our AI prompt:
public class AiPrompt
{
    public required Guid Id { get; set; }
    public required DateTime CreatedAt { get; set; }
    public required string Prompt { get; set; }
    public required string Model { get; set; }
    public required string Answer { get; set; }
    public required decimal? Score { get; set; }
}
We can use EF Core to connect to our database:
public class AiDbContext(
    DbContextOptions<AiDbContext> options)
    : DbContext(options)
{
    public DbSet<AiPrompt> AiPrompts { get; set; }

    protected override void OnModelCreating(ModelBuilder modelBuilder)
    {
        base.OnModelCreating(modelBuilder);

        modelBuilder.HasDefaultSchema(DatabaseConsts.Schema);

        modelBuilder.ApplyConfiguration(new AiPromptConfiguration());
    }
}
Add connection strings to both branches in appsettings.json:
"ConnectionStrings": {
    "PostgresGpt35": "",
    "PostgresGpt4": ""
}
Next, we need to create a factory for our database context to be able to switch between branches:
public class AiDbContextFactory
{
    private readonly IConfiguration _configuration;
    private readonly IDbContextFactory<AiDbContext> _dbContextFactory;

    private static readonly Dictionary<string, string> ConnectionStringMapping = new()
    {
        {AiModels.Gpt35Turbo, "PostgresGpt35"},
        {AiModels.Gpt4, "PostgresGpt4"}
    };

    public AiDbContextFactory(IConfiguration configuration,
        IDbContextFactory<AiDbContext> dbContextFactory)
    {
        _configuration = configuration;
        _dbContextFactory = dbContextFactory;
    }

    public async Task<AiDbContext> CreateDbContextAsync(string model)
    {
        var dbContext = await _dbContextFactory.CreateDbContextAsync();

        var connectionString = _configuration.GetConnectionString(ConnectionStringMapping[model]);
        dbContext.Database.SetConnectionString(connectionString);

        return dbContext;
    }

    public async Task MigrateDatabaseAsync(string model)
    {
        await using var dbContext = await _dbContextFactory.CreateDbContextAsync();

        var connectionString = _configuration.GetConnectionString(ConnectionStringMapping[model]);
        dbContext.Database.SetConnectionString(connectionString);

        await dbContext.Database.MigrateAsync();
    }
}
After creating a DbContext you can set the connection string for the branch you want to use:
var dbContext = await _dbContextFactory.CreateDbContextAsync();

var connectionString = _configuration.GetConnectionString(ConnectionStringMapping[model]);
dbContext.Database.SetConnectionString(connectionString);
Note: first method doesn't dispose the
DbContextafter the method is finished.
Because it returns a reference toDbContextto the outside world; It needs to be disposed manually by the caller.
Second method performs a migration on the database and disposes theDbContextafter the method is finished.
Now, we can update our API endpoint and call both OpenAI models with the same prompt:
app.MapPost("/api/ai/chat", async (
    [FromBody] ChatRequest request,
    AiDbContextFactory dbContextFactory,
    ChatGptService aiService,
    CancellationToken cancellationToken) =>
{
    string[] models = [AiModels.Gpt35Turbo, AiModels.Gpt4 ];

    var aiTasks = models.Select(model => aiService.RespondAsync(request.Prompt, model,
        cancellationToken)).ToArray();

    var aiResponses = await Task.WhenAll(aiTasks);

    var modelResponses = new List<ModelResponse>();

    for (var i = 0; i < models.Length; i++)
    {
        var model = models[i];
        var response = aiResponses[i];

        var dbContext = await dbContextFactory.CreateDbContextAsync(model);

        var aiPrompt = CreateAiPrompt(model, request, response);
        dbContext.AiPrompts.Add(aiPrompt);

        await dbContext.SaveChangesAsync(cancellationToken);

        modelResponses.Add(new ModelResponse(aiPrompt.Id, response.Answer, model));
    }

    return Results.Ok(new ChatResponse(modelResponses.ToArray()));
})
.WithName("ChatWithAi")
.WithOpenApi();
How it works:
- I am calling
ChatGptServicein parallel for each model - Waiting for both models to complete
- Getting
DbContextfrom the factory based on the model - Making changes to the appropriate database branch
Building Chatbot Frontend
Now we came to the most interesting part of this project: building the chatbot frontend that connects everything together.
For this project, I used the following stack:
- React
- TypeScript
- Tailwind CSS (CSS stylying)
- Axios (sending HTTP request to the backend)
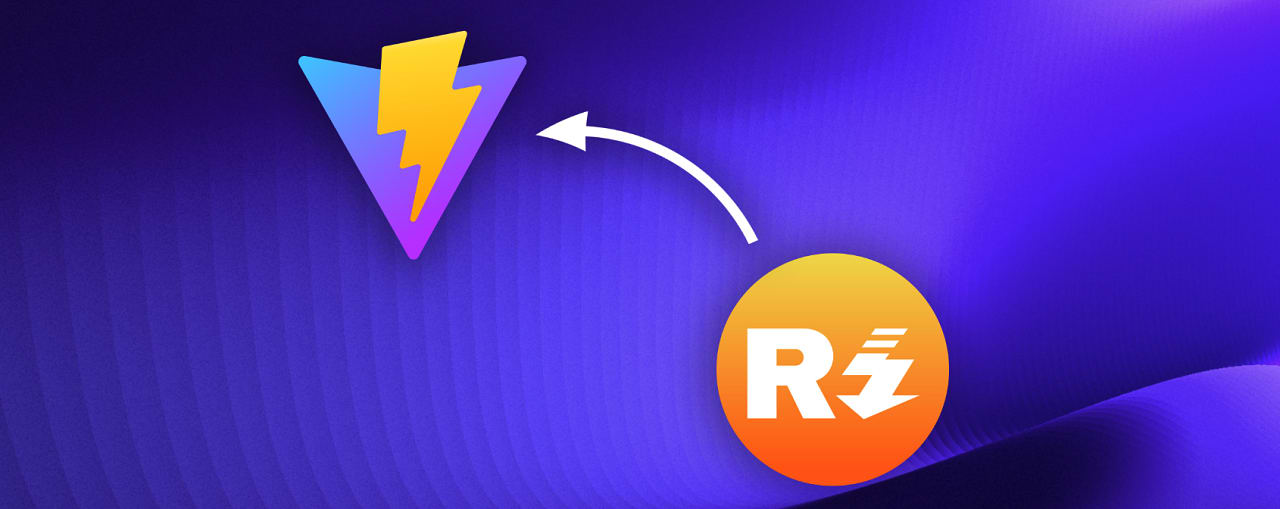
- Vite (building the frontend)
I am using JetBrains Rider as my IDE and AI Assistant for daily coding.
With the latest update, AI Assistant can edit the code directly in the solution just like Cursor.
In 30 minutes and a few prompts I have created such an amazing UI:
Finally, after receiving the prompt result for two models, I can compare the results and decide which model is the best for my use case.
I can rate each prompt, and the data will be saved in the appropriate database branch:
Of course, this is just a simple example.
You can expand this example further, just play around with the code that you can download at the end of this post.
Summary
In this blog post, we've explored how to build a multimodel AI chatbot using OpenAI's ChatGPT and Neon Serverless Postgres.
The key advantages of our approach include:
- Model Comparison: We can generate responses from multiple AI models simultaneously and compare their outputs.
- Data Isolation: Using Neon's database branching feature, we can store and analyze the responses from different models in separate environments.
- Performance Analysis: Our implementation allows us to analyze how each model performs with various prompts and improve their effectiveness.
- Scalability: Neon Serverless Postgres scales effortlessly as your application grows, and you only pay for what you use.
Get started with Neon Serverless Postgres for free and revolutionize your applications!
Disclaimer: this newsletter is sponsored by Neon.
On my website: antondevtips.com I share .NET and Architecture best practices.
Subscribe to my newsletter to improve your .NET skills.
Download the source code for this newsletter for free.































![[The AI Show Episode 156]: AI Answers - Data Privacy, AI Roadmaps, Regulated Industries, Selling AI to the C-Suite & Change Management](https://www.marketingaiinstitute.com/hubfs/ep%20156%20cover.png)
![[The AI Show Episode 155]: The New Jobs AI Will Create, Amazon CEO: AI Will Cut Jobs, Your Brain on ChatGPT, Possible OpenAI-Microsoft Breakup & Veo 3 IP Issues](https://www.marketingaiinstitute.com/hubfs/ep%20155%20cover.png)































![Rust VS Go VS TypeScript – which back end language is for you? With Tai Groot [Podcast #176]](https://cdn.hashnode.com/res/hashnode/image/upload/v1750974265013/73f79068-0087-4c39-8a8b-feea8cac873b.png?#)
























.jpg?width=1920&height=1920&fit=bounds&quality=70&format=jpg&auto=webp#)


