


![[The AI Show Episode 150]: AI Answers: AI Roadmaps, Which Tools to Use, Making the Case for AI, Training, and Building GPTs](https://www.marketingaiinstitute.com/hubfs/ep%20150%20cover.png)
![[The AI Show Episode 149]: Google I/O, Claude 4, White Collar Jobs Automated in 5 Years, Jony Ive Joins OpenAI, and AI’s Impact on the Environment](https://www.marketingaiinstitute.com/hubfs/ep%20149%20cover.png)


![How to Survive in Tech When Everything's Changing w/ 21-year Veteran Dev Joe Attardi [Podcast #174]](https://cdn.hashnode.com/res/hashnode/image/upload/v1748483423794/0848ad8d-1381-474f-94ea-a196ad4723a4.png?#)


_ArtemisDiana_Alamy.jpg?width=1280&auto=webp&quality=80&disable=upscale#)


![Sonos Father's Day Sale: Save Up to 26% on Arc Ultra, Ace, Move 2, and More [Deal]](https://www.iclarified.com/images/news/97469/97469/97469-640.jpg)


![Apple 15-inch M4 MacBook Air On Sale for $1023.86 [Lowest Price Ever]](https://www.iclarified.com/images/news/97468/97468/97468-640.jpg)


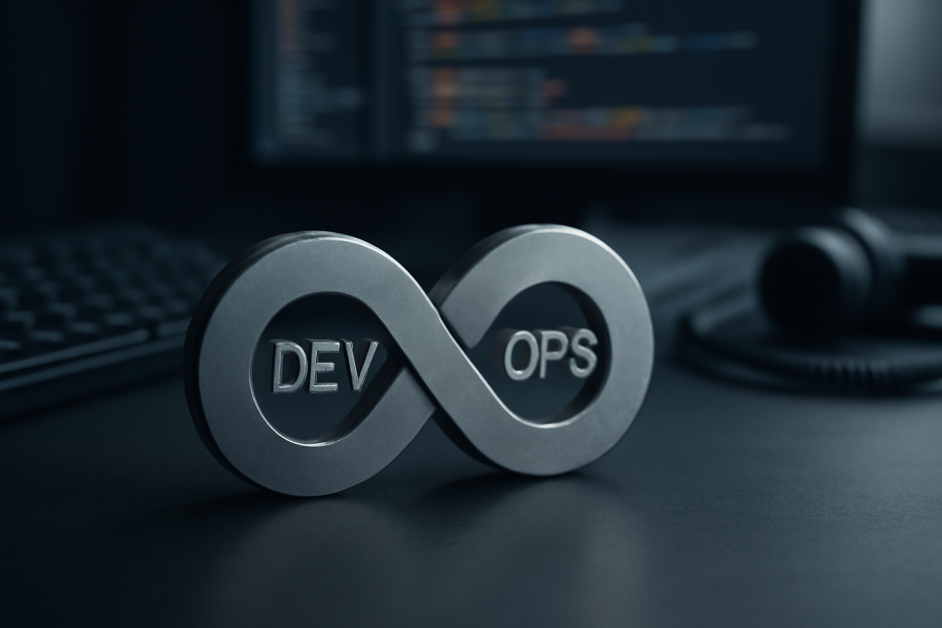
How to Deploy a Node.js App on Railway in Under 10 Minutes
In today’s fast-paced world, developers want speed, simplicity, and scalability. That’s why platforms like Railway are gaining so much popularity. If you're a Node.js developer looking for a fast and frictionless way to deploy your app without managing infrastructure or wrestling with DevOps complexity, Railway is your best friend. Why Railway? Before we dive into the steps, here’s a quick glance at why Railway is a game-changer: Zero-config deployments: Push to GitHub, and it just works. Built-in CI/CD: Every commit triggers a build and deploy. Database hosting included: Easily provision PostgreSQL, MySQL, Redis, etc. Free tier: Great for prototypes and small projects. Live logs & metrics: Real-time insight into app behavior. Think of Railway as Heroku’s modern sibling—simple, elegant, and powerful. What You'll Need To follow along, you’ll need: A basic Node.js app (Express or any framework). A GitHub account. A Railway account (free to sign up). Git installed on your system. Node.js and npm installed locally. If you’ve got those, you’re already halfway there. Step-by-Step: Deploying Your Node.js App on Railway Let’s break it down into small, digestible steps so even beginners can follow along. Step 1: Create a Basic Node.js App If you already have a Node.js app, you can skip this part. If not, let’s quickly scaffold a simple Express app. mkdir railway-node-app cd railway-node-app npm init -y npm install express Create an index.js file: const express = require('express'); const app = express(); const PORT = process.env.PORT || 3000; app.get('/', (req, res) => { res.send('
In today’s fast-paced world, developers want speed, simplicity, and scalability. That’s why platforms like Railway are gaining so much popularity. If you're a Node.js developer looking for a fast and frictionless way to deploy your app without managing infrastructure or wrestling with DevOps complexity, Railway is your best friend.
Why Railway?
Before we dive into the steps, here’s a quick glance at why Railway is a game-changer:
- Zero-config deployments: Push to GitHub, and it just works.
- Built-in CI/CD: Every commit triggers a build and deploy.
- Database hosting included: Easily provision PostgreSQL, MySQL, Redis, etc.
- Free tier: Great for prototypes and small projects.
- Live logs & metrics: Real-time insight into app behavior.
Think of Railway as Heroku’s modern sibling—simple, elegant, and powerful.
What You'll Need
To follow along, you’ll need:
- A basic Node.js app (Express or any framework).
- A GitHub account.
- A Railway account (free to sign up).
- Git installed on your system.
- Node.js and npm installed locally.
If you’ve got those, you’re already halfway there.
Step-by-Step: Deploying Your Node.js App on Railway
Let’s break it down into small, digestible steps so even beginners can follow along.
Step 1: Create a Basic Node.js App
If you already have a Node.js app, you can skip this part. If not, let’s quickly scaffold a simple Express app.
mkdir railway-node-app
cd railway-node-app
npm init -y
npm install express
Create an index.js file:
const express = require('express');
const app = express();
const PORT = process.env.PORT || 3000;

app.get('/', (req, res) => {
  res.send('