


![How to Use AI as a Productivity Tool with Mike Kaput [MAICON 2025 Speaker Series]](https://www.marketingaiinstitute.com/hubfs/v2MAICON-Speaker_Series.png)
![[The AI Show Episode 152]: ChatGPT Connectors, AI-Human Relationships, New AI Job Data, OpenAI Court-Ordered to Keep ChatGPT Logs & WPP’s Large Marketing Model](https://www.marketingaiinstitute.com/hubfs/ep%20152%20cover.png)


.jpg?width=1920&height=1920&fit=bounds&quality=70&format=jpg&auto=webp#)


_Andreas_Prott_Alamy.jpg?width=1280&auto=webp&quality=80&disable=upscale#)
_designer491_Alamy.jpg?width=1280&auto=webp&quality=80&disable=upscale#)


![Samsung Galaxy Tab S11 runs Geekbench, here's the chipset it will use [Updated]](https://fdn.gsmarena.com/imgroot/news/25/06/samsung-galaxy-tab-s11-ultra-geekbench/-952x498w6/gsmarena_000.jpg)


![Apple’s latest CarPlay update revives something Android Auto did right 10 years ago [Gallery]](https://i0.wp.com/9to5google.com/wp-content/uploads/sites/4/2025/06/carplay-live-activities-1.jpg?resize=1200%2C628&quality=82&strip=all&ssl=1)


![3DMark Launches Native Benchmark App for macOS [Video]](https://www.iclarified.com/images/news/97603/97603/97603-640.jpg)
![Craig Federighi: Putting macOS on iPad Would 'Lose What Makes iPad iPad' [Video]](https://www.iclarified.com/images/news/97606/97606/97606-640.jpg)


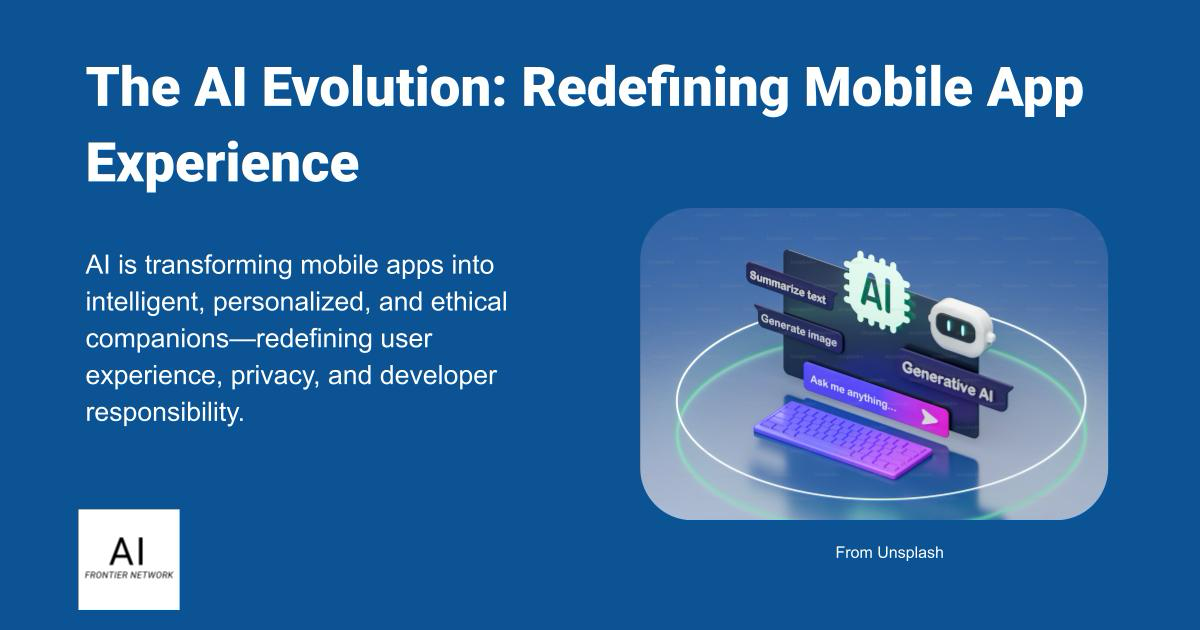
How to Build a Medical Chatbot with Flutter and Gemini: A Beginner’s Guide
In today's digital age, the demand for accessible and accurate health information is higher than ever. Leveraging the power of artificial intelligence, we can create intelligent chatbots that provide reliable health-related guidance. This beginner's ...

In today's digital age, the demand for accessible and accurate health information is higher than ever. Leveraging the power of artificial intelligence, we can create intelligent chatbots that provide reliable health-related guidance.
This beginner's guide will walk you through building a powerful and specialized medical chatbot using Flutter and Google's Gemini API. The chatbot will be able to receive input from various modalities like text, audio, camera, files, and a gallery, and it will be strictly confined to answering health-related questions.
Table of Contents:
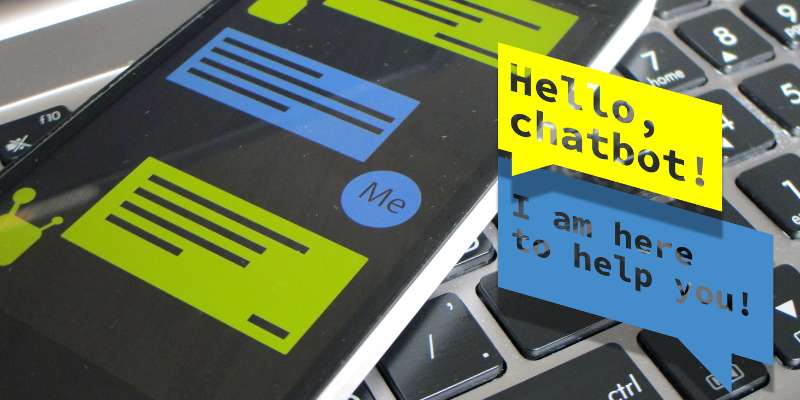
The Power of AI in Healthcare
AI-powered chatbots are transforming various industries, and healthcare is no exception. They offer a scalable and efficient way to disseminate information, answer frequently asked questions, and even provide initial assessments. By focusing on health-related queries, our chatbot will act as a specialized assistant, providing concise and accurate information to users.
Core Technologies
We’ll build our medical chatbot using the following key technologies:
Flutter: Google's UI toolkit for building natively compiled applications for mobile, web, and desktop from a single codebase.1 Its rich set of widgets and expressive UI make it ideal for creating engaging chat interfaces.
Google Gemini API: Google's most capable and flexible AI model. Gemini is multimodal, meaning it can process and understand different types of information, including text, images, audio, and video. This capability is crucial for our chatbot to handle diverse user inputs.
flutter_ai_toolkit: A Flutter package that provides a set of AI chat-related widgets and an abstract LLM provider API, simplifying the integration of AI models into your Flutter app. It offers out-of-the-box support for Gemini.google_generative_ai: The official Dart package for interacting with Google's Generative AI models (Gemini).
How to Set Up Your Development Environment
Before we dive into the code, make sure you have Flutter installed and configured on your system. If not, follow the official Flutter installation guide here.
Get Your Gemini API Key
To interact with the Gemini API, you need an API key. This key authenticates your application and allows it to send requests to the Gemini model.
Here's how to get your Gemini API key:
Go to Google AI Studio: Open your web browser and navigate to https://aistudio.google.com/.
Log in with your Google account: If you're not already logged in, you'll be prompted to sign in with your Google account.
Click "Get API key in Google AI Studio": On the Google AI Studio homepage, you'll see a prominent button with this text. Click it.
Review and approve terms of service: A pop-up will appear asking you to consent to the Google APIs Terms of Service and Gemini API Additional Terms of Service. Read them carefully, check the necessary boxes, and click "Continue."
Create your API key: You'll now have the option to "Create API key in new project" or "Create API key in existing project." Choose the one that suits your needs. Your API key will be auto-generated.
Copy your API key: Crucially, copy this API key immediately and store it securely. It will not be shown again. Do NOT hardcode your API key directly into your production code, especially for client-side applications. For development purposes, we will use it directly in our
MedicalChatScreenfor simplicity, but for a real-world application, consider using environment variables or a secure backend to manage your API key.
Add Dependencies (pubspec.yaml)
Open your pubspec.yaml file (located at the root of your Flutter project) and add the following dependencies under dependencies:
dependencies:
  flutter:
    sdk: flutter
  flutter_ai_toolkit: ^0.6.8
  google_generative_ai: ^0.4.6
After adding these, run flutter pub get in your terminal to fetch the packages.
Project Structure
Our project will have a simple structure:
lib/main.dart: The entry point of our Flutter application.lib/screens/chat.dart: Contains the main chat interface for our medical chatbot.
Code Implementation and Explanation
Let's break down the provided code and understand each part.
lib/main.dart
import 'package:ai_demo/screens/chat.dart';
import 'package:flutter/material.dart';

void main() {
  runApp(const MyApp());
}

class MyApp extends StatelessWidget {
  const MyApp({super.key});

  @override
  Widget build(BuildContext context) {
    return MaterialApp(
      title: 'Medical ChatBot',
      theme: ThemeData(
        colorScheme: ColorScheme.fromSeed(seedColor: Colors.deepPurple),
      ),
      home: const MedicalChatScreen(),
    );
  }
}
Here’s what’s going on in this code:
import 'package:ai_demo/screens/chat.dart';: This line imports thechat.dartfile from thescreensfolder. This is where ourMedicalChatScreenwidget is defined.import 'package:flutter/material.dart';: This imports the fundamental Flutter Material Design widgets, essential for building the UI.void main() { runApp(const MyApp()); }: This is the entry point of every Flutter application.runApp()takes a widget as an argument and makes it the root of the widget tree.class MyApp extends StatelessWidget:MyAppis the root widget of our application.StatelessWidgetmeans its properties don't change over time.Widget build(BuildContext context): This method is where the UI of theMyAppwidget is built.MaterialApp: This widget provides the basic Material Design visual structure for a Flutter app.title: 'Medical ChatBot': Sets the title of the application, which might be displayed in the device's task switcher or browser tab.theme: ThemeData(...): Defines the visual theme of the application.colorScheme: ColorScheme.fromSeed(seedColor: Colors.deepPurple): Generates a color scheme based on a primary "seed" color (Colors.deepPurple), ensuring a consistent and harmonious look across the app.
home: const MedicalChatScreen(): Sets the initial screen of the application to ourMedicalChatScreenwidget.
lib/screens/chat.dart
import 'package:flutter/material.dart';
import 'package:flutter_ai_toolkit/flutter_ai_toolkit.dart';
import 'package:google_generative_ai/google_generative_ai.dart';

class MedicalChatScreen extends StatefulWidget {
  const MedicalChatScreen({super.key});

  @override
  State createState() => _MedicalChatScreenState();
}

class _MedicalChatScreenState extends State<MedicalChatScreen> {
  String apiKey = ""; // IMPORTANT: Replace with your actual Gemini API Key

  @override
  void initState() {
    super.initState();
    // It's a good practice to load the API key from a secure source
    // rather than hardcoding it, especially for production apps.
    // For this demo, we'll keep it simple.
  }

  @override
  Widget build(BuildContext context) {
    return Scaffold(
      appBar: AppBar(
        backgroundColor: Colors.white,
        automaticallyImplyLeading: false,
        title: const Text("Medical ChatBot"),
      ),
      body: LlmChatView(
        suggestions: const [
          "I've been feeling dizzy lately. What now?",
          "How do I know if I need to see a doctor?",
          "What should I eat to boost my immunity?"
        ],
        style: LlmChatViewStyle(
          backgroundColor: Colors.white,
          chatInputStyle: ChatInputStyle(
            hintText: "Enter your message",
            decoration: const BoxDecoration().copyWith(
              borderRadius: BorderRadius.circular(50),
            ),
          ),
        ),
        provider: GeminiProvider(
          model: GenerativeModel(
            model: "gemini-2.0-flash",
            apiKey: apiKey,
            systemInstruction: Content.system(
              "You are a professional medical health assistant. Only respond to health and medically related questions and make them concise and straight to the point without too much explanation."
                  "If a question is unrelated to health or medicine, politely inform the user that you can only answer medical-related queries.",
            ),
          ),
        ),
        welcomeMessage:
"Hello 

