


![[The AI Show Episode 146]: Rise of “AI-First” Companies, AI Job Disruption, GPT-4o Update Gets Rolled Back, How Big Consulting Firms Use AI, and Meta AI App](https://www.marketingaiinstitute.com/hubfs/ep%20146%20cover.png)


![Ditching a Microsoft Job to Enter Startup Purgatory with Lonewolf Engineer Sam Crombie [Podcast #171]](https://cdn.hashnode.com/res/hashnode/image/upload/v1746753508177/0cd57f66-fdb0-4972-b285-1443a7db39fc.png?#)


![[Fixed] Gemini 2.5 Flash missing file upload for free app users](https://i0.wp.com/9to5google.com/wp-content/uploads/sites/4/2025/03/google-gemini-workspace-1.jpg?resize=1200%2C628&quality=82&strip=all&ssl=1)


![As Galaxy Watch prepares a major change, which smartwatch design to you prefer? [Poll]](https://i0.wp.com/9to5google.com/wp-content/uploads/sites/4/2024/07/Galaxy-Watch-Ultra-and-Apple-Watch-Ultra-1.jpg?resize=1200%2C628&quality=82&strip=all&ssl=1)


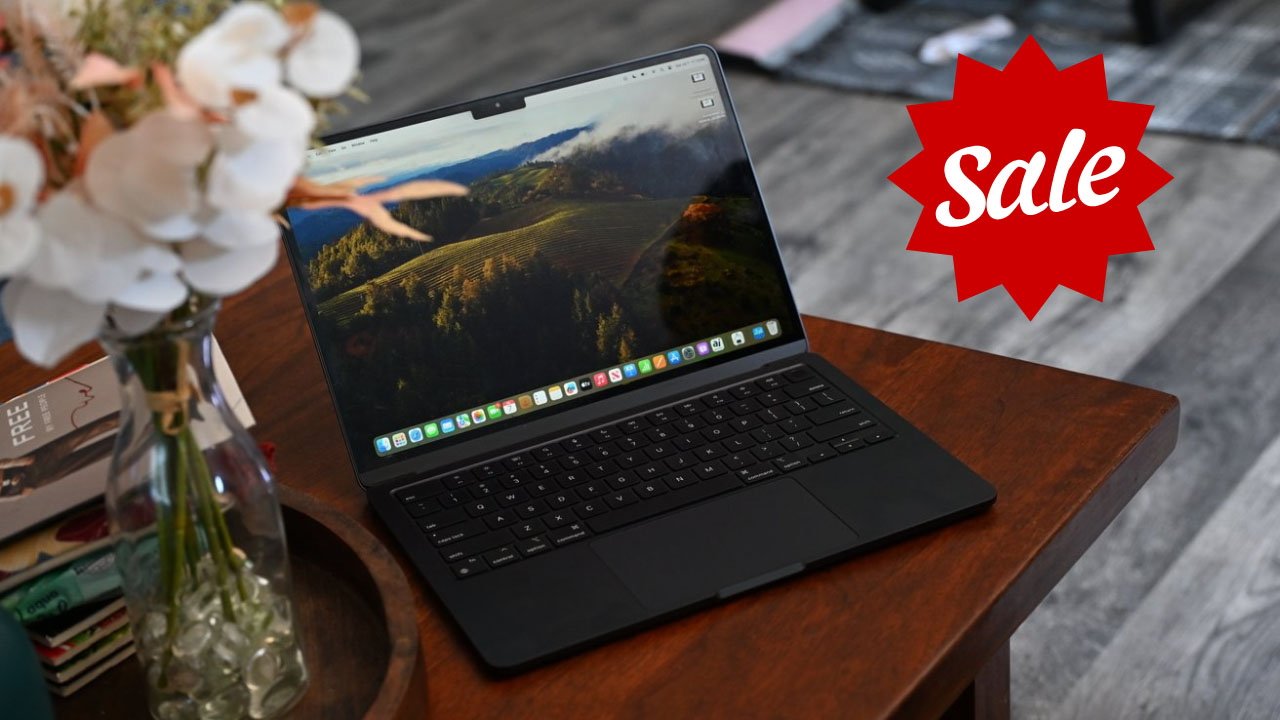
![Apple M4 MacBook Air Hits New All-Time Low of $824 [Deal]](https://www.iclarified.com/images/news/97288/97288/97288-640.jpg)
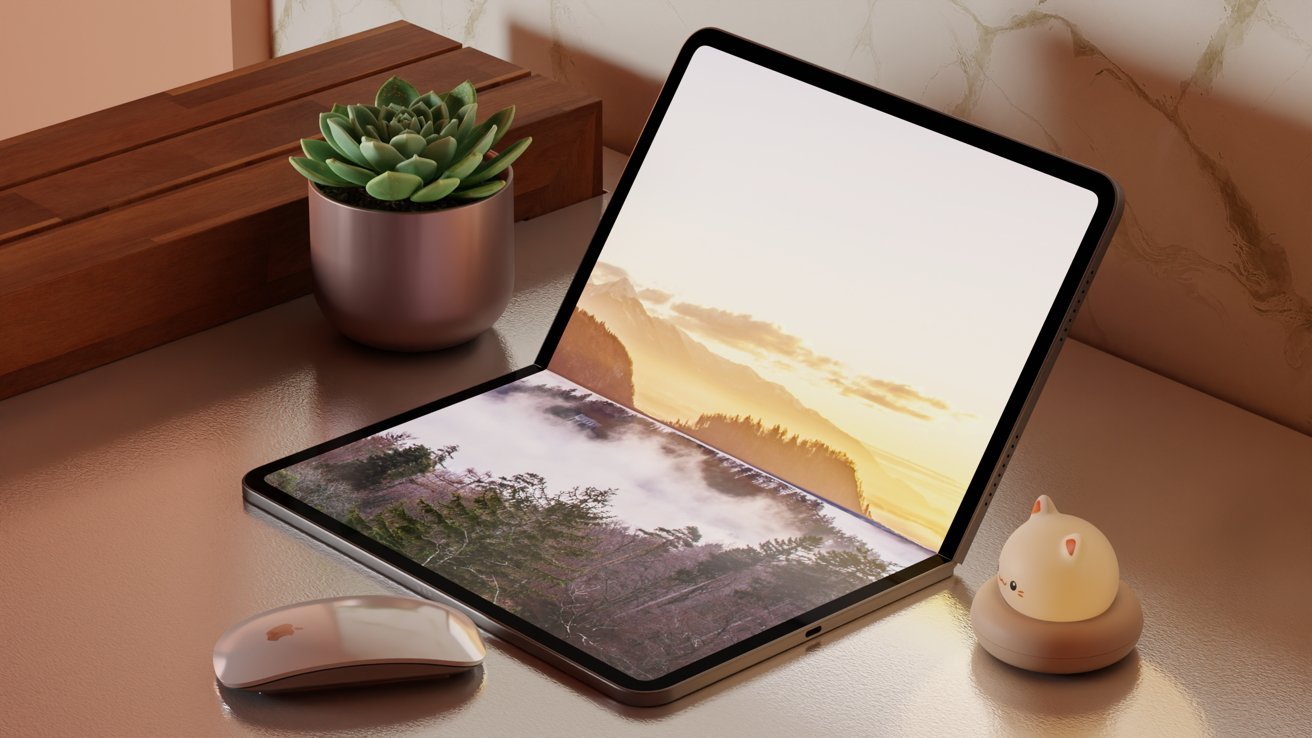
![An Apple Product Renaissance Is on the Way [Gurman]](https://www.iclarified.com/images/news/97286/97286/97286-640.jpg)
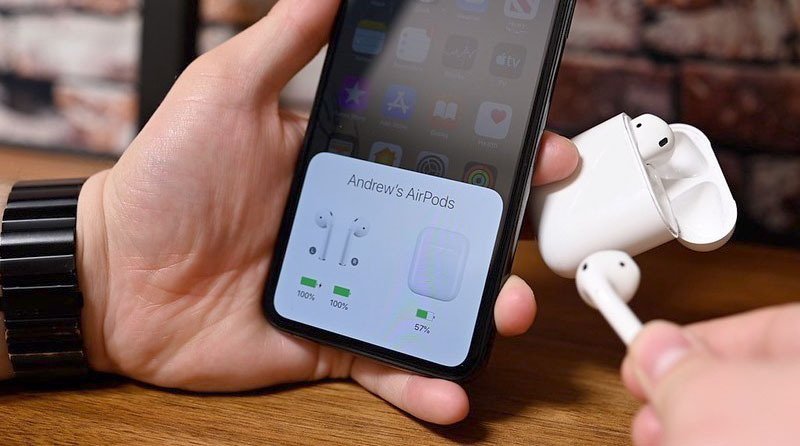
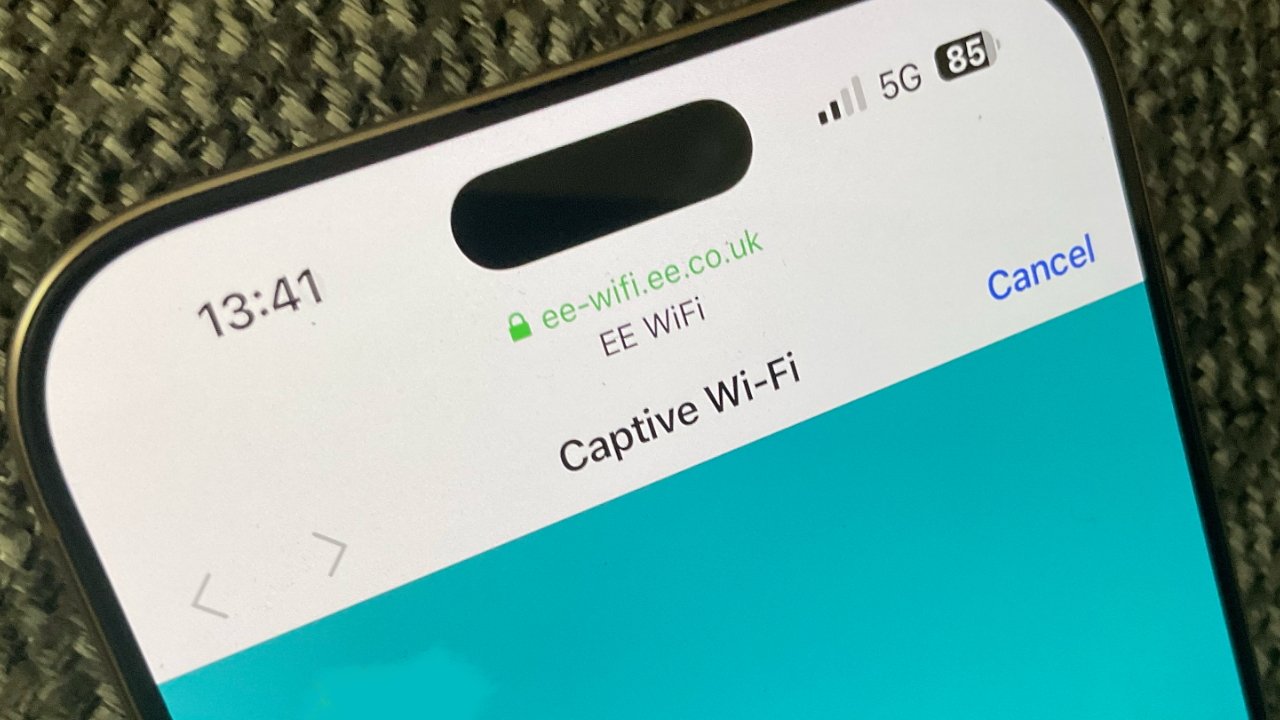
![Apple to Sync Captive Wi-Fi Logins Across iPhone, iPad, and Mac [Report]](https://www.iclarified.com/images/news/97284/97284/97284-640.jpg)
![Apple M4 iMac Drops to New All-Time Low Price of $1059 [Deal]](https://www.iclarified.com/images/news/97281/97281/97281-640.jpg)


![Apple's 11th Gen iPad Drops to New Low Price of $277.78 on Amazon [Updated]](https://images.macrumors.com/t/yQCVe42SNCzUyF04yj1XYLHG5FM=/2500x/article-new/2025/03/11th-gen-ipad-orange.jpeg)


How to Effortlessly Publish Notion Blog Posts to Webflow CMS
Introduction In today’s digital landscape, creating and managing content efficiently is crucial. As a content creator, you may find yourself using Notion for its flexibility and simplicity, and Webflow for its design capabilities. But how do you seamlessly integrate these two platforms? Enter SyncFlow, an indispensable tool for those who want to effortlessly publish Notion blog posts to Webflow CMS. We'll explore everything you need to know about setting up this workflow. Why Use SyncFlow? SyncFlow bridges the gap between Notion and Webflow, making automatic sync possible between the two. Not only does it save you time by automating the content publication process, but it also ensures that your Webflow site always has the most up-to-date versions of your Notion pages. Key Features of SyncFlow Auto-Sync: Automatically updates your Webflow collection whenever a Notion page is created or modified. Versatile Field Types: Supports text, images, checkboxes, dates, URLs, and more. Fully Customizable Styling: Choose between inline styling or using classes for complete design control. Page Linking and Auto-Publish: Links between Notion pages become Webflow links, and content updates are auto-published. Enhanced Editing Features: Includes code highlighting and TeX support for technical content. How to Set Up SyncFlow Step 1: Install SyncFlow Visit SyncFlow Website: Go to SyncFlow's website and click on 'Get Started'. Grant Access: Approve SyncFlow access to your Webflow sites. Account Setup: Either sign up for a new account or login if you already have one. Step 2: Connect Your Accounts Connect to Webflow: In the Webflow Designer, launch the SyncFlow app. Connect to Notion: Within the SyncFlow app, select 'Connect Notion' and choose the page or folder you wish to sync. Step 3: Create and Configure Syncs Create Sync Task: Click on 'Sync a new database'. Select Webflow Collection: Choose a Webflow collection for syncing with your Notion database. Set Up Notion Database: Either select an existing database or create a new one. Adjust Sync Settings Configure 'Auto-Publish', 'Auto-Sync', and any necessary code block options. Decide on styling preferences, opting for 'Inline Styles' or 'Use Classes'. Step 4: Verify and Adjust Save Settings: Ensure all settings are saved to establish sync. Verify Sync: Add a new entry in Notion and check the sync status on Webflow. Webflow CMS Check: View synchronized content in your collection. Optional: Full Resync For existing data, use the full-resync option to align your Webflow collection entirely with Notion. Realizing Your Content Vision Using SyncFlow, you can now write with the simplicity of Notion and design with the power of Webflow without the hassle of shifting content manually. This integration is perfect for bloggers, content marketers, and enterprises, seeking to streamline their digital content processes. Expanding Possibilities Harness the capabilities of SyncFlow to ensure your content remains fresh and engaging across platforms. With its robust features, automation has never been this accessible, allowing you to focus on what matters most—crafting compelling content. Conclusion Implementing SyncFlow in your content workflow is not just about convenience; it’s about empowering your creative process. To experience effortless content publishing, visit SyncFlow today. For more insights and visual tutorials, check out the SyncFlow — Notion-Webflow Sync (Trailer video) on YouTube. Some images in this article were generated via AI tools and the article itself was proof-read with AI.

Introduction
In today’s digital landscape, creating and managing content efficiently is crucial. As a content creator, you may find yourself using Notion for its flexibility and simplicity, and Webflow for its design capabilities. But how do you seamlessly integrate these two platforms? Enter SyncFlow, an indispensable tool for those who want to effortlessly publish Notion blog posts to Webflow CMS. We'll explore everything you need to know about setting up this workflow.
Why Use SyncFlow?
SyncFlow bridges the gap between Notion and Webflow, making automatic sync possible between the two. Not only does it save you time by automating the content publication process, but it also ensures that your Webflow site always has the most up-to-date versions of your Notion pages.
Key Features of SyncFlow
- Auto-Sync: Automatically updates your Webflow collection whenever a Notion page is created or modified.
- Versatile Field Types: Supports text, images, checkboxes, dates, URLs, and more.
- Fully Customizable Styling: Choose between inline styling or using classes for complete design control.
- Page Linking and Auto-Publish: Links between Notion pages become Webflow links, and content updates are auto-published.
- Enhanced Editing Features: Includes code highlighting and TeX support for technical content.
How to Set Up SyncFlow
Step 1: Install SyncFlow
- Visit SyncFlow Website: Go to SyncFlow's website and click on 'Get Started'.
- Grant Access: Approve SyncFlow access to your Webflow sites.
- Account Setup: Either sign up for a new account or login if you already have one.
Step 2: Connect Your Accounts
- Connect to Webflow: In the Webflow Designer, launch the SyncFlow app.
- Connect to Notion: Within the SyncFlow app, select 'Connect Notion' and choose the page or folder you wish to sync.
Step 3: Create and Configure Syncs
- Create Sync Task: Click on 'Sync a new database'.
- Select Webflow Collection: Choose a Webflow collection for syncing with your Notion database.
- Set Up Notion Database: Either select an existing database or create a new one.
Adjust Sync Settings
- Configure 'Auto-Publish', 'Auto-Sync', and any necessary code block options.
- Decide on styling preferences, opting for 'Inline Styles' or 'Use Classes'.

Step 4: Verify and Adjust
- Save Settings: Ensure all settings are saved to establish sync.
- Verify Sync: Add a new entry in Notion and check the sync status on Webflow.
- Webflow CMS Check: View synchronized content in your collection.
Optional: Full Resync
For existing data, use the full-resync option to align your Webflow collection entirely with Notion.
Realizing Your Content Vision
Using SyncFlow, you can now write with the simplicity of Notion and design with the power of Webflow without the hassle of shifting content manually. This integration is perfect for bloggers, content marketers, and enterprises, seeking to streamline their digital content processes.
Expanding Possibilities
Harness the capabilities of SyncFlow to ensure your content remains fresh and engaging across platforms. With its robust features, automation has never been this accessible, allowing you to focus on what matters most—crafting compelling content.

Conclusion
Implementing SyncFlow in your content workflow is not just about convenience; it’s about empowering your creative process. To experience effortless content publishing, visit SyncFlow today.
For more insights and visual tutorials, check out the SyncFlow — Notion-Webflow Sync (Trailer video) on YouTube.
Some images in this article were generated via AI tools and the article itself was proof-read with AI.