


![[The AI Show Episode 146]: Rise of “AI-First” Companies, AI Job Disruption, GPT-4o Update Gets Rolled Back, How Big Consulting Firms Use AI, and Meta AI App](https://www.marketingaiinstitute.com/hubfs/ep%20146%20cover.png)


![Ditching a Microsoft Job to Enter Startup Purgatory with Lonewolf Engineer Sam Crombie [Podcast #171]](https://cdn.hashnode.com/res/hashnode/image/upload/v1746753508177/0cd57f66-fdb0-4972-b285-1443a7db39fc.png?#)


![[Fixed] Gemini 2.5 Flash missing file upload for free app users](https://i0.wp.com/9to5google.com/wp-content/uploads/sites/4/2025/03/google-gemini-workspace-1.jpg?resize=1200%2C628&quality=82&strip=all&ssl=1)


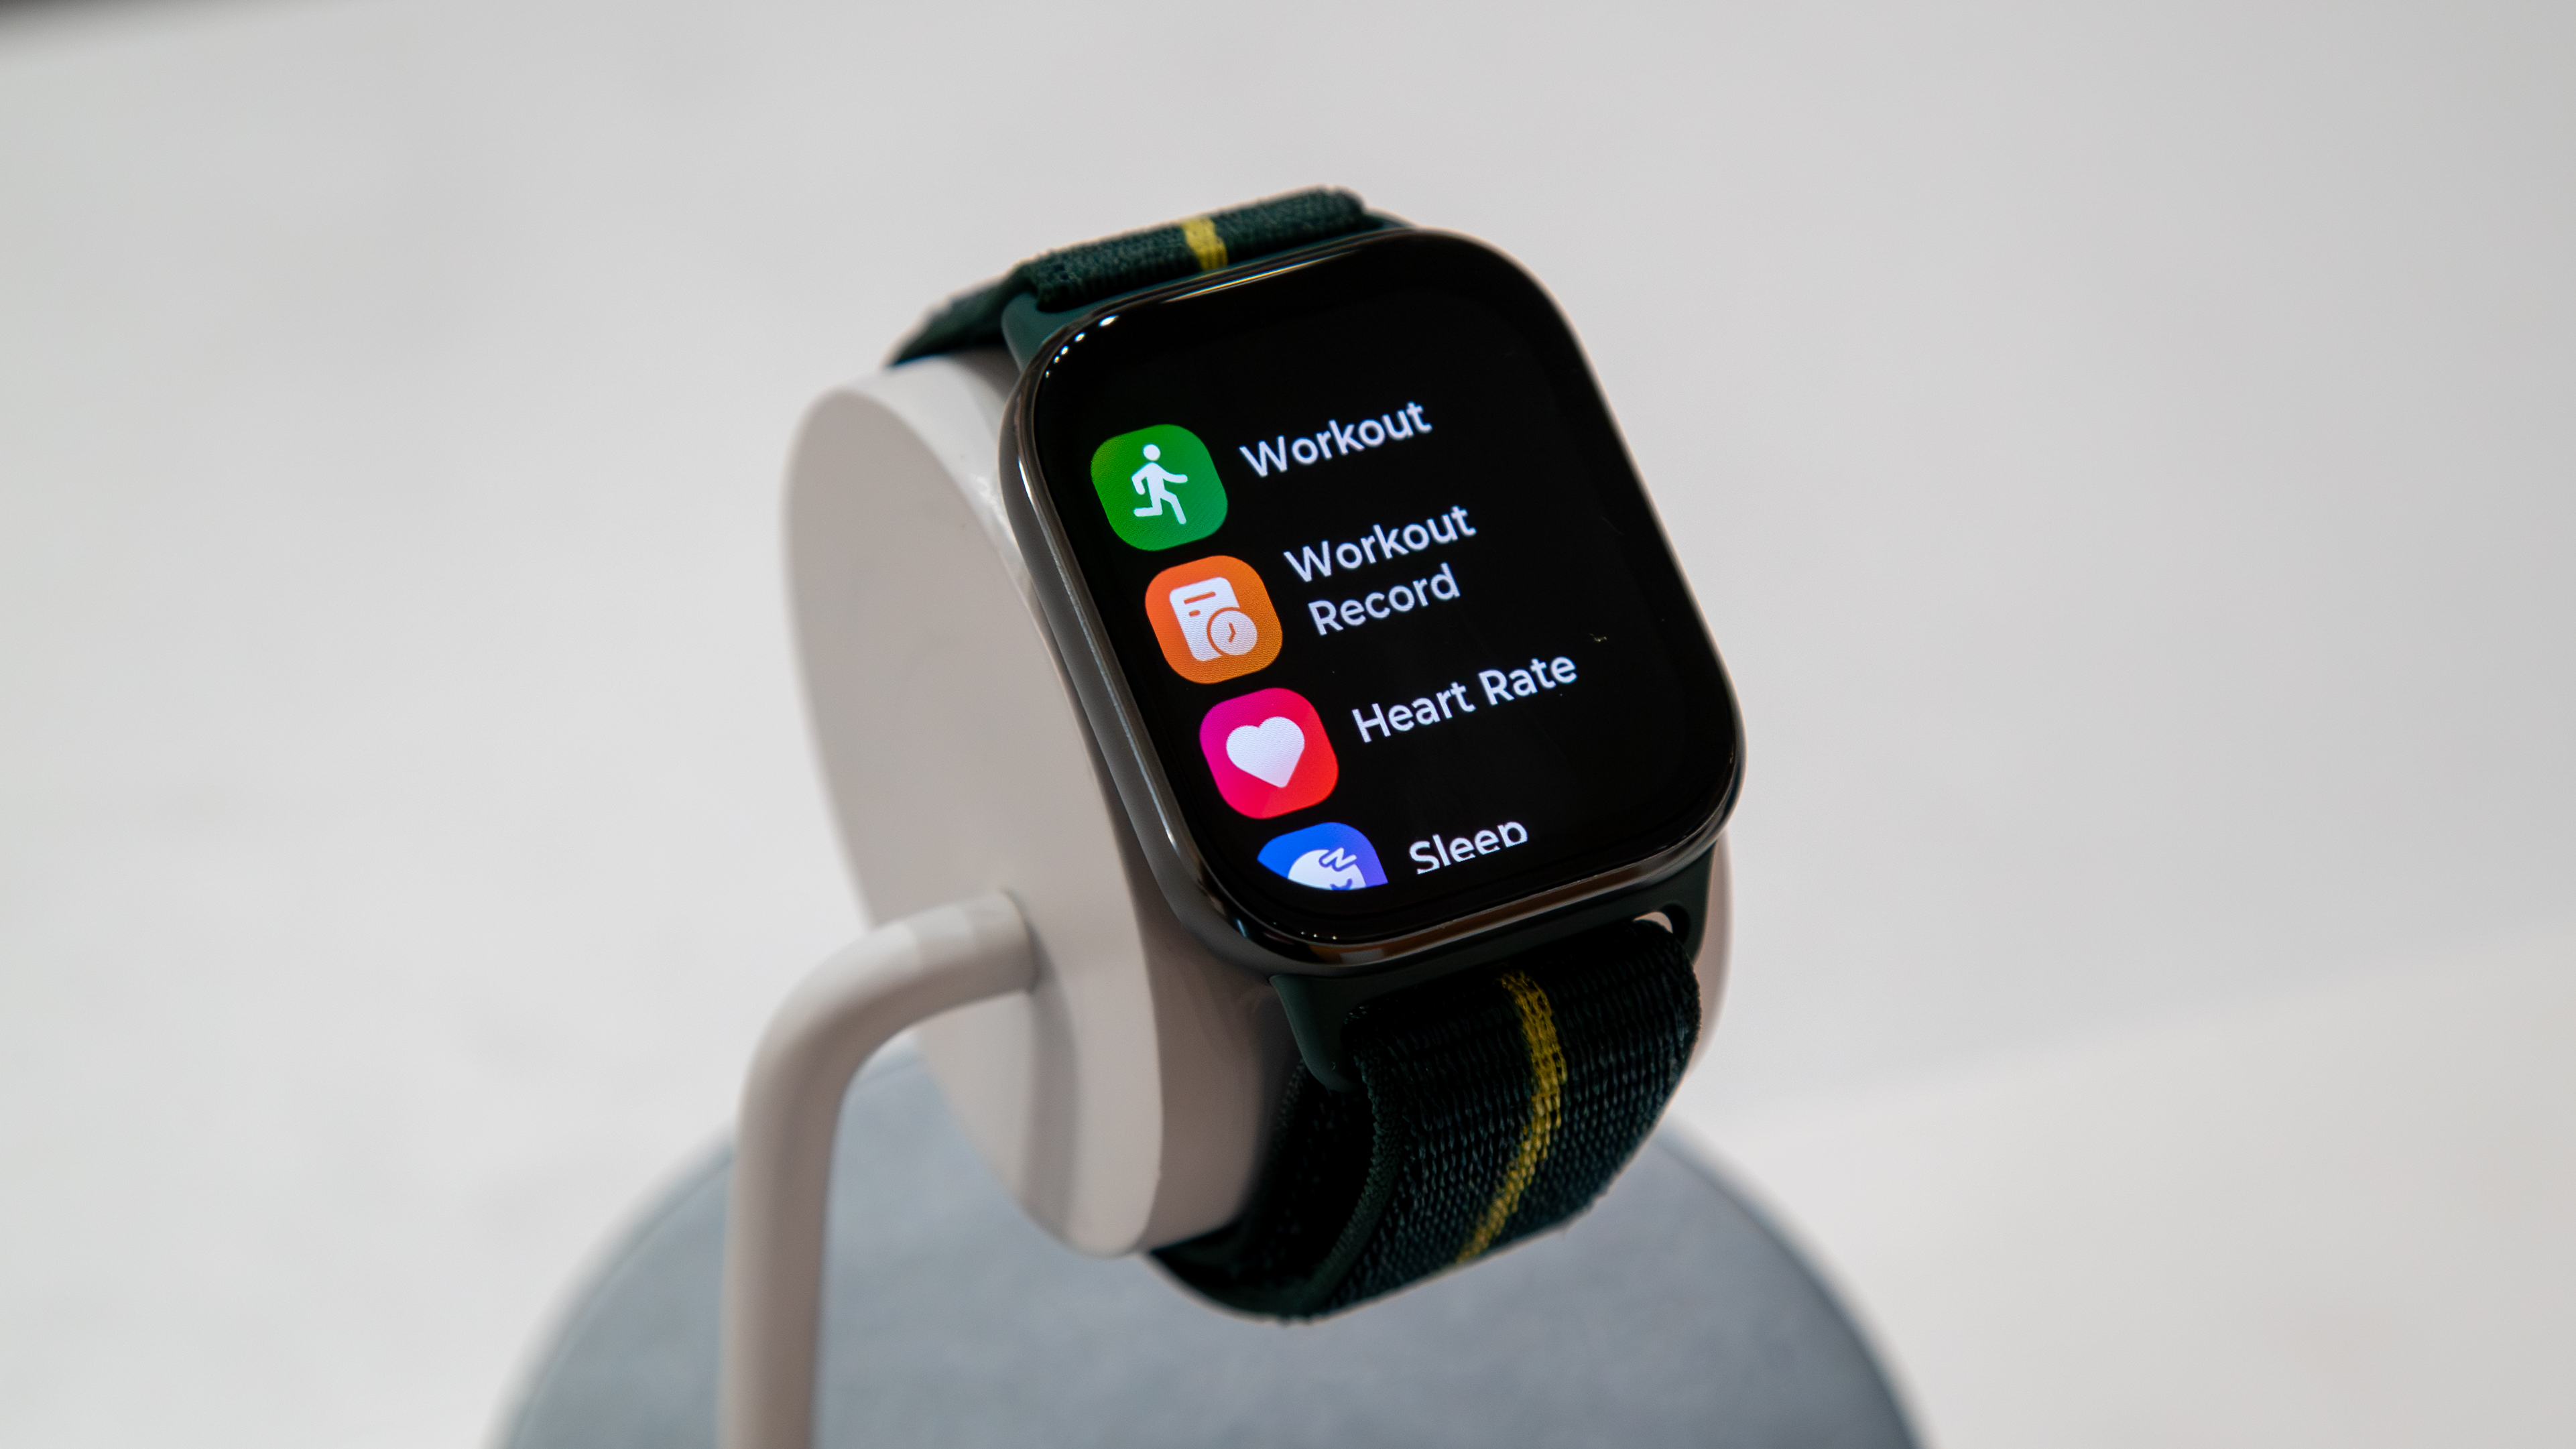
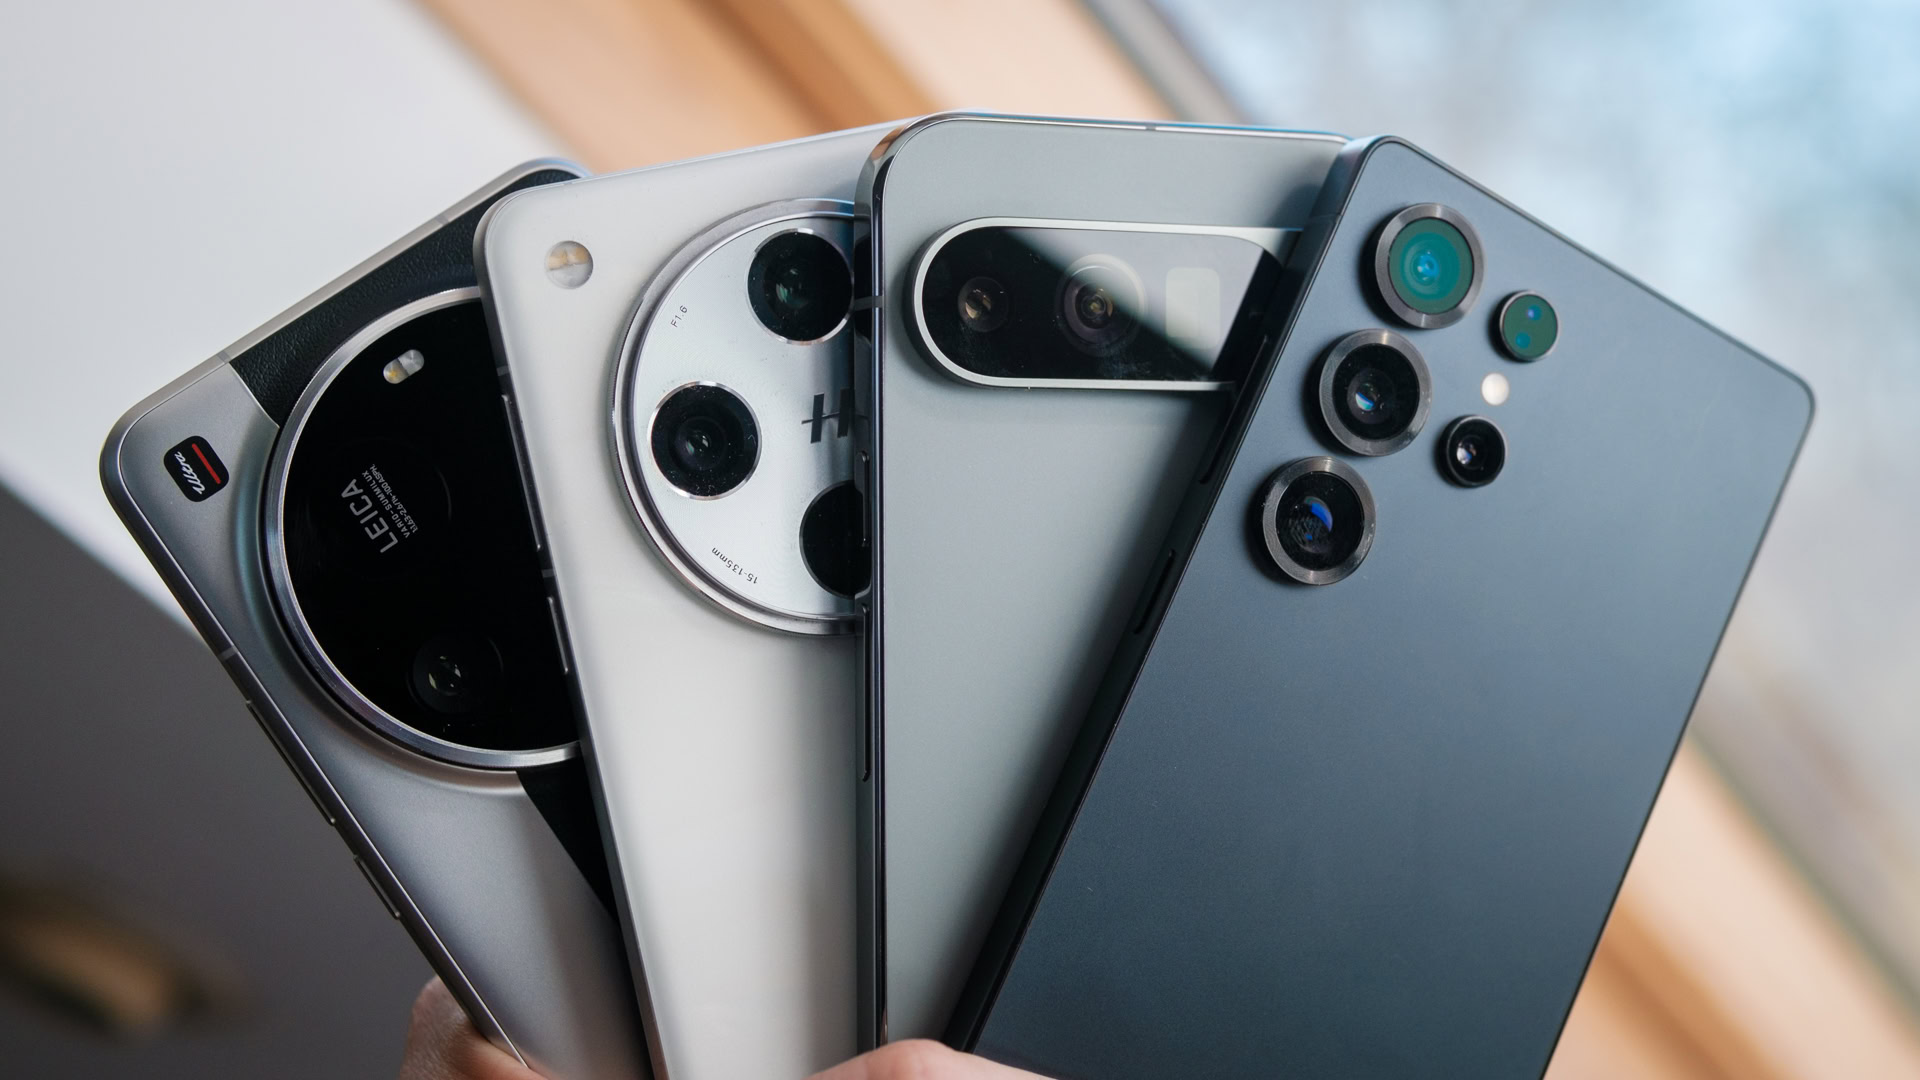
![As Galaxy Watch prepares a major change, which smartwatch design to you prefer? [Poll]](https://i0.wp.com/9to5google.com/wp-content/uploads/sites/4/2024/07/Galaxy-Watch-Ultra-and-Apple-Watch-Ultra-1.jpg?resize=1200%2C628&quality=82&strip=all&ssl=1)


![Apple M4 MacBook Air Hits New All-Time Low of $824 [Deal]](https://www.iclarified.com/images/news/97288/97288/97288-640.jpg)
![An Apple Product Renaissance Is on the Way [Gurman]](https://www.iclarified.com/images/news/97286/97286/97286-640.jpg)
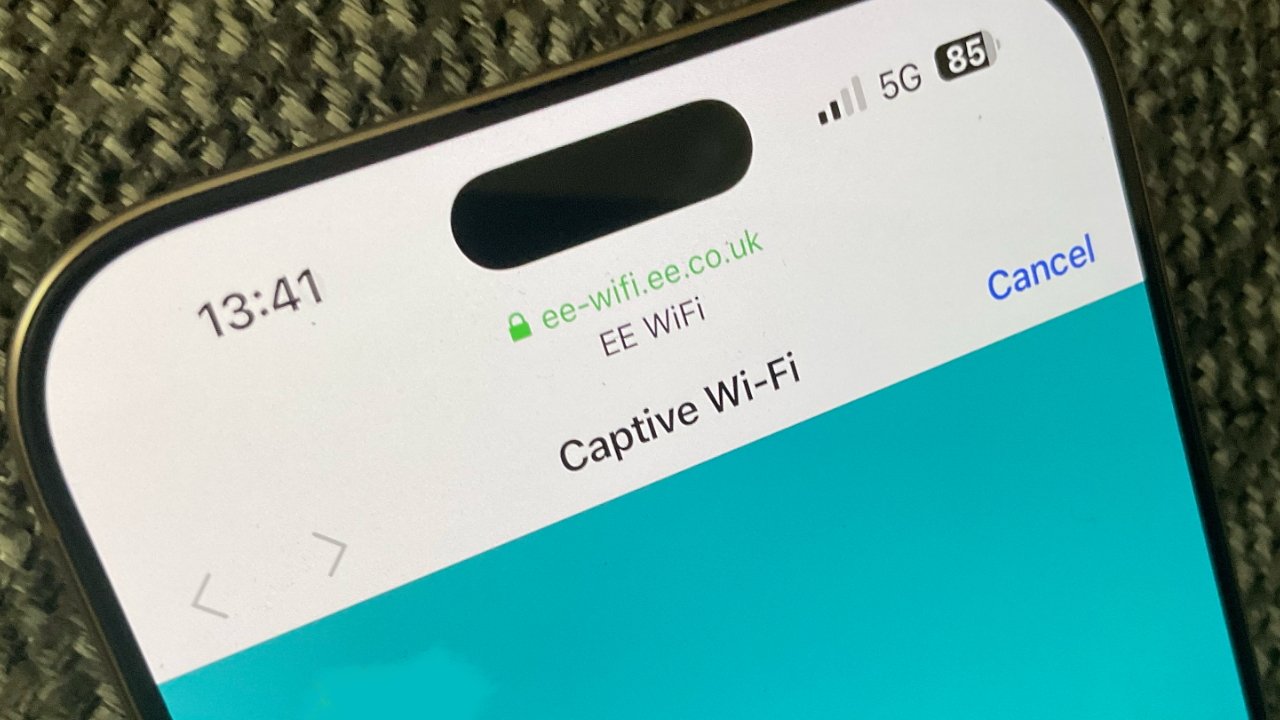
![Apple to Sync Captive Wi-Fi Logins Across iPhone, iPad, and Mac [Report]](https://www.iclarified.com/images/news/97284/97284/97284-640.jpg)
![Apple M4 iMac Drops to New All-Time Low Price of $1059 [Deal]](https://www.iclarified.com/images/news/97281/97281/97281-640.jpg)


![Apple's 11th Gen iPad Drops to New Low Price of $277.78 on Amazon [Updated]](https://images.macrumors.com/t/yQCVe42SNCzUyF04yj1XYLHG5FM=/2500x/article-new/2025/03/11th-gen-ipad-orange.jpeg)


How to Use Libuv In Your Zig Project
Libuv describes itself as a multi-platform support library with a focus on asynchronous I/O. It is widely used in many web servers (e.g., Kestrel) and runtimes such as Node.js and Python (via uvloop). As of Zig 0.14.0, there is no native async I/O, so you must work directly with threads or create your own async API using OS primitives like epoll or kqueue. In many cases, you would likely choose a cross-platform library rather than implementing your own async API. That’s where using libuv, libevent, or libxev (written in Zig) becomes useful. This guide will show you how to use libuv from your Zig project. Adding Libuv as a Dependency I’ll start with a basic Zig project to demonstrate how this works. It will be a simple app that runs some timers. We’re going to use the package from github.com/allyourcodebase/libuv to build and add libuv to our project. Assuming you have already run zig init to create a new project, the next step is to add libuv using the command zig fetch --save git+https://github.com/allyourcodebase/libuv.git#, replacing with the commit ref or branch you want to use. Open your terminal and run the following zig fetch command to pull in the version at commit fead2457be2e93c5b1383f4648c76454eacdb6dc: zig fetch --save git+https://github.com/allyourcodebase/libuv.git#fead2457be2e93c5b1383f4648c76454eacdb6dc Next, add the libuv dependency to build.zig as follows: // Add the libuv library to the build const libuv_dep = b.dependency("libuv", .{ .target = target, .optimize = optimize, }); exe.linkLibrary(libuv_dep.artifact("uv")); Here, we’re adding it to the project’s executable. If you’re building a library, you will link it to your library, e.g., your_lib.linkLibrary(libuv_dep.artifact("uv")). Now that we have the dependency sorted, we will import the libuv header file in our src/main.zig as follows: const uv = @cImport({ @cInclude("uv.h"); }); Example – Making a Timer with Libuv Let’s make a simple program that runs a timer and prints how many times it has run. Let’s update main.zig to the following: const std = @import("std"); const uv = @cImport({ @cInclude("uv.h"); }); const TimerContext = struct { timer: *uv.uv_timer_t, loop: *uv.uv_loop_t, count: u8, }; pub fn main() !void { // Setup libuv loop and timer const loop = uv.uv_default_loop(); var timer: uv.uv_timer_t = undefined; var ctx = TimerContext{ .timer = &timer, .loop = loop, .count = 0, }; timer.data = &ctx; const rc = uv.uv_timer_init(loop, &timer); if (rc != 0) { std.debug.print("Failed to init timer: {d}\n", .{rc}); return; } const start_rc = uv.uv_timer_start(&timer, timer_cb, 0, 2000); if (start_rc != 0) { std.debug.print("Failed to start timer: {d}\n", .{start_rc}); return; } _ = uv.uv_run(loop, uv.UV_RUN_DEFAULT); } fn timer_cb(handle: [*c]uv.uv_timer_t) callconv(.C) void { var ctx: *TimerContext = @alignCast(@ptrCast(handle.?.*.data)); ctx.count += 1; // Print the count std.debug.print("Timer callback called {d} times.\n", .{ctx.count}); if (ctx.count >= 3) { _ = uv.uv_timer_stop(handle); uv.uv_close(@ptrCast(handle), null); std.debug.print("Timer closed after 3 executions.\n", .{}); } } The code you just added initializes the default loop, adds a timer to the event loop, and runs the event loop using uv.uv_run(loop, uv.UV_RUN_DEFAULT). When you run the program, you get the following result: ❯ zig build run Timer callback called 1 times. Timer callback called 2 times. Timer callback called 3 times. Timer closed after 3 executions. Error: Dependency Loop Detected The program we made ran smoothly, but you may encounter an error dependency loop detected if you use certain functions from libuv. It will point to the uv_read_cb function as the cause. This is due to how Zig translated the C code. Follow the steps below to fix it: Click the error file in your terminal so that it takes you to the point in the file where the function is defined. Typically, this will be the output code in the .zig-cache folder. Replace the function definition pub const uv_read_cb = ?*const fn ([*c]uv_stream_t, isize, [*c]const uv_buf_t) callconv(.C) void; with pub const uv_read_cb = ?*const fn (*anyopaque, isize, [*c]const uv_buf_t) callconv(.C) void;, and re-run the program. This solution is just a workaround, and I hope it gets fixed soon. Conclusion Libuv is a cross-platform C library that provides support for non-blocking I/O based on event loops. It supports epoll, kqueue, Windows IOCP, Solaris event ports, and Linux io_uring. It is primarily designed for use in Node.js, but it is also used by other software projects. This guide showed you how to integrate libuv into a Zig project. You saw an example of creating timers using libuv. We also cover
Libuv describes itself as a multi-platform support library with a focus on asynchronous I/O. It is widely used in many web servers (e.g., Kestrel) and runtimes such as Node.js and Python (via uvloop). As of Zig 0.14.0, there is no native async I/O, so you must work directly with threads or create your own async API using OS primitives like epoll or kqueue. In many cases, you would likely choose a cross-platform library rather than implementing your own async API. That’s where using libuv, libevent, or libxev (written in Zig) becomes useful.
This guide will show you how to use libuv from your Zig project.
Adding Libuv as a Dependency
I’ll start with a basic Zig project to demonstrate how this works. It will be a simple app that runs some timers. We’re going to use the package from github.com/allyourcodebase/libuv to build and add libuv to our project. Assuming you have already run zig init to create a new project, the next step is to add libuv using the command zig fetch --save git+https://github.com/allyourcodebase/libuv.git#, replacing with the commit ref or branch you want to use.
Open your terminal and run the following zig fetch command to pull in the version at commit fead2457be2e93c5b1383f4648c76454eacdb6dc:
zig fetch --save git+https://github.com/allyourcodebase/libuv.git#fead2457be2e93c5b1383f4648c76454eacdb6dc
Next, add the libuv dependency to build.zig as follows:
    // Add the libuv library to the build
    const libuv_dep = b.dependency("libuv", .{
        .target = target,
        .optimize = optimize,
    });
    exe.linkLibrary(libuv_dep.artifact("uv"));
Here, we’re adding it to the project’s executable. If you’re building a library, you will link it to your library, e.g., your_lib.linkLibrary(libuv_dep.artifact("uv")).
Now that we have the dependency sorted, we will import the libuv header file in our src/main.zig as follows:
const uv = @cImport({
    @cInclude("uv.h");
});
Example – Making a Timer with Libuv
Let’s make a simple program that runs a timer and prints how many times it has run. Let’s update main.zig to the following:
const std = @import("std");
const uv = @cImport({
    @cInclude("uv.h");
});

const TimerContext = struct {
    timer: *uv.uv_timer_t,
    loop: *uv.uv_loop_t,
    count: u8,
};

pub fn main() !void {
    // Setup libuv loop and timer
    const loop = uv.uv_default_loop();
    var timer: uv.uv_timer_t = undefined;
    var ctx = TimerContext{
        .timer = &timer,
        .loop = loop,
        .count = 0,
    };
    timer.data = &ctx;
    const rc = uv.uv_timer_init(loop, &timer);
    if (rc != 0) {
        std.debug.print("Failed to init timer: {d}\n", .{rc});
        return;
    }
    const start_rc = uv.uv_timer_start(&timer, timer_cb, 0, 2000);
    if (start_rc != 0) {
        std.debug.print("Failed to start timer: {d}\n", .{start_rc});
        return;
    }
    _ = uv.uv_run(loop, uv.UV_RUN_DEFAULT);
}

fn timer_cb(handle: [*c]uv.uv_timer_t) callconv(.C) void {
    var ctx: *TimerContext = @alignCast(@ptrCast(handle.?.*.data));
    ctx.count += 1;
    // Print the count
    std.debug.print("Timer callback called {d} times.\n", .{ctx.count});

    if (ctx.count >= 3) {
        _ = uv.uv_timer_stop(handle);
        uv.uv_close(@ptrCast(handle), null);
        std.debug.print("Timer closed after 3 executions.\n", .{});
    }
}
The code you just added initializes the default loop, adds a timer to the event loop, and runs the event loop using uv.uv_run(loop, uv.UV_RUN_DEFAULT). When you run the program, you get the following result:
❯ zig build run
Timer callback called 1 times.
Timer callback called 2 times.
Timer callback called 3 times.
Timer closed after 3 executions.
Error: Dependency Loop Detected
The program we made ran smoothly, but you may encounter an error dependency loop detected if you use certain functions from libuv. It will point to the uv_read_cb function as the cause. This is due to how Zig translated the C code. Follow the steps below to fix it:
- Click the error file in your terminal so that it takes you to the point in the file where the function is defined. Typically, this will be the output code in the
.zig-cachefolder. - Replace the function definition
pub const uv_read_cb = ?*const fn ([*c]uv_stream_t, isize, [*c]const uv_buf_t) callconv(.C) void;withpub const uv_read_cb = ?*const fn (*anyopaque, isize, [*c]const uv_buf_t) callconv(.C) void;, and re-run the program.
This solution is just a workaround, and I hope it gets fixed soon.
Conclusion
Libuv is a cross-platform C library that provides support for non-blocking I/O based on event loops. It supports epoll, kqueue, Windows IOCP, Solaris event ports, and Linux io_uring. It is primarily designed for use in Node.js, but it is also used by other software projects. This guide showed you how to integrate libuv into a Zig project. You saw an example of creating timers using libuv. We also covered a potential error with the translated libuv code and a temporary workaround.