


![How to Use AI as a Productivity Tool with Mike Kaput [MAICON 2025 Speaker Series]](https://www.marketingaiinstitute.com/hubfs/v2MAICON-Speaker_Series.png)
![[The AI Show Episode 152]: ChatGPT Connectors, AI-Human Relationships, New AI Job Data, OpenAI Court-Ordered to Keep ChatGPT Logs & WPP’s Large Marketing Model](https://www.marketingaiinstitute.com/hubfs/ep%20152%20cover.png)


.jpg?width=1920&height=1920&fit=bounds&quality=70&format=jpg&auto=webp#)


_Andreas_Prott_Alamy.jpg?width=1280&auto=webp&quality=80&disable=upscale#)

_designer491_Alamy.jpg?width=1280&auto=webp&quality=80&disable=upscale#)


![Apple’s latest CarPlay update revives something Android Auto did right 10 years ago [Gallery]](https://i0.wp.com/9to5google.com/wp-content/uploads/sites/4/2025/06/carplay-live-activities-1.jpg?resize=1200%2C628&quality=82&strip=all&ssl=1)


![3DMark Launches Native Benchmark App for macOS [Video]](https://www.iclarified.com/images/news/97603/97603/97603-640.jpg)
![Craig Federighi: Putting macOS on iPad Would 'Lose What Makes iPad iPad' [Video]](https://www.iclarified.com/images/news/97606/97606/97606-640.jpg)


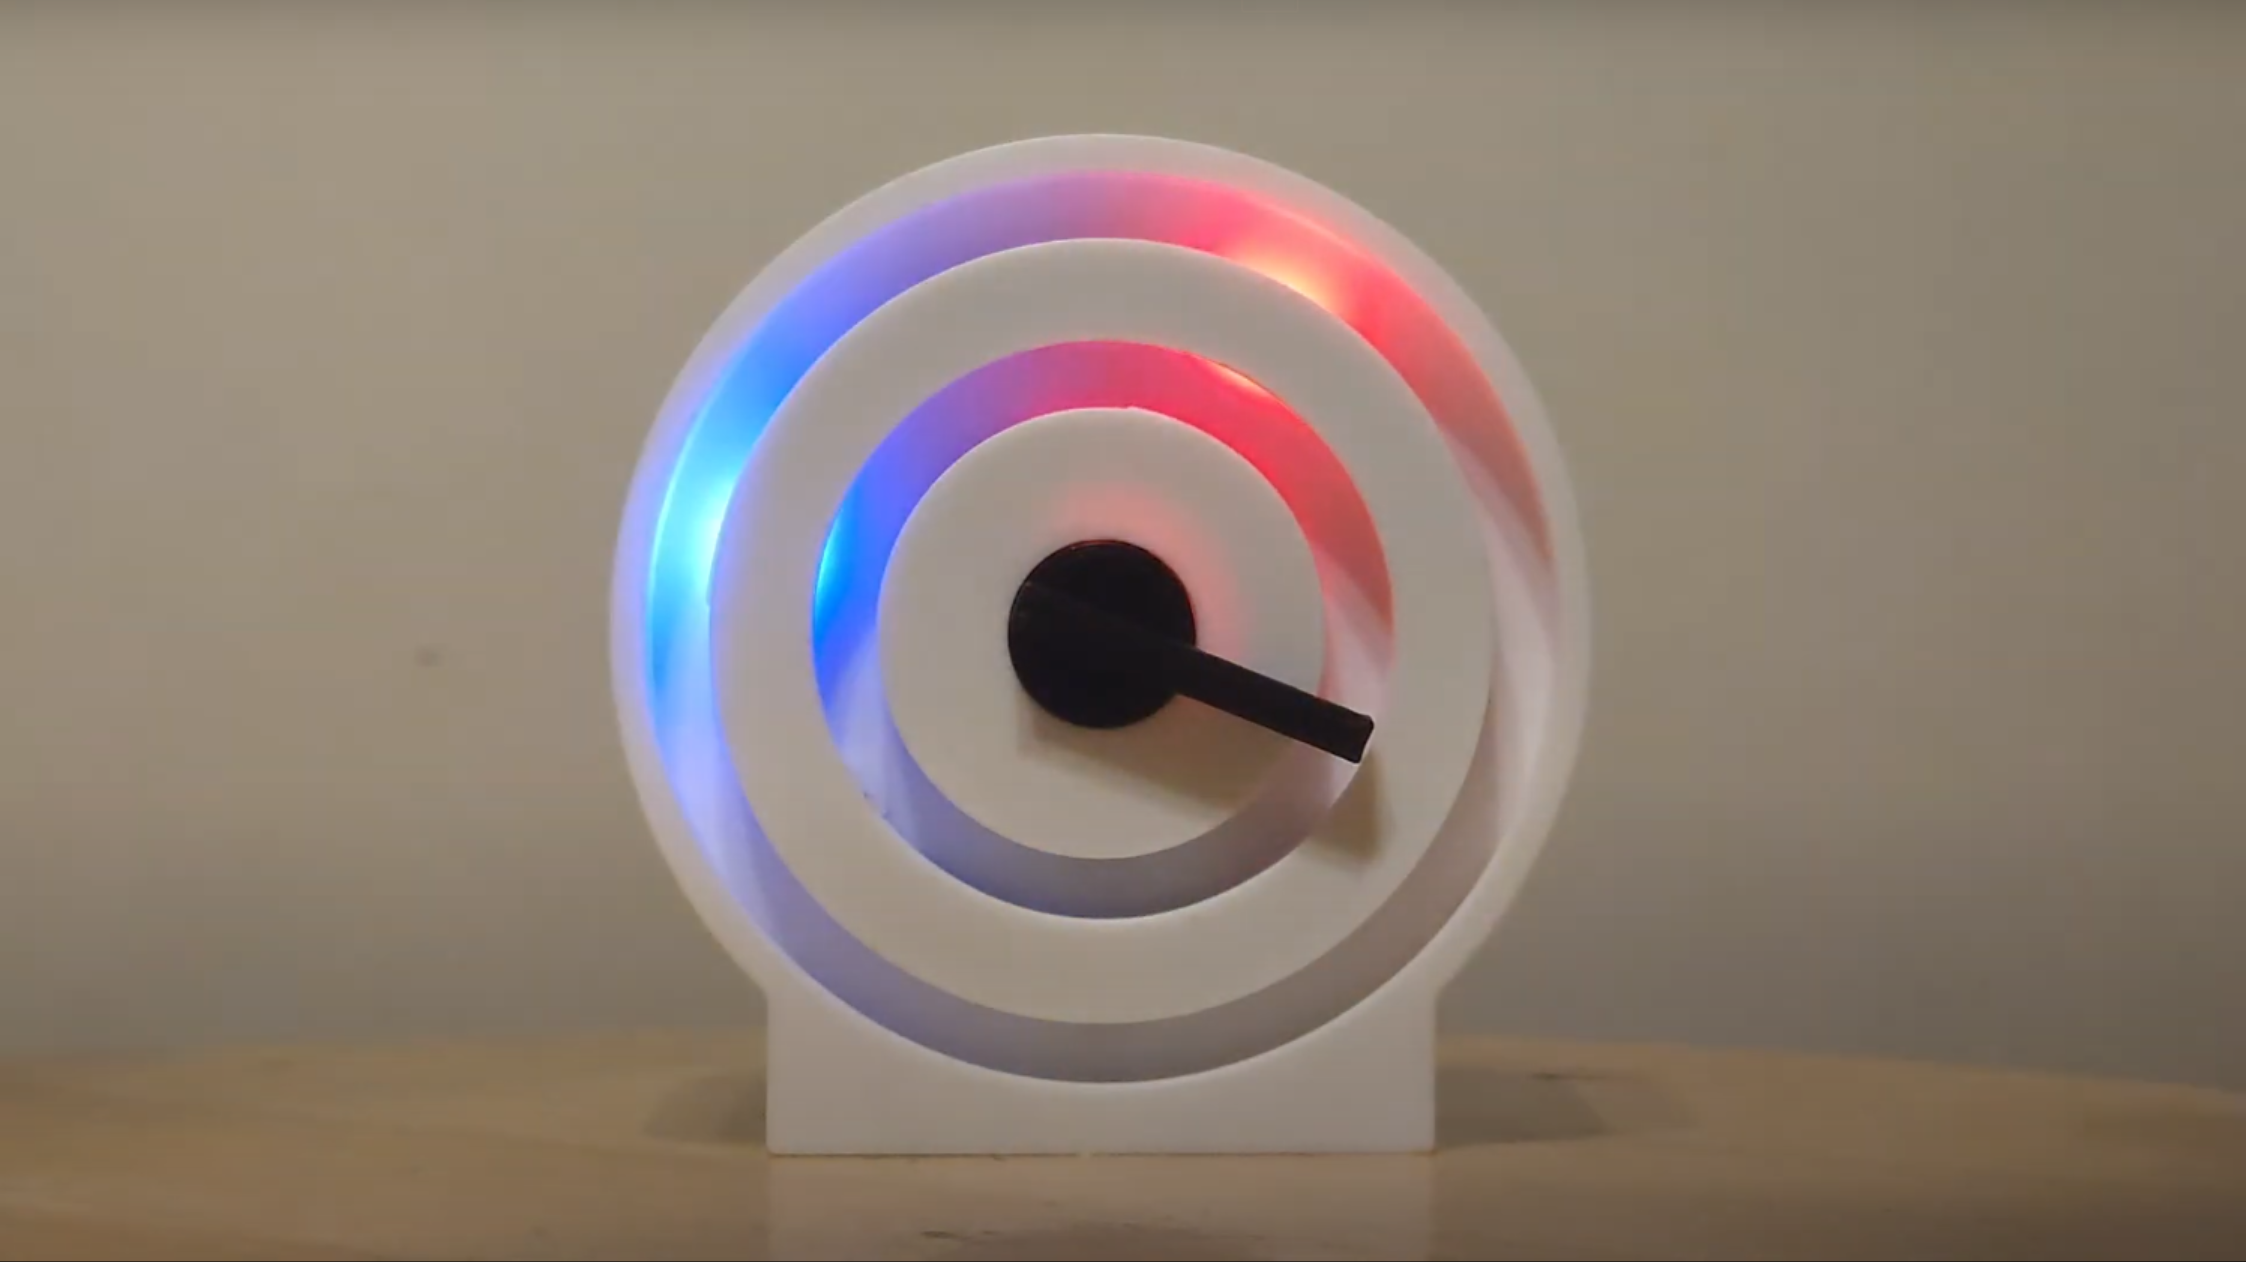
Adapting an Old Rotary Dial for Digital Applications
Today in old school nostalgia our tipster [Clint Jay] wrote in to let us know about this rotary dial. If you’re a young whippersnapper you might never have seen a …read more


Today in old school nostalgia our tipster [Clint Jay] wrote in to let us know about this rotary dial.
If you’re a young whippersnapper you might never have seen a rotary dial. These things were commonly used on telephones back in the day, and they were notoriously slow to use. The way they work is that they generate a number of pulses corresponding to the number you want to dial in. One pulse for 1, two pulses for 2, and so on, up to nine pulses for 9, then ten pulses for 0.
We see circuits like this here at Hackaday from time to time. In fact, commonly we see them implemented as USB keyboards, such as in Rotary Dial Becomes USB Keyboard and Rotary Dialer Becomes Numeric Keypad.
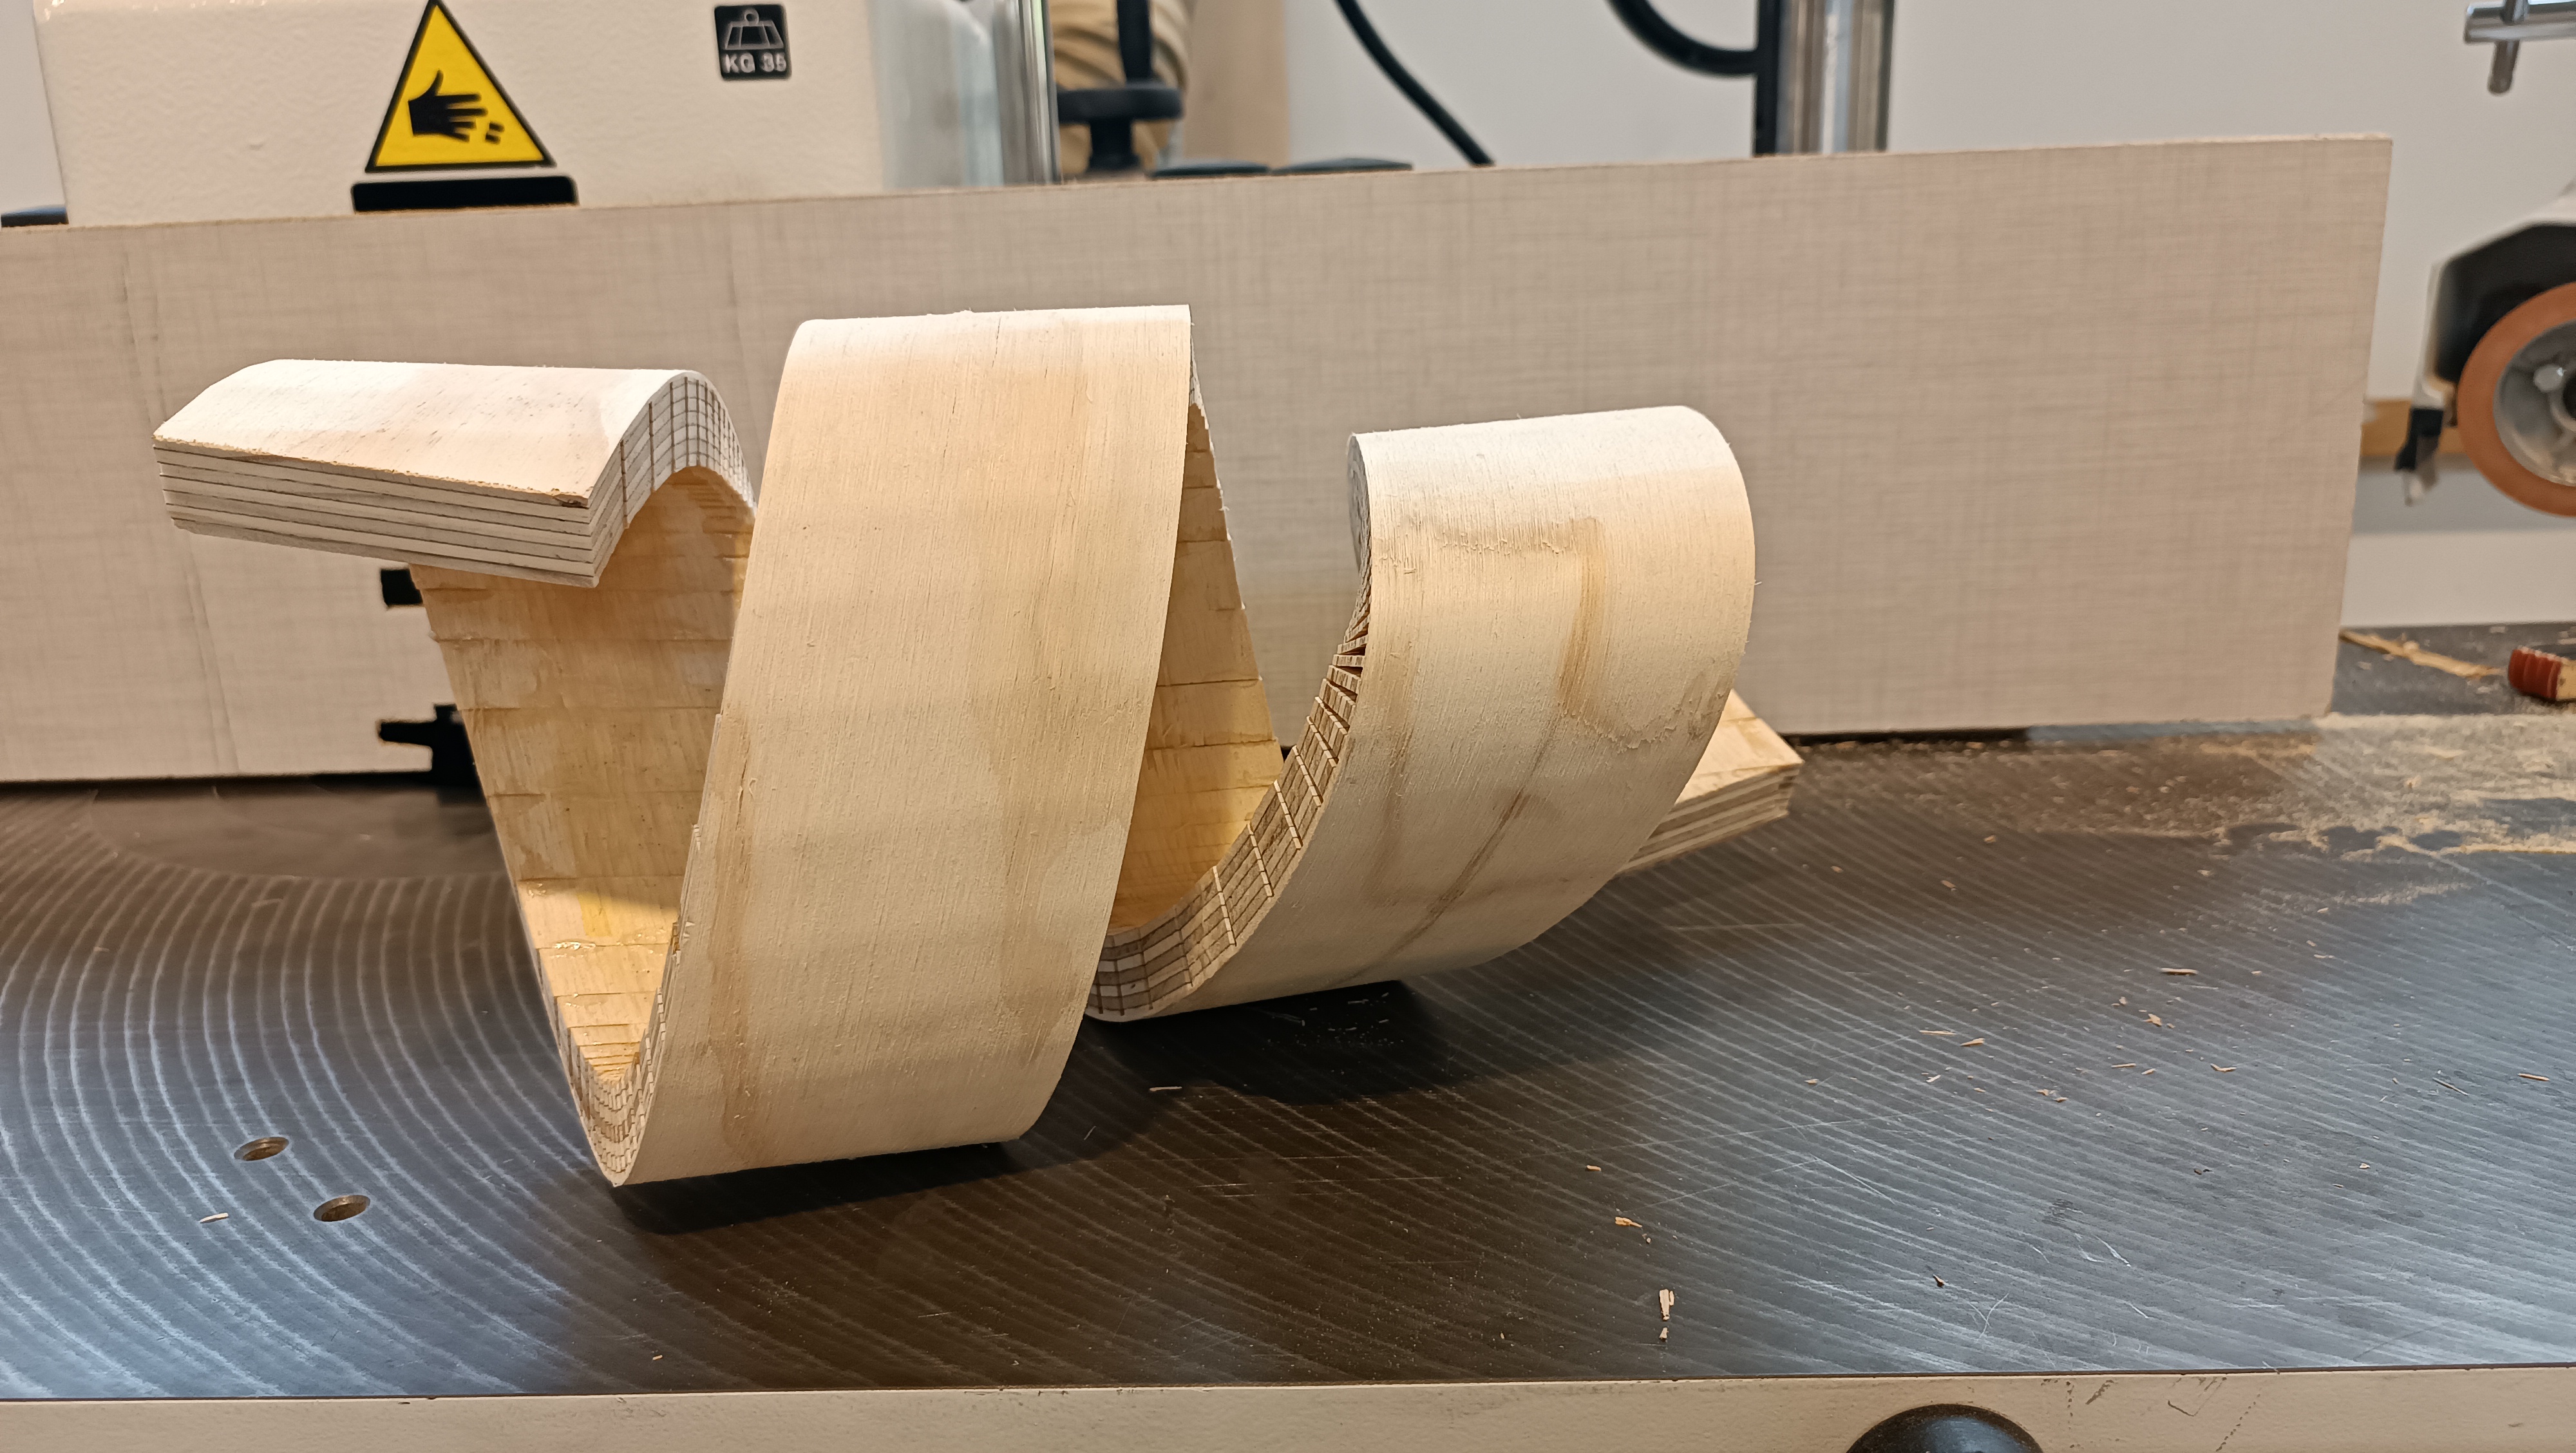
One thing that makes this particular project different from the ones we’ve seen before is that it doesn’t require a microcontroller. That said, our hacker [Mousa] shows us how to interface this dial with an Arduino, along with sample code, if that’s something you’d like to do. The schematic for the project shows how to connect the rotary dial (salvaged from an old telephone) to both a 7-segment display and a collection of ten LEDs.
The project write-up includes links to the PCB design files. The guts of the project are a 4017 decade counter and a 4026 7-segment display adapter. Good, honest, old school digital logic.

