


![[The AI Show Episode 143]: ChatGPT Revenue Surge, New AGI Timelines, Amazon’s AI Agent, Claude for Education, Model Context Protocol & LLMs Pass the Turing Test](https://www.marketingaiinstitute.com/hubfs/ep%20143%20cover.png)


![What are the Best Practices for Structuring Modern Website Design and Development Services for Scalable Projects? [closed]](https://cdn.sstatic.net/Sites/softwareengineering/Img/apple-touch-icon@2.png?v=1ef7363febba)


![From drop-out to software architect with Jason Lengstorf [Podcast #167]](https://cdn.hashnode.com/res/hashnode/image/upload/v1743796461357/f3d19cd7-e6f5-4d7c-8bfc-eb974bc8da68.png?#)


.jpg?#)


.png?width=1920&height=1920&fit=bounds&quality=70&format=jpg&auto=webp#)


_ArtemisDiana_Alamy.jpg?#)


-xl.jpg)


![Yes, the Gemini icon is now bigger and brighter on Android [U]](https://i0.wp.com/9to5google.com/wp-content/uploads/sites/4/2025/02/Gemini-on-Galaxy-S25.jpg?resize=1200%2C628&quality=82&strip=all&ssl=1)


![Apple Rushes Five Planes of iPhones to US Ahead of New Tariffs [Report]](https://www.iclarified.com/images/news/96967/96967/96967-640.jpg)
![Apple Vision Pro 2 Allegedly in Production Ahead of 2025 Launch [Rumor]](https://www.iclarified.com/images/news/96965/96965/96965-640.jpg)


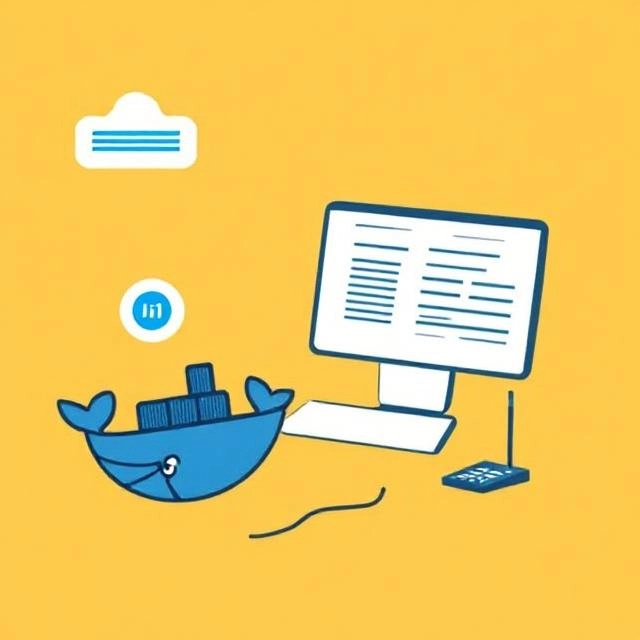
How to Set Up a Development Environment Using Docker – A Step-by-Step Guide
Docker has revolutionized the way developers build, ship, and run applications. In this guide, we’ll walk you through how to set up a development environment using Docker step-by-step. By the end of this tutorial, you’ll be ready to work in a containerized environment that offers flexibility, consistency, and ease of deployment. What is Docker? Docker is a platform that allows you to build, run, and manage applications in lightweight containers. Containers are isolated environments that contain everything an application needs to run—like libraries, dependencies, and system tools—making it easy to deploy applications across different environments without worrying about configuration issues. Why Use Docker for Development? Consistency: Docker ensures that your app runs the same way in development, testing, and production environments. Portability: Docker containers can run on any system, making it easy to share and deploy your app across different environments. Isolation: Docker provides isolated environments, so you can run different apps or services without worrying about conflicts. Step 1: Install Docker Before we begin, make sure Docker is installed on your machine. Follow the instructions below: Install Docker on Windows Install Docker on Mac Install Docker on Linux Step 2: Write Your Dockerfile The next step is to create a Dockerfile that defines the environment for your development application. This file contains a series of commands that Docker uses to build the container image. Dockerfile for Node.js development FROM node:16 WORKDIR /app COPY . . RUN npm install CMD ["npm", "start"] Explanation: FROM node:16: We’re using the official Node.js image as the base for our development environment. WORKDIR /app: This sets the working directory inside the container. COPY . .: This copies the content from your local machine into the container. RUN npm install: Installs the dependencies for your application. CMD [“npm”, “start”]: Runs your application when the container starts. Step 3: Build the Docker Image Now that you’ve written your Dockerfile, it’s time to build your Docker image. docker build -t my-dev-environment . This command will create a Docker image using the Dockerfile you created. The -t flag tags the image with a name (“my-dev-environment” in this case). Step 4: Run the Docker Container Once the image is built, you can run the container with the following command: docker run -p 3000:3000 my-dev-environment This command will start the container and map port 3000 inside the container to port 3000 on your machine, allowing you to access your app in a browser. Step 5: Using Docker Compose for Multi-Container Applications If your development environment requires multiple services, such as a web server and a database, Docker Compose makes it easy to manage multi-container applications. Here’s how to set it up: Create a file named docker-compose.yml: version: '3' services: web: build: . ports: - "3000:3000" db: image: postgres environment: POSTGRES_PASSWORD: example In this example, we’ve defined two services: a web service using our Dockerfile and a database service using the official Postgres image. To start the services, run: docker-compose up Step 6: Best Practices for Docker Development Here are some best practices to keep in mind when working with Docker in development: Use .dockerignore: Just like a .gitignore file, .dockerignore ensures that unnecessary files are not copied into your container. Minimize Docker image size: Use smaller base images and avoid installing unnecessary dependencies. Optimize your Dockerfile: Combine commands and clean up unnecessary files to reduce the image size. Also you can Learn How to Build a CI/CD Pipeline with GitHub Actions and Docker Conclusion Docker is an incredibly powerful tool for developers, allowing you to create consistent, portable, and isolated development environments. With just a few commands, you can set up your development environment and ensure that your app runs consistently across different machines and environments. If you have any questions or feedback, feel free to leave a comment below. Happy coding!
Docker has revolutionized the way developers build, ship, and run applications. In this guide, we’ll walk you through how to set up a development environment using Docker step-by-step. By the end of this tutorial, you’ll be ready to work in a containerized environment that offers flexibility, consistency, and ease of deployment.
What is Docker?
Docker is a platform that allows you to build, run, and manage applications in lightweight containers. Containers are isolated environments that contain everything an application needs to run—like libraries, dependencies, and system tools—making it easy to deploy applications across different environments without worrying about configuration issues.
Why Use Docker for Development?
Consistency: Docker ensures that your app runs the same way in development, testing, and production environments.
Portability: Docker containers can run on any system, making it easy to share and deploy your app across different environments.
Isolation: Docker provides isolated environments, so you can run different apps or services without worrying about conflicts.
Step 1: Install Docker
Before we begin, make sure Docker is installed on your machine. Follow the instructions below:
Install Docker on Windows
Install Docker on Mac
Install Docker on Linux
Step 2: Write Your Dockerfile
The next step is to create a Dockerfile that defines the environment for your development application. This file contains a series of commands that Docker uses to build the container image.
Dockerfile for Node.js development FROM node:16 WORKDIR /app COPY . . RUN npm install CMD ["npm", "start"]
Explanation:
FROM node:16: We’re using the official Node.js image as the base for our development environment.
WORKDIR /app: This sets the working directory inside the container.
COPY . .: This copies the content from your local machine into the container.
RUN npm install: Installs the dependencies for your application.
CMD [“npm”, “start”]: Runs your application when the container starts.
Step 3: Build the Docker Image
Now that you’ve written your Dockerfile, it’s time to build your Docker image.
docker build -t my-dev-environment .
This command will create a Docker image using the Dockerfile you created. The -t flag tags the image with a name (“my-dev-environment” in this case).
Step 4: Run the Docker Container
Once the image is built, you can run the container with the following command:
docker run -p 3000:3000 my-dev-environment
This command will start the container and map port 3000 inside the container to port 3000 on your machine, allowing you to access your app in a browser.
Step 5: Using Docker Compose for Multi-Container Applications
If your development environment requires multiple services, such as a web server and a database, Docker Compose makes it easy to manage multi-container applications. Here’s how to set it up:
Create a file named docker-compose.yml:
version: '3' services: web: build: . ports: - "3000:3000" db: image: postgres environment: POSTGRES_PASSWORD: example
In this example, we’ve defined two services: a web service using our Dockerfile and a database service using the official Postgres image.
To start the services, run:
docker-compose up
Step 6: Best Practices for Docker Development
Here are some best practices to keep in mind when working with Docker in development:
Use .dockerignore: Just like a .gitignore file, .dockerignore ensures that unnecessary files are not copied into your container.
Minimize Docker image size: Use smaller base images and avoid installing unnecessary dependencies.
Optimize your Dockerfile: Combine commands and clean up unnecessary files to reduce the image size.
Also you can Learn How to Build a CI/CD Pipeline with GitHub Actions and Docker
Conclusion
Docker is an incredibly powerful tool for developers, allowing you to create consistent, portable, and isolated development environments. With just a few commands, you can set up your development environment and ensure that your app runs consistently across different machines and environments.
If you have any questions or feedback, feel free to leave a comment below. Happy coding!