


![[The AI Show Episode 145]: OpenAI Releases o3 and o4-mini, AI Is Causing “Quiet Layoffs,” Executive Order on Youth AI Education & GPT-4o’s Controversial Update](https://www.marketingaiinstitute.com/hubfs/ep%20145%20cover.png)


.jpg?#)


_NicoElNino_Alamy.jpg?width=1280&auto=webp&quality=80&disable=upscale#)


![Craft adds Readwise integration for working with book notes and highlights [50% off]](https://i0.wp.com/9to5mac.com/wp-content/uploads/sites/6/2025/04/craft3.jpg.png?resize=1200%2C628&quality=82&strip=all&ssl=1)


![Standalone Meta AI App Released for iPhone [Download]](https://www.iclarified.com/images/news/97157/97157/97157-640.jpg)


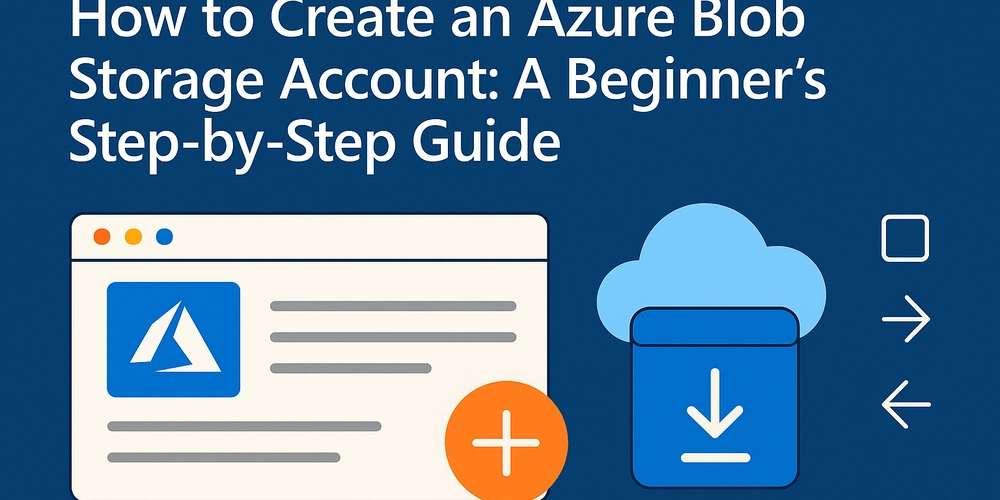
How to create Azure Blob Storage Account: A beginner's step by step guide
Introduction Azure Blob Storage is a highly scalable and cost-effective cloud storage solution for storing large amounts of unstructured data. Whether you’re storing text, images, or videos, Azure Blob Storage is designed to handle massive data sets with ease. In this guide, we’ll walk you through the step-by-step process of creating an Azure Blob Storage account and configuring it for secure and efficient use. Step-by-Step Process: Step 1: Log in to the Azure Portal Go to the Azure portal. Log in with your Azure credentials. Step 2: Search for Blob Storage In the Azure portal, use the search bar at the top to search for Storage accounts. Select Storage accounts from the results. Step 3: Create a New Storage Account Click on the + Create button to start the creation process. Select the Subscription and Resource Group (you can use an existing one or create a new one). Provide a unique name for your Storage account (it must be globally unique). Select a Region where your storage account will reside. Choose the Performance tier (Standard is usually sufficient for most cases). Under the Redundancy tab, choose Locally-Redundant Storage (LRS) for cost-effective storage. Review the configuration and click Create. Step 4: Configure Storage Account Settings Once the storage account is created, navigate to Data management and select Redundancy. Choose Locally-redundant storage (LRS) in the Redundancy dropdown. Click Save to apply your changes. Step 5: Enabling Secure Transfer and TLS In the Settings section, select the Configuration blade. Ensure Secure transfer required is Enabled to ensure only secure connections. Set the Minimal TLS version to 1.2 for stronger security. Click Save to apply these settings. Step 6: Disable Shared Key Access Under Settings, go to the Configuration blade. Disable Allow storage account key access to improve security. Click Save. Step 7: Allow Public Network Access In the Security + Networking section, select the Networking blade. Ensure Public network access is set to Enabled from all networks. Click Save to finalize the settings. Conclusion By following these simple steps, you’ve successfully created an Azure Blob Storage account. This storage solution is ideal for handling large datasets and can be configured with secure access to ensure your data is protected. Stay tuned for more in-depth coverage on Azure Blob Storage’s features, redundancy options, and best practices for managing your data.
Introduction
Azure Blob Storage is a highly scalable and cost-effective cloud storage solution for storing large amounts of unstructured data. Whether you’re storing text, images, or videos, Azure Blob Storage is designed to handle massive data sets with ease. In this guide, we’ll walk you through the step-by-step process of creating an Azure Blob Storage account and configuring it for secure and efficient use.
Step-by-Step Process:
Step 1: Log in to the Azure Portal
- Go to the Azure portal.
- Log in with your Azure credentials.
Step 2: Search for Blob Storage
- In the Azure portal, use the search bar at the top to search for Storage accounts.
- Select Storage accounts from the results.
Step 3: Create a New Storage Account
- Click on the + Create button to start the creation process.
- Select the Subscription and Resource Group (you can use an existing one or create a new one).
- Provide a unique name for your Storage account (it must be globally unique).
- Select a Region where your storage account will reside.
- Choose the Performance tier (Standard is usually sufficient for most cases).
- Under the Redundancy tab, choose Locally-Redundant Storage (LRS) for cost-effective storage.
- Review the configuration and click Create.
Step 4: Configure Storage Account Settings
- Once the storage account is created, navigate to Data management and select Redundancy.
- Choose Locally-redundant storage (LRS) in the Redundancy dropdown.
- Click Save to apply your changes.
Step 5: Enabling Secure Transfer and TLS
- In the Settings section, select the Configuration blade.
- Ensure Secure transfer required is Enabled to ensure only secure connections.
- Set the Minimal TLS version to 1.2 for stronger security.
- Click Save to apply these settings.
Step 6: Disable Shared Key Access
- Under Settings, go to the Configuration blade.
- Disable Allow storage account key access to improve security.
- Click Save.
Step 7: Allow Public Network Access
- In the Security + Networking section, select the Networking blade.
- Ensure Public network access is set to Enabled from all networks.
- Click Save to finalize the settings.
Conclusion
By following these simple steps, you’ve successfully created an Azure Blob Storage account. This storage solution is ideal for handling large datasets and can be configured with secure access to ensure your data is protected.
Stay tuned for more in-depth coverage on Azure Blob Storage’s features, redundancy options, and best practices for managing your data.