How to Use Kotlin Notebooks for Productive Development
Kotlin Notebook is a new interactive environment for JVM developers. This article will cover the main Notebook features and how you can utilize them to improve your productivity. How to use Kotlin Notebook Kotlin Notebook is bundled with IntelliJ IDEA starting from the 2025.1 release, and it is easier than ever to start working with […]

Kotlin Notebook is a new interactive environment for JVM developers. This article will cover the main Notebook features and how you can utilize them to improve your productivity.
How to use Kotlin Notebook
Kotlin Notebook is bundled with IntelliJ IDEA starting from the 2025.1 release, and it is easier than ever to start working with notebooks across various contexts. You can create notebooks in three main ways:
Creating a notebook in a project
From within a project, right-click the source root or a folder in the Project view, then choose New | Kotlin Notebook.
This will create an .ipynb file inside your project. Notebooks are generally placed in notebooks or samples subdirectories, but you can place them anywhere within your project.
Creating a scratch notebook
Imagine you want to experiment with code without having to add new files to your project. The Scratch notebook should come in handy for this. To create a notebook that isn’t part of a specific project, follow these steps:
- Use the New Scratch File action (Cmd+Shift+N on macOS or Ctrl+Alt+Shift+Insert on Windows/Linux).
- Select Kotlin Notebook from the list.
This creates a file in the Scratches and Consoles | Kotlin Notebooks directory, and the notebook can be accessed across all projects, making it easy to store random pieces of code and refer to them whenever you need to.
Creating a notebook from the Welcome screen
You can open or create a Kotlin notebook directly from the Welcome screen without even opening a project. Navigate to the Kotlin Notebooks tab and click New Notebook. You’ll be prompted to name the notebook and choose whether it should be saved as a scratch file or within a specified folder.
Basics: Interactive cell execution and kernel control
Kotlin Notebook provides a familiar notebook interface within IntelliJ IDEA, making it easy to run code and manage the execution state. Each notebook consists of cells that can be executed independently or in sequence. The toolbar at the top of the notebook includes controls for running cells and managing the Kotlin kernel:
- Run a single cell: Click the Run button on the left of a code cell or press Ctrl+Enter/ Cmd+Enter. The cell’s code will run, and the output will appear directly beneath the cell.
- Run multiple cells: Click Run All to execute every cell in the notebook from top to bottom. If you want to run all cells below a certain point (for example, to resume from the middle of a notebook), you can right-click that cell and choose Run All Below. This flexibility lets you rerun the entire notebook or just a section without having to run each cell manually.
- Interrupt execution: If a cell is taking too long or has entered an infinite loop, click the Interrupt button (⏹). This stops the currently running cell without affecting the state of the already executed ones. It’s useful for pausing long-running computations or canceling mistaken operations.
- Restart or stop the session: Use the Restart Kernel button (





![[The AI Show Episode 143]: ChatGPT Revenue Surge, New AGI Timelines, Amazon’s AI Agent, Claude for Education, Model Context Protocol & LLMs Pass the Turing Test](https://www.marketingaiinstitute.com/hubfs/ep%20143%20cover.png)














_Muhammad_R._Fakhrurrozi_Alamy.jpg?width=1280&auto=webp&quality=80&disable=upscale#)
_NicoElNino_Alamy.jpg?width=1280&auto=webp&quality=80&disable=upscale#)







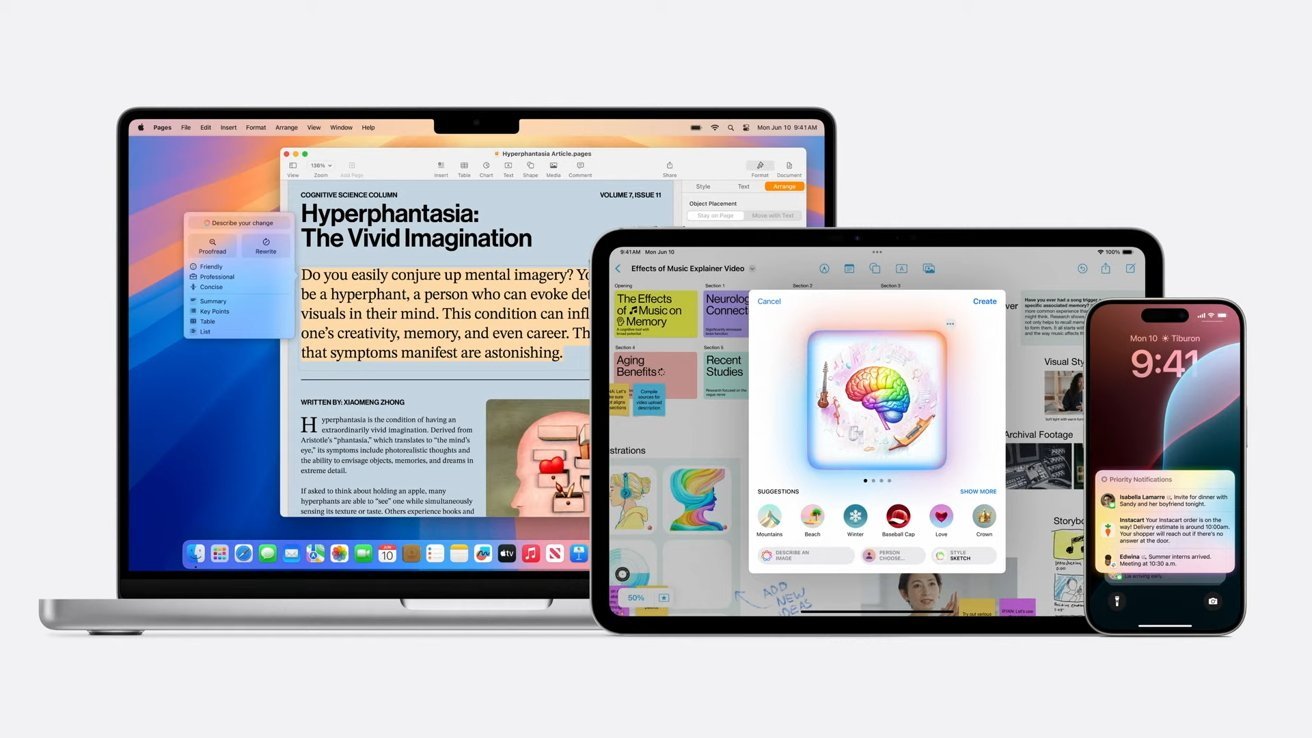








![Apple Releases iOS 18.5 Beta 4 and iPadOS 18.5 Beta 4 [Download]](https://www.iclarified.com/images/news/97145/97145/97145-640.jpg)
![Apple Seeds watchOS 11.5 Beta 4 to Developers [Download]](https://www.iclarified.com/images/news/97147/97147/97147-640.jpg)
![Apple Seeds visionOS 2.5 Beta 4 to Developers [Download]](https://www.iclarified.com/images/news/97150/97150/97150-640.jpg)
![Apple Seeds tvOS 18.5 Beta 4 to Developers [Download]](https://www.iclarified.com/images/news/97153/97153/97153-640.jpg)


