


![[The AI Show Episode 143]: ChatGPT Revenue Surge, New AGI Timelines, Amazon’s AI Agent, Claude for Education, Model Context Protocol & LLMs Pass the Turing Test](https://www.marketingaiinstitute.com/hubfs/ep%20143%20cover.png)


_Muhammad_R._Fakhrurrozi_Alamy.jpg?width=1280&auto=webp&quality=80&disable=upscale#)
_NicoElNino_Alamy.jpg?width=1280&auto=webp&quality=80&disable=upscale#)


![AirPods Pro 2 With USB-C Back On Sale for Just $169! [Deal]](https://www.iclarified.com/images/news/96315/96315/96315-640.jpg)
![Apple Releases iOS 18.5 Beta 4 and iPadOS 18.5 Beta 4 [Download]](https://www.iclarified.com/images/news/97145/97145/97145-640.jpg)
![Apple Seeds watchOS 11.5 Beta 4 to Developers [Download]](https://www.iclarified.com/images/news/97147/97147/97147-640.jpg)
![Apple Seeds visionOS 2.5 Beta 4 to Developers [Download]](https://www.iclarified.com/images/news/97150/97150/97150-640.jpg)


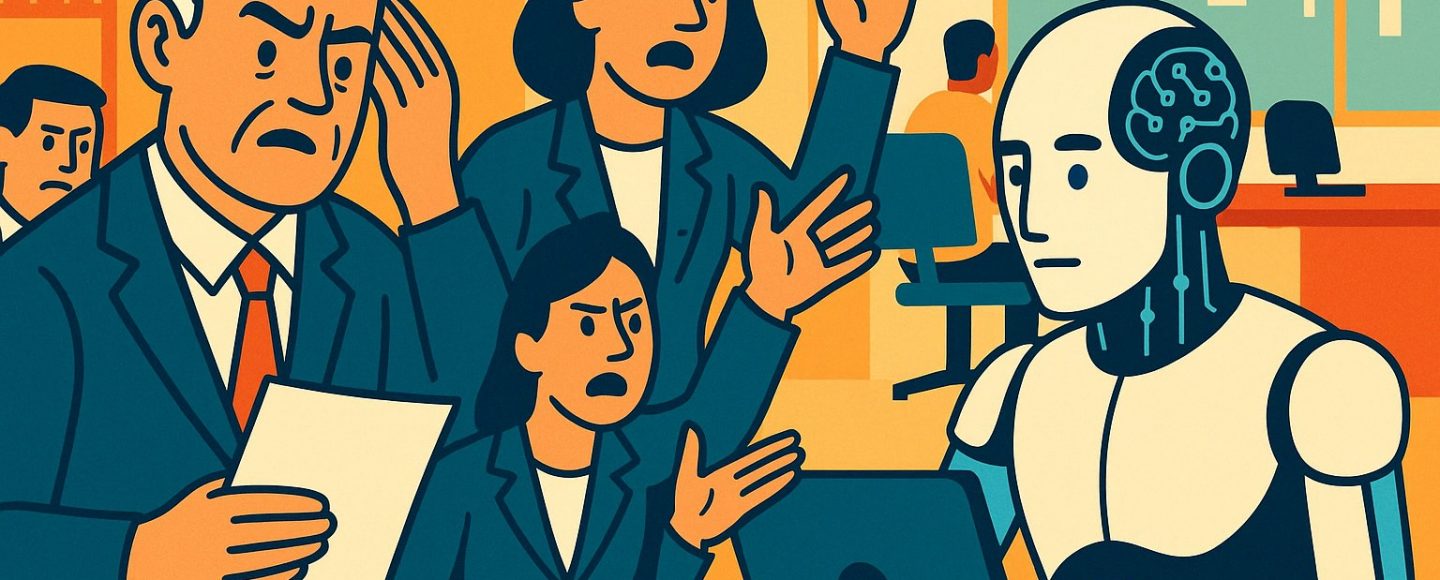
Supercon 2024: Sketching With Machines
When it comes to our machines, we generally have very prescribed and ordered ways of working with them. We know how to tune our CNC mill for the minimum chatter …read more

When it comes to our machines, we generally have very prescribed and ordered ways of working with them. We know how to tune our CNC mill for the minimum chatter when its chewing through aluminium. We know how to get our FDM printer to lay perfect, neat layers to minimize the defects in our 3D prints.
That’s not what Blair Subbaraman came down to talk about at the 2024 Hackaday Supercon, though. Instead, Blair’s talk covered the magic that happens when you work outside the built-in assumptions and get creative. It’s all about sketching with machines.

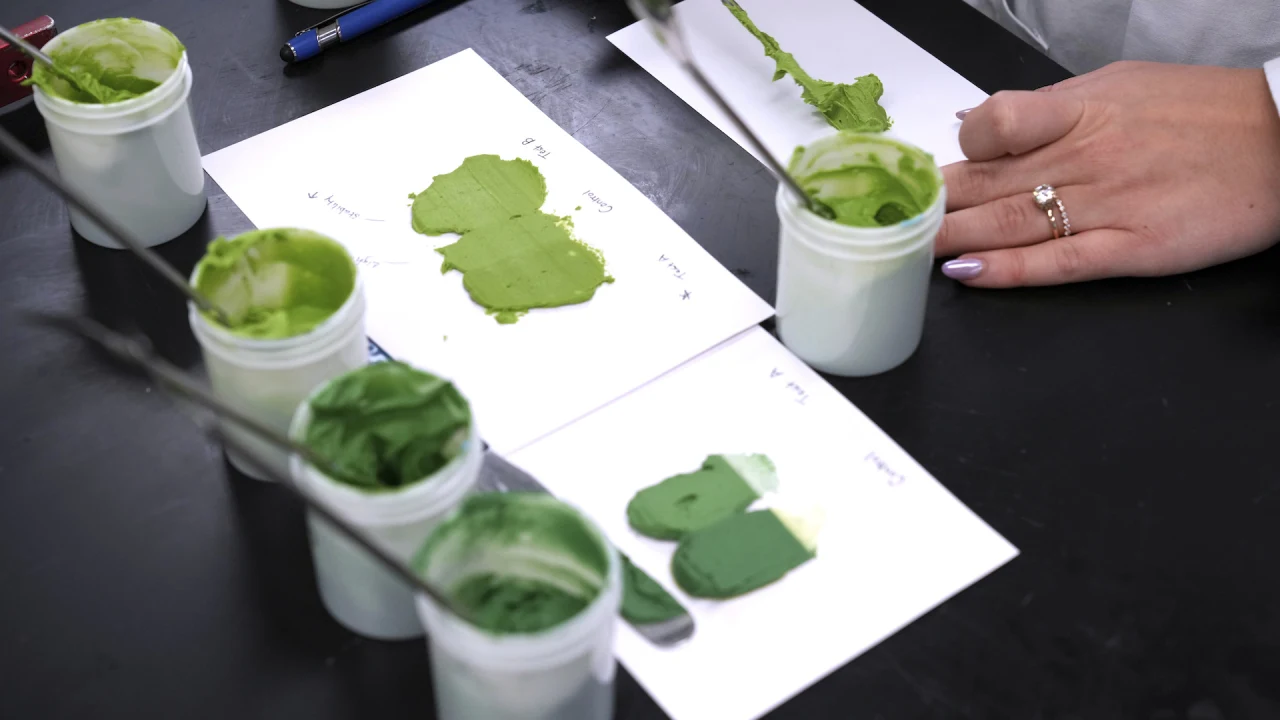
Early on, Blair’s talk focuses on some unique objects, fabricated with digital methods, but in unconventional ways. “These objects aren’t purely designed in CAD, but also kind of designed directly in the machine tool paths.” Motioning to a carved vase that makes good use of tool marks, Blair explains the concept. “The design is really driven by the mark that the endmill has left in the wood,” he says. “That’s not something that’s encoded or specified in the geometry file, you just have to try a bunch of settings and see what happens and see what looks good to your eye.”
Jumping back to the concept of sketching, and he Blair roots the concept in its modern uses—like Arduino sketches, or those used with the Processing framework. “If we can write a little program and we can sketch with pixels or LEDs, what might it look like to sketch with a 3D printer? he asks.
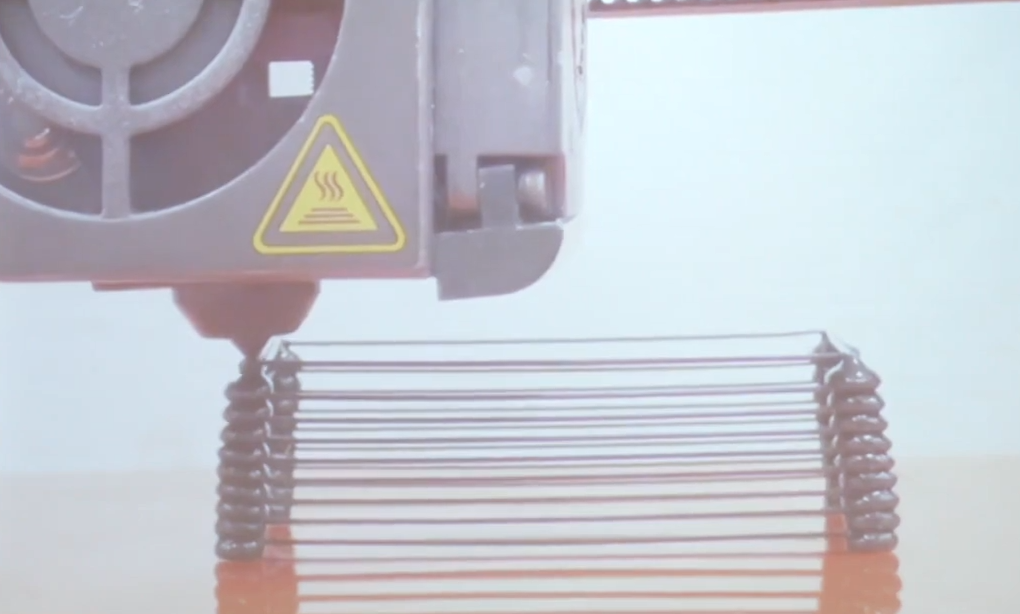
Right away, he gives a potent and clear example—a unique 3D printed vase. It’s not produced in the usual way, however. Blair didn’t create a CAD model, then throw it in a slicer, before chucking the G-code on the printer. Instead, it’s created with more direct control of the 3D printer itself. The printer’s extruder is commanded to run in place, creating a hot blob of plastic, before the gantry gently pulls away, creating a string to the next stack of blobs, where the process repeats again. Rather than a solid 3D-printed wall, the result is altogether more delicate and complex, with fine strings linking towers of delicately melted plastic. It’s something that you couldn’t really create just by using standard 3D printing tools.
“This is what I mean by designing directly in toolpaths,” Blair explains. It’s achieved through precise control over the extruder and motion platform. The G-code is finessed to create blobs of plastic that are just right, and to move the head at just the right speed to create a contiguous molten string without breaking or sagging.
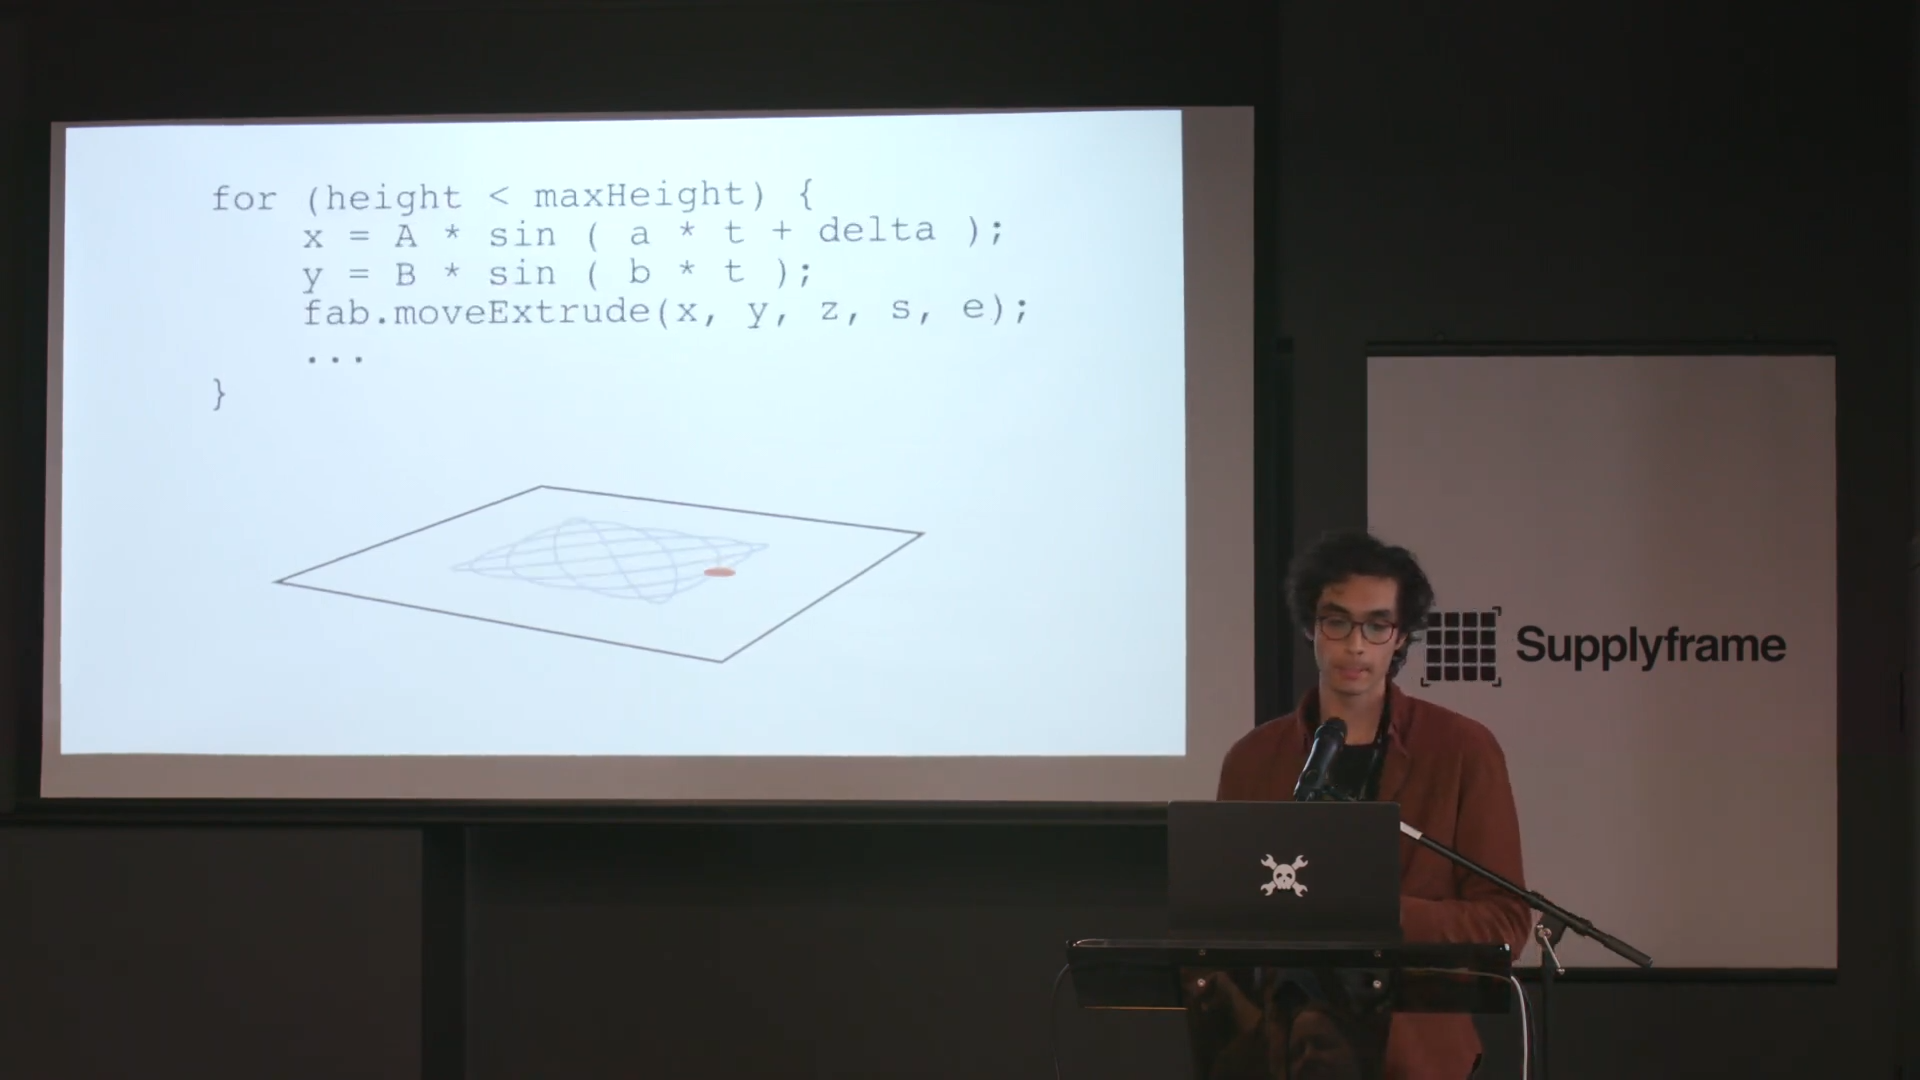
Blair created the p5.fab Javascript library to make it easier to craft—or sketch—in this manner. His library includes simple commands for controlling, say, a 3D printer. Stacking up commands to control moves and various extruder operations allows the creation of objects in an entirely different way than just using CAD to specifically define the desired geometry directly. “We can use these really simple commands to quickly build up more complicated objects,” says Blair. “You can print some fun things that you’d maybe be hard pressed to do with CAD and a slicer, here, and you can do it in a really computationally modest way.” A particularly enjoyable example? Printing a handle on the side of a disposable coffee cup. It’s a gimmick, but one that does show the possibilities at play.
Blair’s inspiration to work with toolpaths directly has its benefits. “Whatever slicer you like might come out with a wire printing mode or some other experimental slicing mode, but some of the motivation here is that I don’t want to wait for my slicer to come out with a blob mode in order to print blobby things,” says Blair. “Probably my slicer is never going to make blobs the way I like my blobs.”
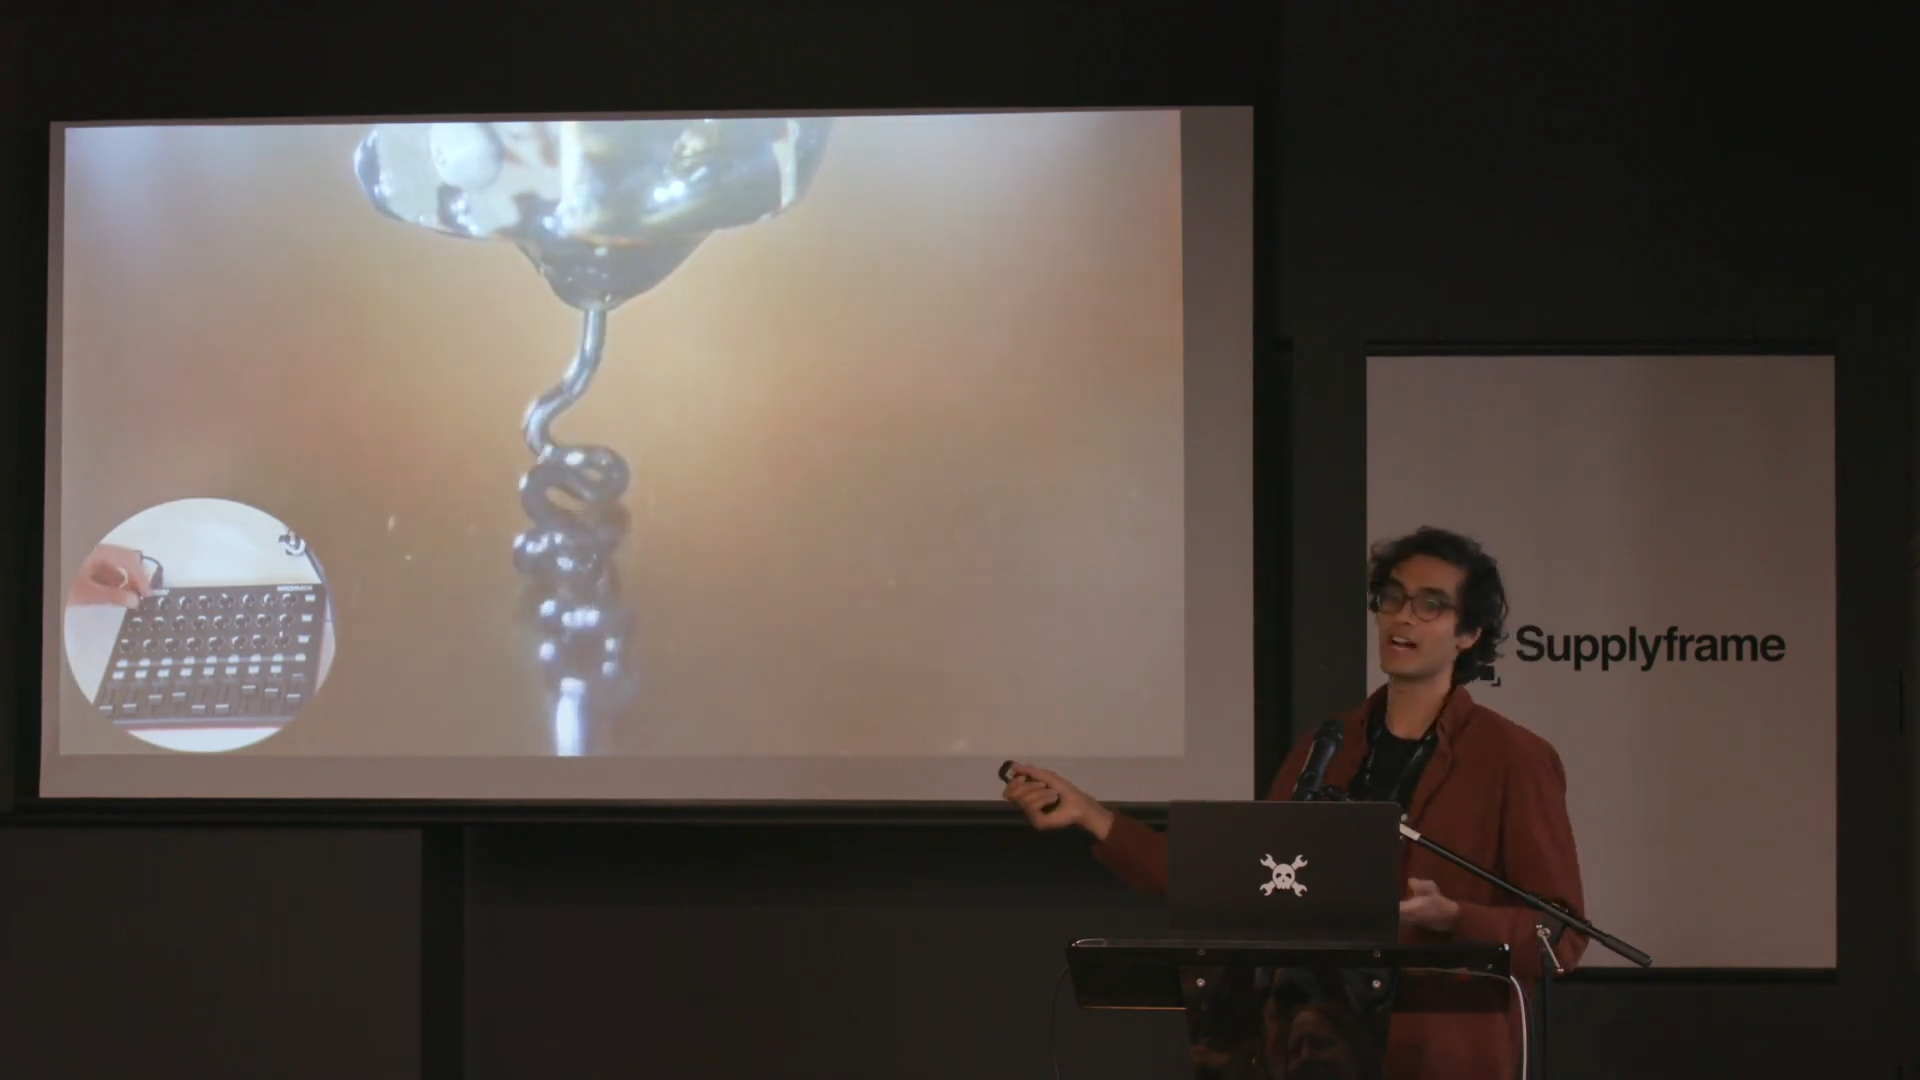
Blair’s talk goes further with some really neat ideas. A particular highlight is using a MIDI controller with knobs and sliders to control a 3D printer. Imagine being able to make tweaks to print settings like movement speed or extrusion rate on the fly. It’s not what you’d want for producing an accurate part, for sure. And yet, Blair demonstrates how it allowed him to discover how to print neatly stacked coils in TPU, just by giving his hands direct control over the machine parameters in a live sense.
Overall, it’s a talk that makes us think about how to get closer to the machines we create with. Slicers and CAD are perfect for making our regular 3D prints. At the same time, there are great and wild things that can be achieved by taking more direct control over the machinery, and indeed—sketching with the machines!