


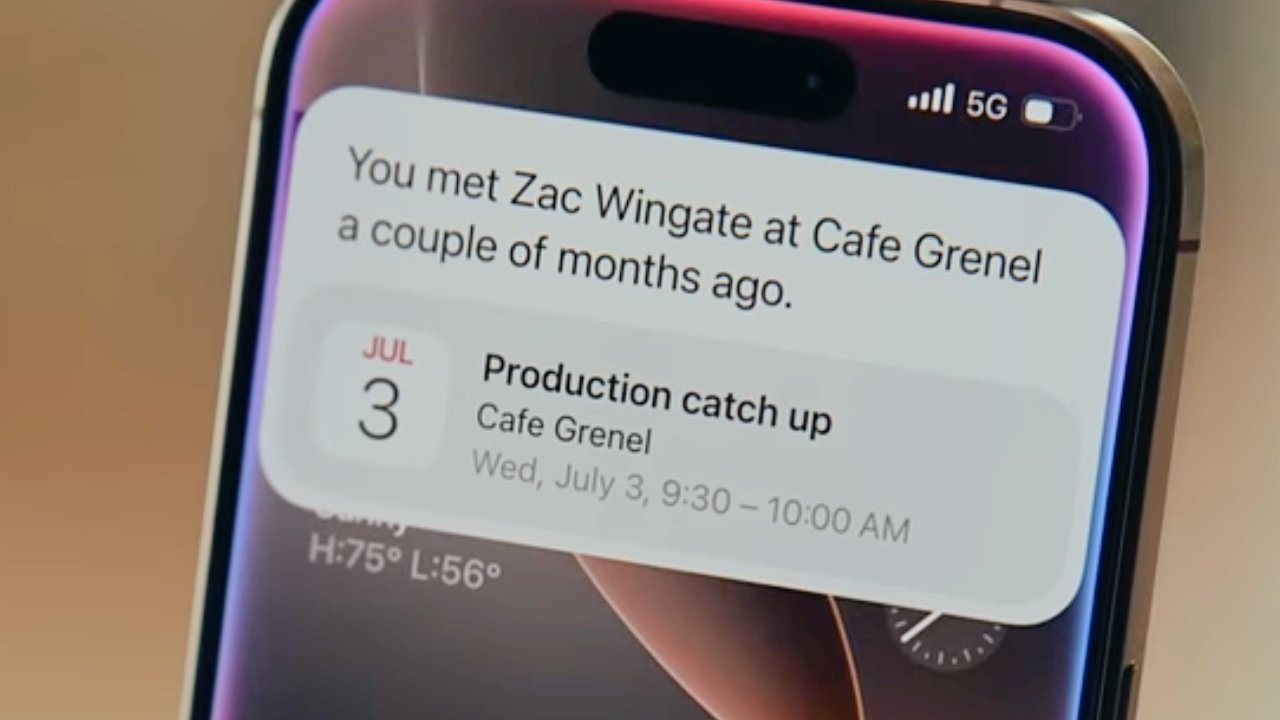
![[The AI Show Episode 147]: OpenAI Abandons For-Profit Plan, AI College Cheating Epidemic, Apple Says AI Will Replace Search Engines & HubSpot’s AI-First Scorecard](https://www.marketingaiinstitute.com/hubfs/ep%20147%20cover.png)


_Gang_Liu_Alamy.jpg?width=1280&auto=webp&quality=80&disable=upscale#)


![Apple's 20th Anniversary iPhone May Feature Bezel-Free Display, AI Memory, Silicon Anode Battery [Report]](https://www.iclarified.com/images/news/97323/97323/97323-640.jpg)

![Apple Planning Bezel-Free iPhone With 'Four-Sided Bending' Display [Report]](https://www.iclarified.com/images/news/97321/97321/97321-640.jpg)


My Go-To Setup: Python Virtual Environments in VS Code for Multiple Projects
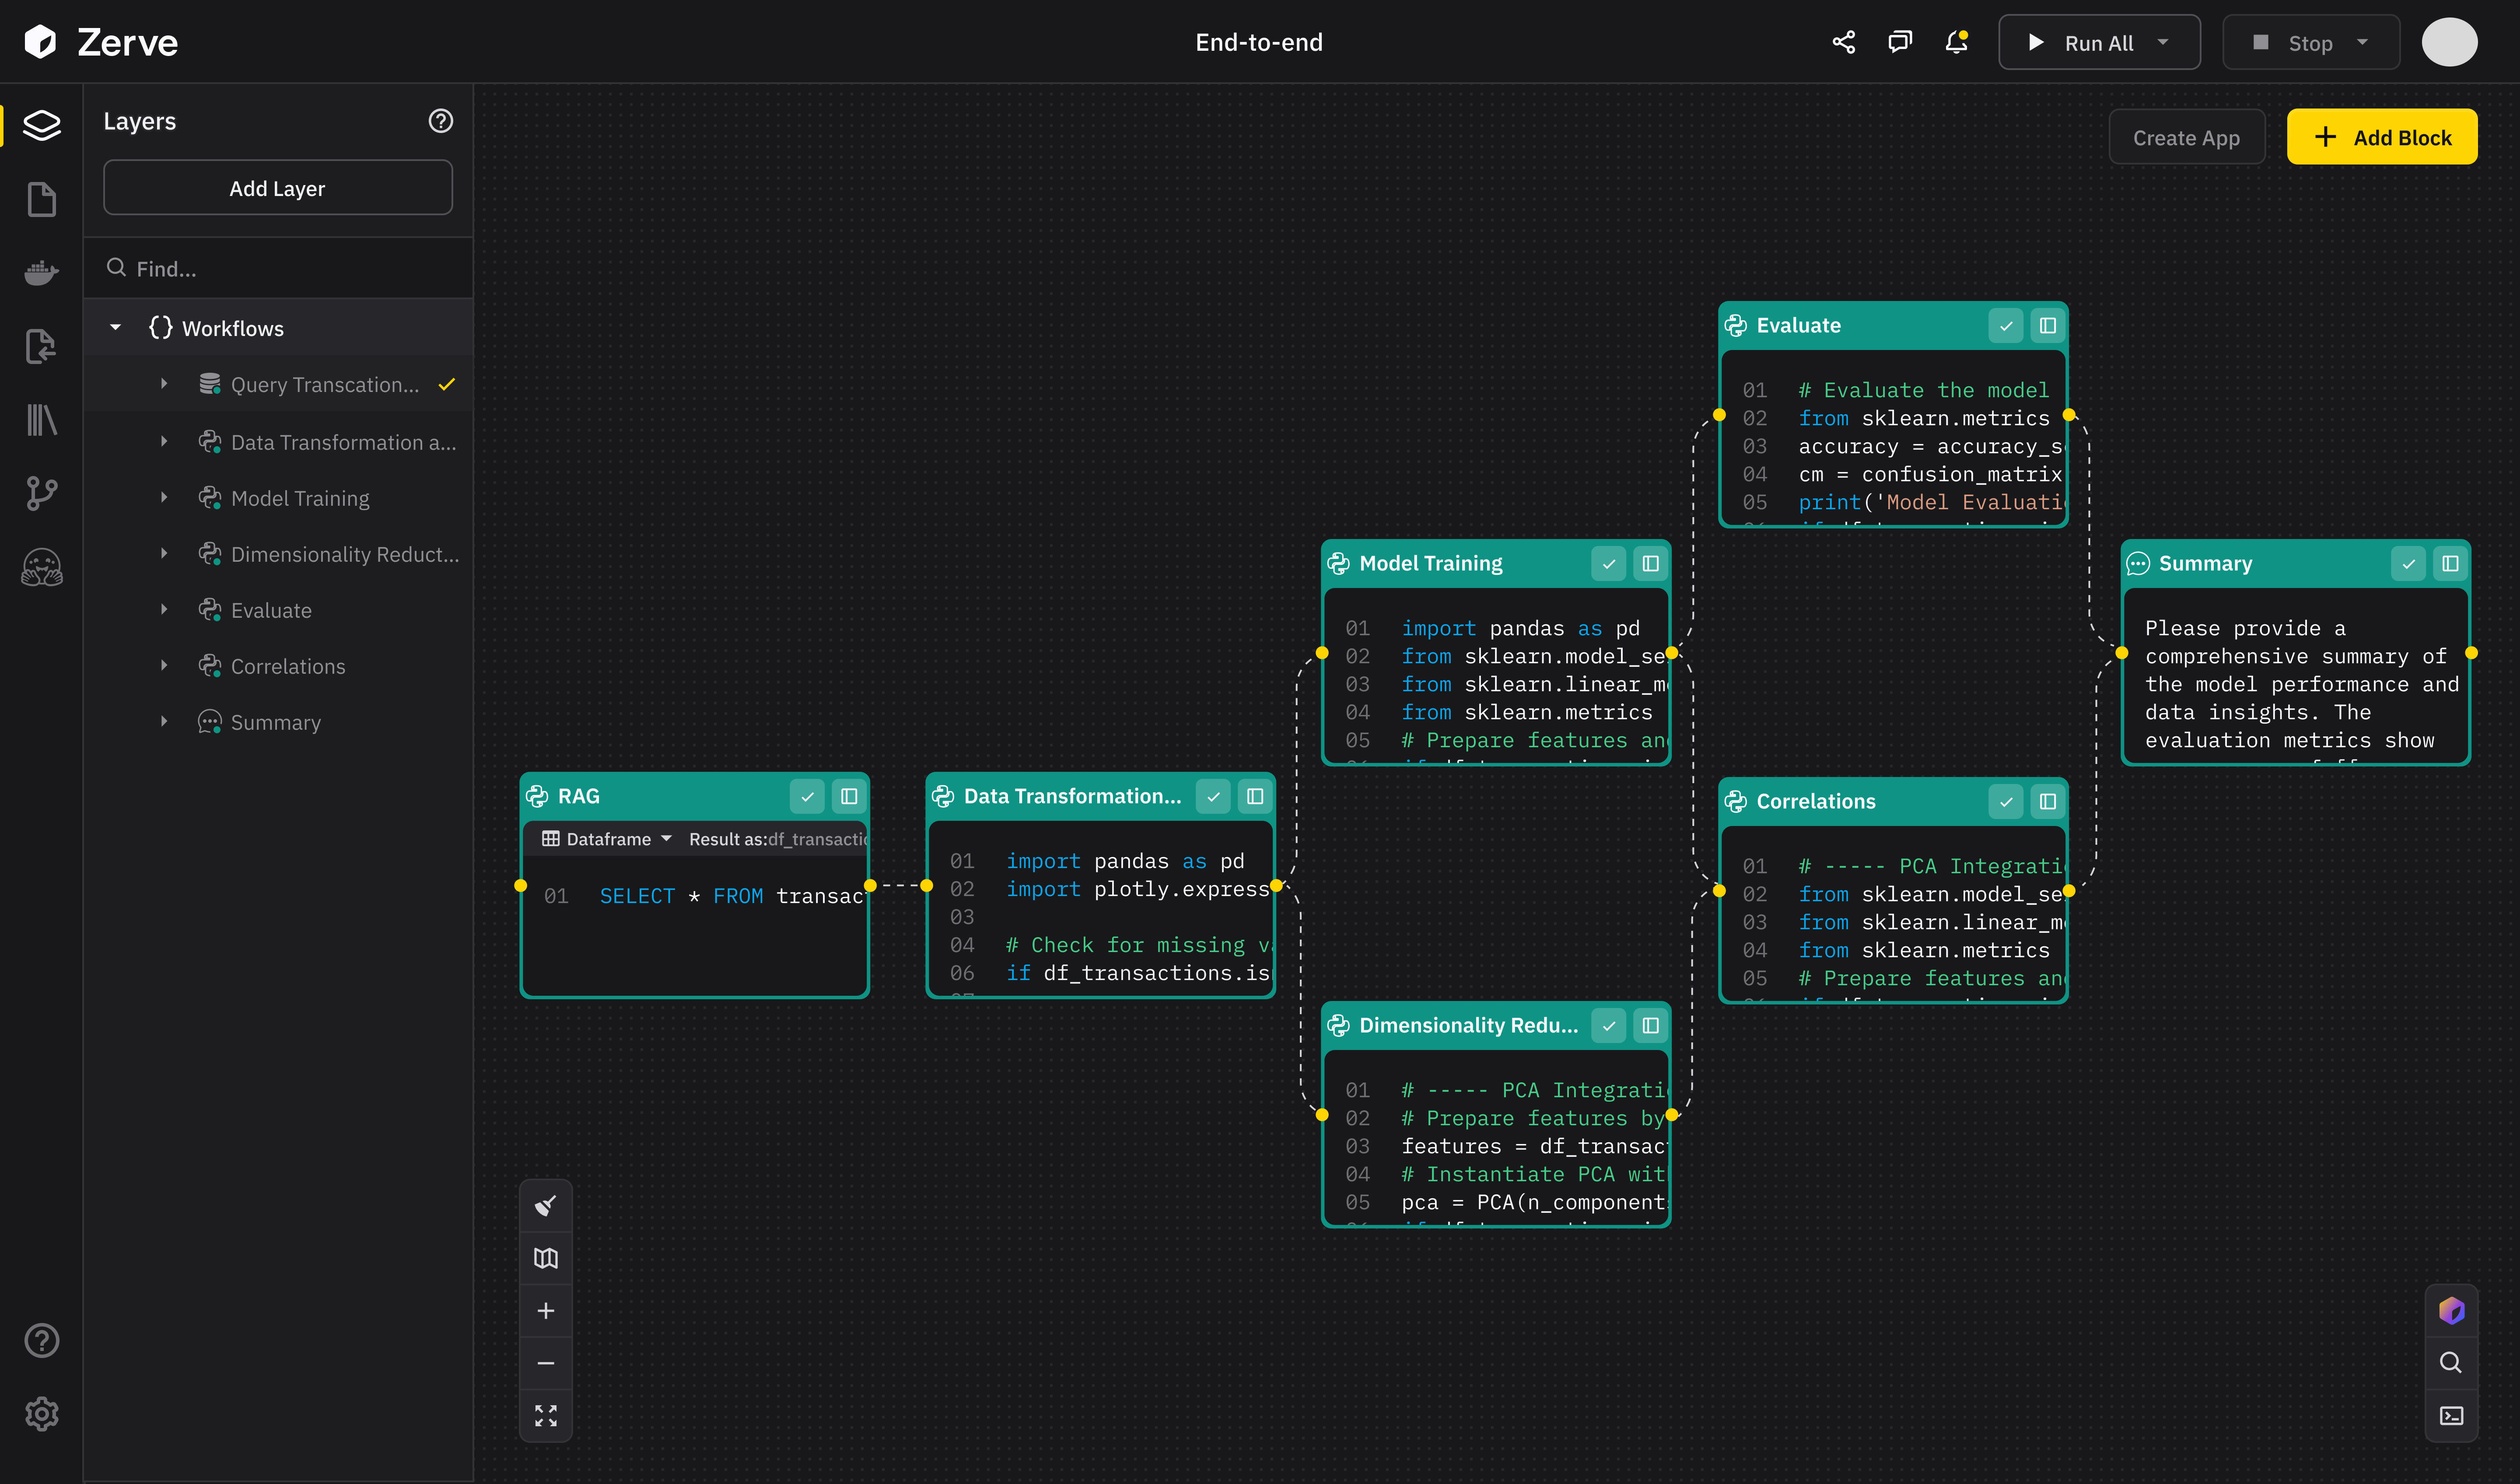
Intro Recently, I dove headfirst into the world of Python while building several AWS Lambda functions for a project. These Lambdas, though part of a single repository, each had their own unique set of dependencies managed by Poetry. Here's a typical project folder structure: project-root/ |__ infra |__ Lambdas |__ lambda1 |__ poetry.toml |__ lambda2 |__ poetry.toml As you can imagine, keeping the dependencies isolated for each Lambda was crucial. The Problem: IntelliJ and the Single Virtual Environment Coming from the Java Programming world, IntelliJ has been my go-to IDE for years (and yes, I have the Ultimate edition!). Naturally, I tried using the Python plugin for this project. However, I quickly hit a problem: IntelliJ seemed to allow the easy activation and setting of only one virtual environment as the default for the entire project. Switching between environments based on the file I was working on involved multiple clicks – a real context-switching killer and too much of a hassle. The Solution: The Magic of VS Code Workspaces! While trying to find some solution for this, I stumbled across VS Code Workspaces. It made my life easier. Rather, I should say working in this project setup easier. :p Add your folders into a workspace, and save it as a workspace. Depending on your working file, VS Code, changes between the different and relevant virtual environments. Easy peezy. How do you create workspace? Open a new VS Code window Open your first folder. In our example, navigate to and open the lambda1 folder. Go to File -> Add Folder to Workspace, add your next folder (e.g., lambda2). Repeat this for any other relevant project folders. Once you've added all the necessary folders, go to, File -> Save Workspace As save the workspace. Now, the magic happens! As you navigate between files within lambda1 and lambda2, VS Code will automatically detect and switch to the corresponding virtual environment associated with that folder (assuming you have a .venv folder or have configured the interpreter within that folder's .vscode/settings.json). You'll likely see the Python interpreter indicator in the VS Code status bar change. The next time, use the .workspace file to open the project in VS Code and all your folders and configurations will be loaded. Fin. What are your experiences with managing multiple virtual environments? Share your tips and tricks in the comments below!
Intro
Recently, I dove headfirst into the world of Python while building several AWS Lambda functions for a project. These Lambdas, though part of a single repository, each had their own unique set of dependencies managed by Poetry.
Here's a typical project folder structure:
project-root/
|__ infra
|__ Lambdas
|__ lambda1
|__ poetry.toml
|__ lambda2
|__ poetry.toml
As you can imagine, keeping the dependencies isolated for each Lambda was crucial.
The Problem: IntelliJ and the Single Virtual Environment
Coming from the Java Programming world, IntelliJ has been my go-to IDE for years (and yes, I have the Ultimate edition!). Naturally, I tried using the Python plugin for this project. However, I quickly hit a problem: IntelliJ seemed to allow the easy activation and setting of only one virtual environment as the default for the entire project. Switching between environments based on the file I was working on involved multiple clicks – a real context-switching killer and too much of a hassle.
The Solution: The Magic of VS Code Workspaces!
While trying to find some solution for this, I stumbled across VS Code Workspaces. It made my life easier. Rather, I should say working in this project setup easier. :p
Add your folders into a workspace, and save it as a workspace. Depending on your working file, VS Code, changes between the different and relevant virtual environments. Easy peezy.
How do you create workspace?
- Open a new VS Code window
- Open your first folder. In our example, navigate to and open the
lambda1folder. - Go to
File->Add Folder to Workspace, add your next folder (e.g.,lambda2). Repeat this for any other relevant project folders. - Once you've added all the necessary folders, go to,
File -> Save Workspace Assave the workspace. - Now, the magic happens! As you navigate between files within
lambda1andlambda2, VS Code will automatically detect and switch to the corresponding virtual environment associated with that folder (assuming you have a.venvfolder or have configured the interpreter within that folder's.vscode/settings.json). You'll likely see the Python interpreter indicator in the VS Code status bar change. - The next time, use the
.workspacefile to open the project in VS Code and all your folders and configurations will be loaded.
Fin.
What are your experiences with managing multiple virtual environments? Share your tips and tricks in the comments below!