


![[The AI Show Episode 145]: OpenAI Releases o3 and o4-mini, AI Is Causing “Quiet Layoffs,” Executive Order on Youth AI Education & GPT-4o’s Controversial Update](https://www.marketingaiinstitute.com/hubfs/ep%20145%20cover.png)


.jpg?#)


_NicoElNino_Alamy.jpg?width=1280&auto=webp&quality=80&disable=upscale#)


![Standalone Meta AI App Released for iPhone [Download]](https://www.iclarified.com/images/news/97157/97157/97157-640.jpg)


How to Install an SSL Certificate in LiteSpeed Web Server
Businesses must protect their websites through proper security measures because the digital era has made this requirement essential. Any website that runs eCommerce or blogs or business portfolios strengthens trust levels for users while safeguarding their data through the implementation of HTTPS. The process of SSL certificate installation becomes simple when working with a LiteSpeed server. A detailed explanation follows which covers every step from beginning to end. Let’s jump right into it. Why SSL Is Essential for Your Website SSL (Secure Sockets Layer) establishes an encryption link that connects your server hardware to users' web browsers. Your website’s passwords together with personal data and payment information remain vulnerable when you don't implement SSL since hackers can easily steal this information. Plus, search engines give preference to HTTPS websites, which can give you an SEO boost. Whether for security or visibility, setting up SSL is one of the smartest moves you can make for your website. Step 1: Prerequisites You Need Before you can set up SSL on LiteSpeed, you’ll need a few important files: Private Key: This file (yourdomain.key) is created when you generate a CSR. SSL Certificate: After you submit your CSR to a Certificate Authority (CA) and pass validation, they’ll issue this (yourdomain.crt). CA Bundle: These are intermediate certificates (ca-bundle.crt) that link your SSL certificate to a trusted root certificate. If you haven’t generated a CSR yet, you can create one either through the LiteSpeed WebAdmin Console or using a quick OpenSSL command like this: openssl req -new -newkey rsa:2048 -nodes -keyout yourdomain.key -out yourdomain.csr Save the private key somewhere safe—you’ll need it in just a bit. Step 2: Upload the SSL Files to Your Server Next, it’s time to get your SSL files onto your server. It’s a good idea to keep them organized in a secure directory. LiteSpeed servers commonly use: /usr/local/lsws/conf/ssl/ Use SFTP, SCP, or any secure method you’re comfortable with to upload: Your SSL certificate (yourdomain.crt) The matching private key (yourdomain.key) Your CA bundle file (ca-bundle.crt) Make sure the file permissions are tight enough to protect sensitive keys, but still allow LiteSpeed to read them. Step 3: Set Up SSL in LiteSpeed WebAdmin Console Now comes the main part: telling LiteSpeed where to find your SSL files. First, log into the LiteSpeed WebAdmin Console. It’s usually accessible here: https://your-server-ip:7080 Once you’re in: 1. Head Over to Listeners From the left-hand menu, click Listeners. Find the one that’s set to handle HTTPS traffic (port 443). Don’t have one? No problem—click Add, set Port to 443, and make sure Secure is set to Yes. 2. Configure SSL Settings Click on the HTTPS listener you just created or selected. Switch to the SSL tab. Here’s where you’ll tell LiteSpeed where to find your files: Private Key File: /usr/local/lsws/conf/ssl/yourdomain.key Certificate File: /usr/local/lsws/conf/ssl/yourdomain.crt CA Certificate Path: /usr/local/lsws/conf/ssl/ca-bundle.crt Make sure there are no typos—file paths are case-sensitive and a small mistake can cause SSL errors. 3. Assign Your Domain Still in the listener settings, go to the Domains tab. Add your domain names here, such as example.com and www.example.com. This way, LiteSpeed knows which domain traffic should be handled by this SSL configuration. Step 4: Restart the LiteSpeed Server Once everything is configured, you need to restart LiteSpeed so the changes take effect. Don’t worry—this doesn’t cause major downtime. You can restart LiteSpeed easily from the WebAdmin Console: Click Actions in the top right. Choose Graceful Restart. Or, if you prefer working through the terminal: sudo /usr/local/lsws/bin/lswsctrl restart A graceful restart ensures that current visitors won’t get interrupted while your server reloads the new SSL settings. Step 5: Confirm That SSL Is Working Finally, it’s time to test your SSL installation. Open a web browser and visit your site using https://yourdomain.com. If everything went well, you should see a padlock icon next to the URL. For a deeper check, you can use seo tools. These free tools can spot hidden issues like: Missing intermediate certificates Weak cipher suites Old TLS protocols still enabled If you spot any problems, double-check your SSL file paths, permissions, and domain settings in LiteSpeed. Wrapping Up And that’s it—your LiteSpeed server should now be serving secure HTTPS connections! While the process might feel a bit technical at first, once you get familiar with LiteSpeed’s layout, installing SSL certificates becomes second nature. Keeping your visitors' data safe and boosting your website’s credibility is well worth the effort. For users running Apache instead of LiteSpeed, y
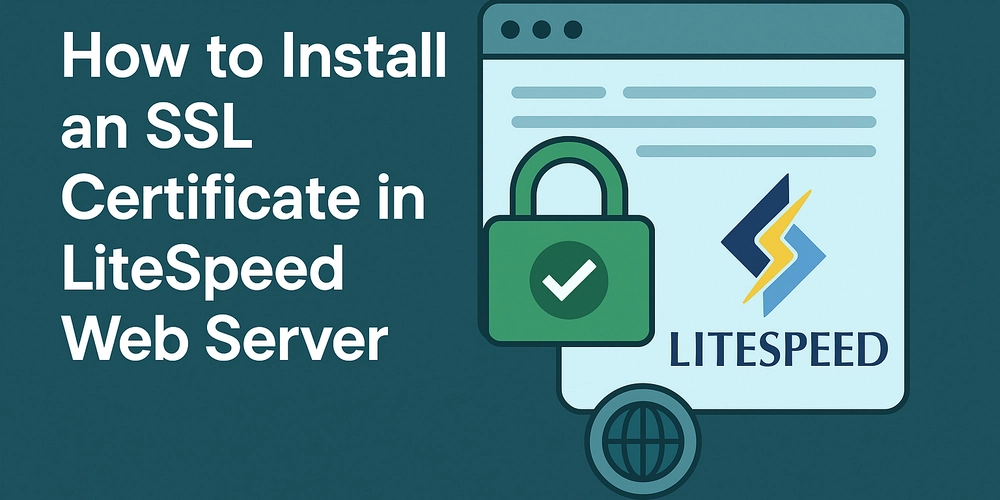
Businesses must protect their websites through proper security measures because the digital era has made this requirement essential. Any website that runs eCommerce or blogs or business portfolios strengthens trust levels for users while safeguarding their data through the implementation of HTTPS. The process of SSL certificate installation becomes simple when working with a LiteSpeed server. A detailed explanation follows which covers every step from beginning to end.
Let’s jump right into it.
Why SSL Is Essential for Your Website
SSL (Secure Sockets Layer) establishes an encryption link that connects your server hardware to users' web browsers. Your website’s passwords together with personal data and payment information remain vulnerable when you don't implement SSL since hackers can easily steal this information. Plus, search engines give preference to HTTPS websites, which can give you an SEO boost. Whether for security or visibility, setting up SSL is one of the smartest moves you can make for your website.
Step 1: Prerequisites You Need
Before you can set up SSL on LiteSpeed, you’ll need a few important files:
Private Key: This file (yourdomain.key) is created when you generate a CSR.
SSL Certificate: After you submit your CSR to a Certificate Authority (CA) and pass validation, they’ll issue this (yourdomain.crt).
CA Bundle: These are intermediate certificates (ca-bundle.crt) that link your SSL certificate to a trusted root certificate.
If you haven’t generated a CSR yet, you can create one either through the LiteSpeed WebAdmin Console or using a quick OpenSSL command like this:
openssl req -new -newkey rsa:2048 -nodes -keyout yourdomain.key -out yourdomain.csr
Save the private key somewhere safe—you’ll need it in just a bit.
Step 2: Upload the SSL Files to Your Server
Next, it’s time to get your SSL files onto your server. It’s a good idea to keep them organized in a secure directory. LiteSpeed servers commonly use:
/usr/local/lsws/conf/ssl/
Use SFTP, SCP, or any secure method you’re comfortable with to upload:
- Your SSL certificate (
yourdomain.crt) - The matching private key (
yourdomain.key) - Your CA bundle file (
ca-bundle.crt)
Make sure the file permissions are tight enough to protect sensitive keys, but still allow LiteSpeed to read them.
Step 3: Set Up SSL in LiteSpeed WebAdmin Console
Now comes the main part: telling LiteSpeed where to find your SSL files.
First, log into the LiteSpeed WebAdmin Console. It’s usually accessible here:
https://your-server-ip:7080
Once you’re in:
1. Head Over to Listeners
- From the left-hand menu, click Listeners.
- Find the one that’s set to handle HTTPS traffic (port 443).
- Don’t have one? No problem—click Add, set Port to 443, and make sure Secure is set to
Yes.
2. Configure SSL Settings
- Click on the HTTPS listener you just created or selected.
- Switch to the SSL tab.
Here’s where you’ll tell LiteSpeed where to find your files:
Private Key File:
/usr/local/lsws/conf/ssl/yourdomain.keyCertificate File:
/usr/local/lsws/conf/ssl/yourdomain.crtCA Certificate Path:
/usr/local/lsws/conf/ssl/ca-bundle.crt
Make sure there are no typos—file paths are case-sensitive and a small mistake can cause SSL errors.
3. Assign Your Domain
- Still in the listener settings, go to the Domains tab.
- Add your domain names here, such as
example.comandwww.example.com. - This way, LiteSpeed knows which domain traffic should be handled by this SSL configuration.
Step 4: Restart the LiteSpeed Server
Once everything is configured, you need to restart LiteSpeed so the changes take effect. Don’t worry—this doesn’t cause major downtime.
You can restart LiteSpeed easily from the WebAdmin Console:
- Click Actions in the top right.
- Choose Graceful Restart.
Or, if you prefer working through the terminal:
sudo /usr/local/lsws/bin/lswsctrl restart
A graceful restart ensures that current visitors won’t get interrupted while your server reloads the new SSL settings.
Step 5: Confirm That SSL Is Working
Finally, it’s time to test your SSL installation.
Open a web browser and visit your site using https://yourdomain.com. If everything went well, you should see a padlock icon next to the URL.
For a deeper check, you can use seo tools.
These free tools can spot hidden issues like:
- Missing intermediate certificates
- Weak cipher suites
- Old TLS protocols still enabled
If you spot any problems, double-check your SSL file paths, permissions, and domain settings in LiteSpeed.
Wrapping Up
And that’s it—your LiteSpeed server should now be serving secure HTTPS connections! While the process might feel a bit technical at first, once you get familiar with LiteSpeed’s layout, installing SSL certificates becomes second nature. Keeping your visitors' data safe and boosting your website’s credibility is well worth the effort.
For users running Apache instead of LiteSpeed, you can refer to this detailed guide on installing an SSL certificate on an Apache server.