


![[The AI Show Episode 143]: ChatGPT Revenue Surge, New AGI Timelines, Amazon’s AI Agent, Claude for Education, Model Context Protocol & LLMs Pass the Turing Test](https://www.marketingaiinstitute.com/hubfs/ep%20143%20cover.png)


![From drop-out to software architect with Jason Lengstorf [Podcast #167]](https://cdn.hashnode.com/res/hashnode/image/upload/v1743796461357/f3d19cd7-e6f5-4d7c-8bfc-eb974bc8da68.png?#)


_NicoElNino_Alamy.png?#)


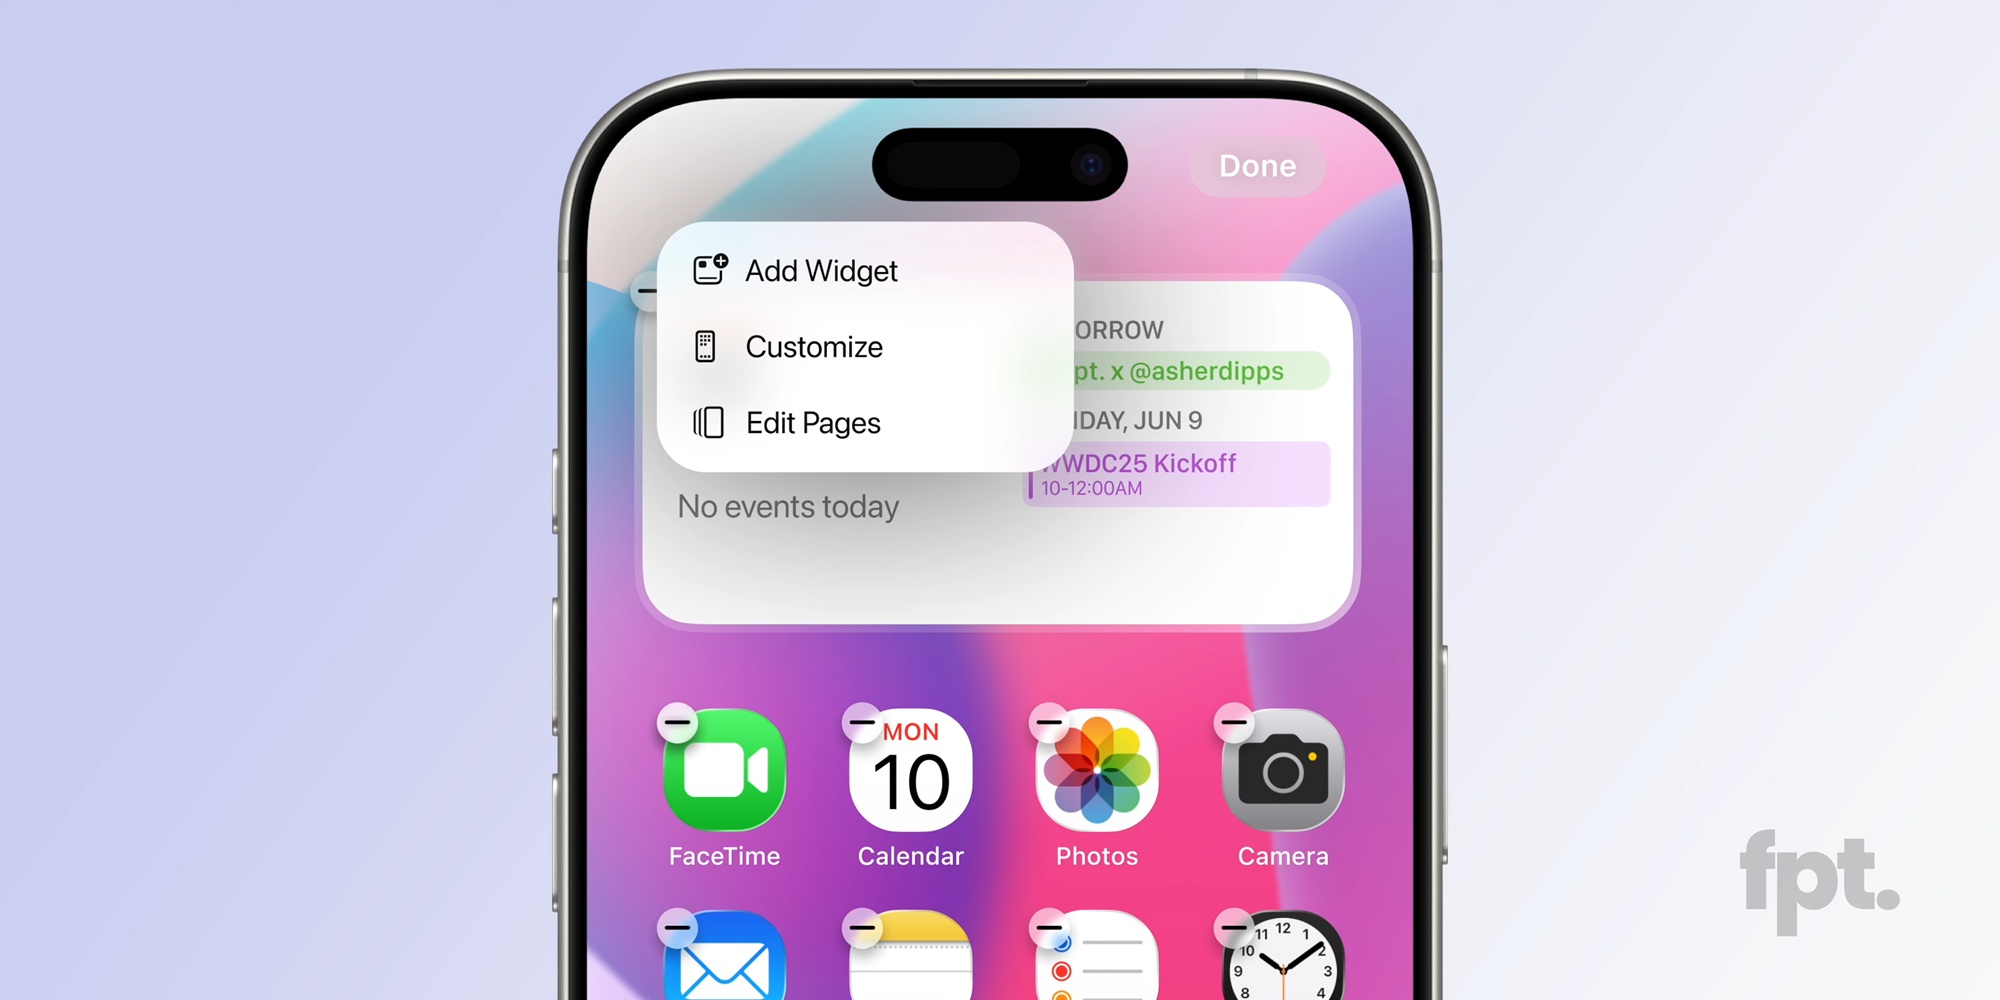


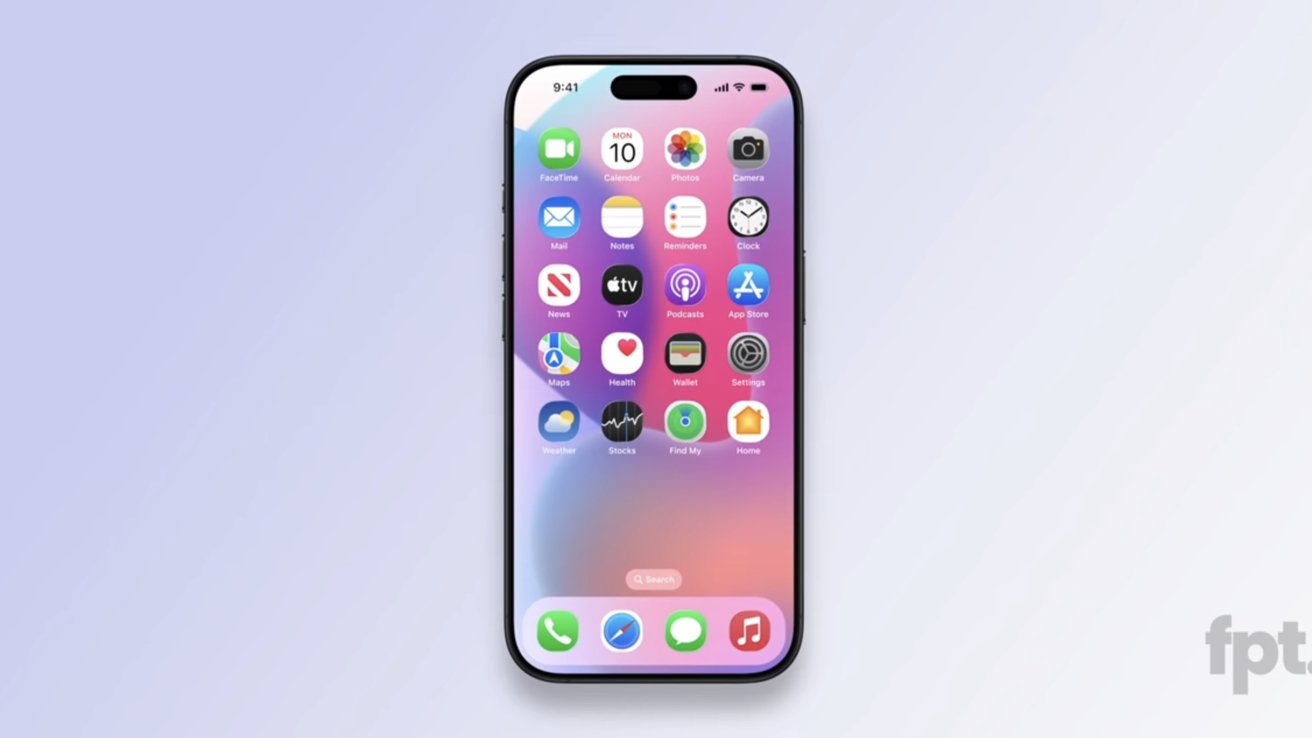


![New iOS 19 Leak Allegedly Reveals Updated Icons, Floating Tab Bar, More [Video]](https://www.iclarified.com/images/news/96958/96958/96958-640.jpg)

![Apple to Source More iPhones From India to Offset China Tariff Costs [Report]](https://www.iclarified.com/images/news/96954/96954/96954-640.jpg)
![Blackmagic Design Unveils DaVinci Resolve 20 With Over 100 New Features and AI Tools [Video]](https://www.iclarified.com/images/news/96951/96951/96951-640.jpg)


How to Setup Android SDK without Android Studio
Introduction In this guide, we are setting up Android SDK using command-line tools instead of Android Studio. The reason for this approach is to keep the setup lightweight and avoid the overhead of installing a full-fledged IDE. This method is ideal for developers who prefer using VS Code or other code editors and want more control over their development environment. By following these steps, you will be able to set up and configure Android SDK manually for React Native or other mobile development needs. Prerequisites: 1. Install Node.js Download Node.js from the official website. Install using the recommended settings. Verify installation using node -v and npm -v. 2. Install JDK Download JDK-17 version from Openlogic or from any website like Oracle. Install and set it up. Verify installation using java -version in cmd. 3. Install Chocolatey Open PowerShell as Administrator. Run Set-ExecutionPolicy AllSigned. Run this command: Set-ExecutionPolicy Bypass -Scope Process -Force; [System.Net.ServicePointManager]::SecurityProtocol = [System.Net.ServicePointManager]::SecurityProtocol -bor 3072; iex ((New-Object System.Net.WebClient).DownloadString(‘https://community.chocolatey.org/install.ps1')) Close and reopen PowerShell. 4. Install Android SDK: Install SDK (Command Line Tools) from the Android Studio Website Open Command Prompt. Run choco install -y android-sdk (Windows). Install required packages using: sdkmanager — install “platform-tools” “platforms;android-33” “build-tools;33.0.0”. 5. Setup Android SDK Directories Create directories: C:\Android\Sdk (Windows). Move SDK files to the created directory. 6. Setup ANDROID_HOME Environment Variable Open Environment Variables. Click New under System Variables: Variable Name: ANDROID_HOME Variable Value: C:\Users\YourUser\AppData\Local\Android\Sdk Edit Path and add: %ANDROID_HOME%\platform-tools %ANDROID_HOME%\emulator (if required) %ANDROID_HOME%\tools %ANDROID_HOME%\tools\bin Run sdkmanager — list to check SDK setup. You see like this: SDK installed packages 7. Connect Android Device: 7.1. Enable Developer Options on Android Go to Settings > About Phone. Tap Build version 7 times to enable Developer Options. You see a pop-up “You are now a developer” Go to Additional Settings > Developer Options. Enable USB Debugging and Install via USB. 7.2. Connect Android Device via USB Use a USB cable to connect the device. Select File Transfer mode from the notification panel(mandatory). **7.3. Enable ADB and Verify Connection **Open Device Manager on Windows and check ADB Interface. Run adb devices in the terminal to check the device connection. 7.4. Run React Native App on Physical Device Open VS Code and navigate to your React Native project. Run npx react-native start or npm startto start Metro bundler. Run npx react-native run-androidto launch the app on the device. The app should now appear on the connected Android device.

Introduction
In this guide, we are setting up Android SDK using command-line tools instead of Android Studio. The reason for this approach is to keep the setup lightweight and avoid the overhead of installing a full-fledged IDE. This method is ideal for developers who prefer using VS Code or other code editors and want more control over their development environment. By following these steps, you will be able to set up and configure Android SDK manually for React Native or other mobile development needs.
Prerequisites:
1. Install Node.js
Download Node.js from the official website.
Install using the recommended settings.
Verify installation using node -v and npm -v.
2. Install JDK
Download JDK-17 version from Openlogic or from any website like Oracle.
Install and set it up.
Verify installation using java -version in cmd.
3. Install Chocolatey
Open PowerShell as Administrator.
Run Set-ExecutionPolicy AllSigned.
Run this command:
Set-ExecutionPolicy Bypass -Scope Process -Force; [System.Net.ServicePointManager]::SecurityProtocol = [System.Net.ServicePointManager]::SecurityProtocol -bor 3072; iex ((New-Object System.Net.WebClient).DownloadString(‘https://community.chocolatey.org/install.ps1'))
Close and reopen PowerShell.
4. Install Android SDK:
Install SDK (Command Line Tools) from the Android Studio Website
Open Command Prompt.
Run choco install -y android-sdk (Windows).
Install required packages using:
sdkmanager — install “platform-tools” “platforms;android-33” “build-tools;33.0.0”.
5. Setup Android SDK Directories
Create directories: C:\Android\Sdk (Windows).
Move SDK files to the created directory.
6. Setup ANDROID_HOME Environment Variable
Open Environment Variables.
Click New under System Variables:
Variable Name: ANDROID_HOME
Variable Value: C:\Users\YourUser\AppData\Local\Android\Sdk
Edit Path and add:
%ANDROID_HOME%\platform-tools
%ANDROID_HOME%\emulator (if required)
%ANDROID_HOME%\tools
%ANDROID_HOME%\tools\bin
Run sdkmanager — list to check SDK setup. You see like this:
SDK installed packages
7. Connect Android Device:
7.1. Enable Developer Options on Android
Go to Settings > About Phone.
Tap Build version 7 times to enable Developer Options.
You see a pop-up “You are now a developer”
Go to Additional Settings > Developer Options.
Enable USB Debugging and Install via USB.
7.2. Connect Android Device via USB
Use a USB cable to connect the device.
Select File Transfer mode from the notification panel(mandatory).
**7.3. Enable ADB and Verify Connection
**Open Device Manager on Windows and check ADB Interface.
Run adb devices in the terminal to check the device connection.
7.4. Run React Native App on Physical Device
Open VS Code and navigate to your React Native project.
Run npx react-native start or npm startto start Metro bundler.
Run npx react-native run-androidto launch the app on the device.
The app should now appear on the connected Android device.