How to Run DeepSeeker Locally: A Comprehensive Step-by-Step Guide
How to Run DeepSeeker Locally: A Comprehensive Step-by-Step Guide Unlock the power of offline AI by running DeepSeeker right on your laptop! This guide not only walks you through the installation process—from downloading Ollama to setting up a slick UI—but also explains each step in detail so you understand what’s happening under the hood. Let’s embark on this fun and enlightening journey! 1. Download Ollama Before you can run DeepSeeker, you need to install the Ollama application. Ollama acts as a platform to manage and run various language models, making it the foundation of your offline AI setup. Steps: Visit the Ollama Website: Head over to Ollama's official site where you can safely download the installer. Download the Installer: Choose the version that suits your operating system. The installer contains all necessary files to get Ollama running on your machine. Additional Explanation: Why Ollama? Ollama is designed to make AI model management straightforward. It handles dependencies, updates, and ensures smooth communication between your local models and the system. Getting Started: By downloading Ollama, you’re setting up the backbone of your offline AI ecosystem, ensuring compatibility with DeepSeeker and future upgrades. 2. Install the Ollama Application With the installer in hand, it’s time to install Ollama on your computer. Steps: Run the Installer: Open the downloaded file and follow the on-screen instructions. The installer will guide you through the process step by step. Configure Settings: Accept the default settings or customize them according to your preferences. This process sets up essential system paths and configurations needed for running AI models. Additional Explanation: Smooth Setup: A successful installation of Ollama ensures that all backend tools and libraries are correctly configured. This minimizes potential issues later when installing DeepSeeker. System Compatibility: The installation process also checks for compatibility with your operating system and hardware, ensuring that you have the necessary support for running local AI applications. 3. Choose the Right DeepSeeker Version Selecting the correct DeepSeeker version is crucial to match your laptop's performance and memory capacity. Steps: Visit the Ollama Web Page: Navigate to the DeepSeeker section on the Ollama website. Select Your Version: Choose a version like the 8B model, which is approximately 4.9GB in size. This version is often a good balance between performance and resource consumption. Additional Explanation: Hardware Considerations: Not all systems can handle large models. The 8B version is optimized to work on most modern laptops, while higher versions may require more powerful hardware. Model Capabilities: Each version of DeepSeeker is tuned for different tasks. By choosing the appropriate model, you ensure that your AI assistant performs optimally for your specific needs. 4. Verify Your Installation in the Terminal Before proceeding, it’s important to confirm that Ollama is installed and working correctly. Steps: Open Your Terminal: Launch the command line interface on your computer. Type the Command: Enter: ollama Check the Output: If you see a response from Ollama, it means the installation was successful. Additional Explanation: Troubleshooting: If you don’t see a proper response, double-check your installation or consult the Ollama troubleshooting documentation. This verification step helps prevent issues during later stages. Understanding the Terminal: This step also familiarizes you with using the terminal, a critical tool for managing local AI installations. Install the DeepSeeker LLM Now, empower your system with the DeepSeeker Large Language Model (LLM) that brings offline AI to life. Steps: Copy the Installation Command: On the Ollama web page, you'll find a command designed to install the DeepSeeker LLM. Execute in Terminal: Paste the command into your terminal and hit enter. Monitor the Process: The installation process will begin, downloading and setting up the DeepSeeker model on your system. Additional Explanation: Behind the Scenes: This command automates the download and configuration process, ensuring that all necessary components of DeepSeeker are properly installed. System Resources: Depending on your internet speed and system performance, this process might take a few minutes. The model download is substantial (around 4.9GB for the 8B version), so patience is key. Offline Capability: Once installed, DeepSeeker runs entirely offline, meaning you won’t need an internet connection to ask it questions or receive responses. Amazing right

How to Run DeepSeeker Locally: A Comprehensive Step-by-Step Guide
Unlock the power of offline AI by running DeepSeeker right on your laptop! This guide not only walks you through the installation process—from downloading Ollama to setting up a slick UI—but also explains each step in detail so you understand what’s happening under the hood. Let’s embark on this fun and enlightening journey!
1. Download Ollama
Before you can run DeepSeeker, you need to install the Ollama application. Ollama acts as a platform to manage and run various language models, making it the foundation of your offline AI setup.
Steps:
- Visit the Ollama Website: Head over to Ollama's official site where you can safely download the installer.
- Download the Installer: Choose the version that suits your operating system. The installer contains all necessary files to get Ollama running on your machine.
Additional Explanation:
- Why Ollama? Ollama is designed to make AI model management straightforward. It handles dependencies, updates, and ensures smooth communication between your local models and the system.
- Getting Started: By downloading Ollama, you’re setting up the backbone of your offline AI ecosystem, ensuring compatibility with DeepSeeker and future upgrades.
2. Install the Ollama Application
With the installer in hand, it’s time to install Ollama on your computer.
Steps:
- Run the Installer: Open the downloaded file and follow the on-screen instructions. The installer will guide you through the process step by step.
- Configure Settings: Accept the default settings or customize them according to your preferences. This process sets up essential system paths and configurations needed for running AI models.
Additional Explanation:
- Smooth Setup: A successful installation of Ollama ensures that all backend tools and libraries are correctly configured. This minimizes potential issues later when installing DeepSeeker.
- System Compatibility: The installation process also checks for compatibility with your operating system and hardware, ensuring that you have the necessary support for running local AI applications.
3. Choose the Right DeepSeeker Version
Selecting the correct DeepSeeker version is crucial to match your laptop's performance and memory capacity.
Steps:
- Visit the Ollama Web Page: Navigate to the DeepSeeker section on the Ollama website.
- Select Your Version: Choose a version like the 8B model, which is approximately 4.9GB in size. This version is often a good balance between performance and resource consumption.
Additional Explanation:
- Hardware Considerations: Not all systems can handle large models. The 8B version is optimized to work on most modern laptops, while higher versions may require more powerful hardware.
- Model Capabilities: Each version of DeepSeeker is tuned for different tasks. By choosing the appropriate model, you ensure that your AI assistant performs optimally for your specific needs.
4. Verify Your Installation in the Terminal
Before proceeding, it’s important to confirm that Ollama is installed and working correctly.
Steps:
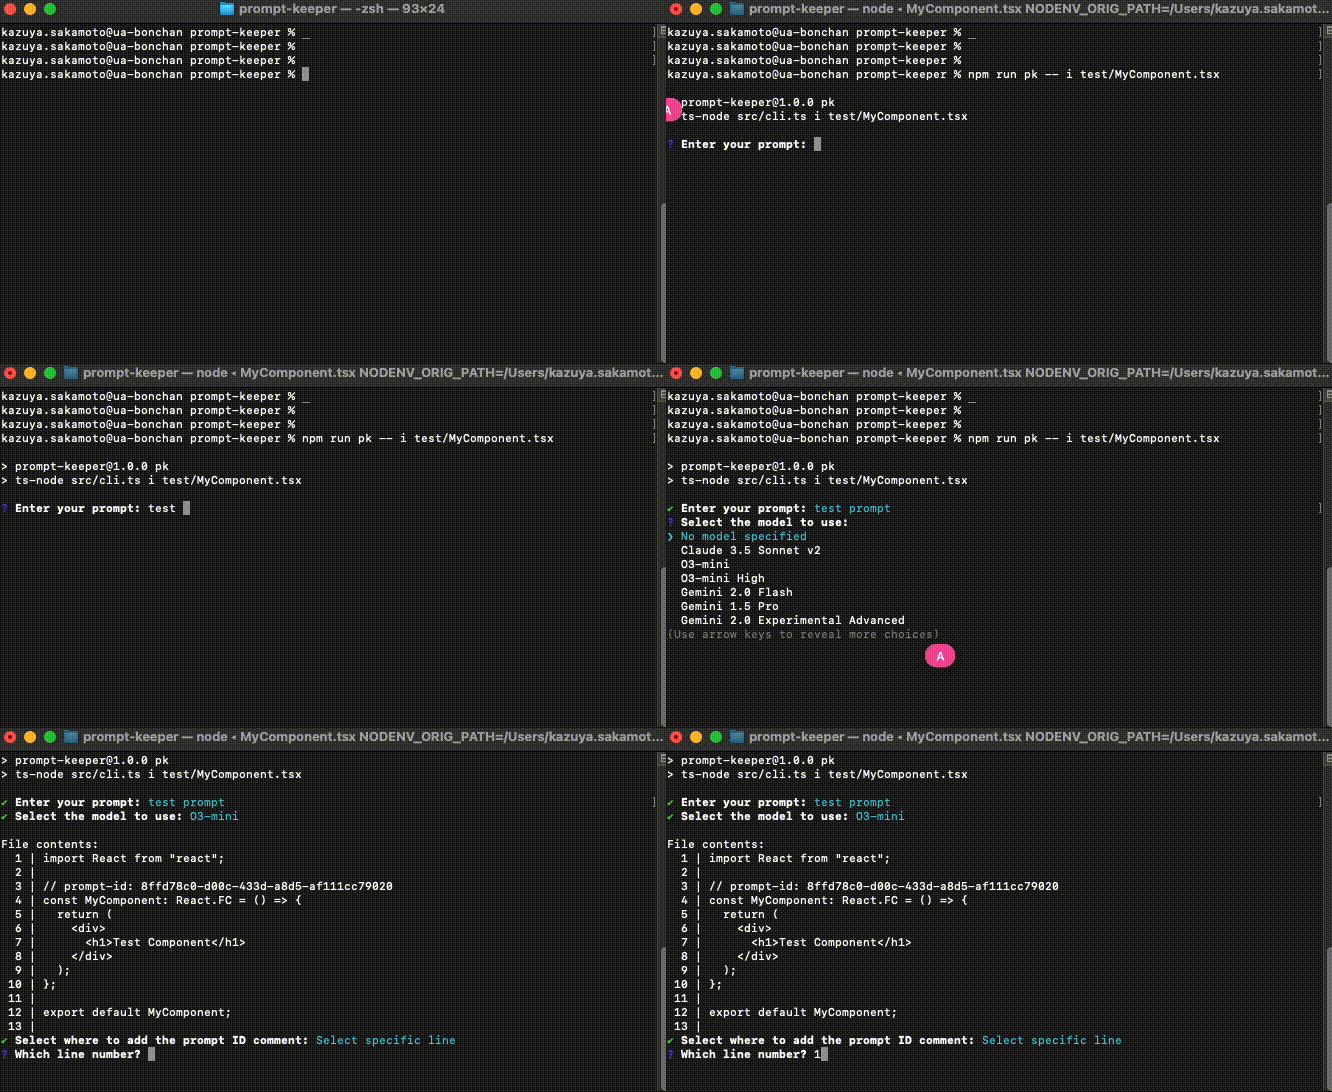
- Open Your Terminal: Launch the command line interface on your computer.
- Type the Command: Enter:
ollama
Check the Output: If you see a response from Ollama, it means the installation was successful.
Additional Explanation:Troubleshooting: If you don’t see a proper response, double-check your installation or consult the Ollama troubleshooting documentation. This verification step helps prevent issues during later stages.
Understanding the Terminal: This step also familiarizes you with using the terminal, a critical tool for managing local AI installations.
Install the DeepSeeker LLM
Now, empower your system with the DeepSeeker Large Language Model (LLM) that brings offline AI to life.
Steps:
- Copy the Installation Command: On the Ollama web page, you'll find a command designed to install the DeepSeeker LLM.
- Execute in Terminal: Paste the command into your terminal and hit enter.
Monitor the Process: The installation process will begin, downloading and setting up the DeepSeeker model on your system.
Additional Explanation:Behind the Scenes: This command automates the download and configuration process, ensuring that all necessary components of DeepSeeker are properly installed.
System Resources: Depending on your internet speed and system performance, this process might take a few minutes. The model download is substantial (around 4.9GB for the 8B version), so patience is key.
Offline Capability: Once installed, DeepSeeker runs entirely offline, meaning you won’t need an internet connection to ask it questions or receive responses. Amazing right


%20Abstract%20Background%20112024%20SOURCE%20Amazon.jpg)


![[The AI Show Episode 142]: ChatGPT’s New Image Generator, Studio Ghibli Craze and Backlash, Gemini 2.5, OpenAI Academy, 4o Updates, Vibe Marketing & xAI Acquires X](https://www.marketingaiinstitute.com/hubfs/ep%20142%20cover.png)








-Nintendo-Switch-2-–-Overview-trailer-00-00-10.png?width=1920&height=1920&fit=bounds&quality=80&format=jpg&auto=webp#)


_Anna_Berkut_Alamy.jpg?#)










![YouTube Announces New Creation Tools for Shorts [Video]](https://www.iclarified.com/images/news/96923/96923/96923-640.jpg)





![[Weekly funding roundup March 29-April 4] Steady-state VC inflow pre-empts Trump tariff impact](https://images.yourstory.com/cs/2/220356402d6d11e9aa979329348d4c3e/WeeklyFundingRoundupNewLogo1-1739546168054.jpg)
