Advanced Customization in Shadcn: Creating Your Own Components
Shadcn is a highly flexible UI component library designed to work seamlessly with Tailwind CSS. Unlike traditional UI frameworks that offer pre-defined styles and strict theming options, Shadcn allows developers to take complete control over their component styling and structure. In this article, we will explore how to create custom components in Shadcn and leverage its flexibility to build a truly unique user interface. Why Customize Shadcn Components? Shadcn’s strength lies in its modular approach—developers can pull in only the components they need and modify them to fit their project’s design system. Customizing Shadcn components allows for: Consistent branding: Align components with your product's design language. Optimized performance: Remove unnecessary styles and dependencies. Improved usability: Tailor components for better user experience. Scalability: Reuse and extend components for future projects. Setting Up Your Custom Shadcn Component To begin customizing a component, ensure you have a Shadcn project set up. If not, install Shadcn with the following command: npx shadcn-ui@latest init Now, let's create a custom button component. Step 1: Create the Component File Create a new file in your components directory: mkdir -p components/ui && touch components/ui/Button.tsx Step 2: Define the Component In Button.tsx, define a button component using Tailwind CSS: import React from "react"; import { cn } from "@/lib/utils"; type ButtonProps = React.ButtonHTMLAttributes & { variant?: "primary" | "secondary" | "outline"; }; const Button: React.FC = ({ variant = "primary", className, ...props }) => { return ( ); }; export default Button; Step 3: Use Your Custom Button Now, you can use your customized button in your application: import Button from "@/components/ui/Button"; export default function HomePage() { return ( Primary Button Secondary Button Outline Button ); } Best Shadcn-Based Admin Templates for Customization If you prefer a head start with Shadcn UI components, consider using these premium admin templates: 1. MaterialM Tailwind React Admin Template Live Preview: View Demo 2. MaterialM Tailwind Next.js Admin Template Live Preview: View Demo 3. MatDash Tailwind Next.js Admin Template Live Preview: View Demo 4. Modernize Tailwind and Next.js Dashboard Template Live Preview: View Demo Conclusion Shadcn provides an excellent foundation for building custom UI components with Tailwind CSS. By customizing components, developers can create unique, branded interfaces that align with their design vision. For those looking for ready-made solutions, the admin templates listed above offer a great starting point, allowing seamless integration with Shadcn components. Start customizing today and build an interface that stands out!
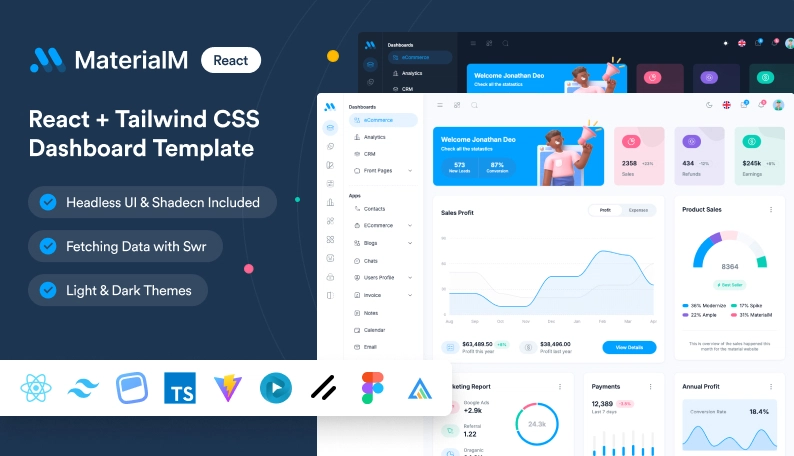
Shadcn is a highly flexible UI component library designed to work seamlessly with Tailwind CSS. Unlike traditional UI frameworks that offer pre-defined styles and strict theming options, Shadcn allows developers to take complete control over their component styling and structure. In this article, we will explore how to create custom components in Shadcn and leverage its flexibility to build a truly unique user interface.
Why Customize Shadcn Components?
Shadcn’s strength lies in its modular approach—developers can pull in only the components they need and modify them to fit their project’s design system. Customizing Shadcn components allows for:
- Consistent branding: Align components with your product's design language.
- Optimized performance: Remove unnecessary styles and dependencies.
- Improved usability: Tailor components for better user experience.
- Scalability: Reuse and extend components for future projects.
Setting Up Your Custom Shadcn Component
To begin customizing a component, ensure you have a Shadcn project set up. If not, install Shadcn with the following command:
npx shadcn-ui@latest init
Now, let's create a custom button component.
Step 1: Create the Component File
Create a new file in your components directory:
mkdir -p components/ui && touch components/ui/Button.tsx
Step 2: Define the Component
In Button.tsx, define a button component using Tailwind CSS:
import React from "react";
import { cn } from "@/lib/utils";

type ButtonProps = React.ButtonHTMLAttributes<HTMLButtonElement> & {
  variant?: "primary" | "secondary" | "outline";
};

const Button: React.FC<ButtonProps> = ({ variant = "primary", className, ...props }) => {
  return (
    <button
      className={cn(
        "px-4 py-2 rounded text-white font-semibold transition",
        {
          "bg-blue-500 hover:bg-blue-600": variant === "primary",
          "bg-gray-500 hover:bg-gray-600": variant === "secondary",
          "border border-gray-500 text-gray-500 hover:bg-gray-100": variant === "outline",
        },
        className
      )}
      {...props}
    />
  );
};

export default Button;
Step 3: Use Your Custom Button
Now, you can use your customized button in your application:
import Button from "@/components/ui/Button";

export default function HomePage() {
  return (
    <div className="p-6">
      <Button variant="primary">Primary ButtonButton>
      <Button variant="secondary" className="ml-4">Secondary ButtonButton>
      <Button variant="outline" className="ml-4">Outline ButtonButton>
    div>
  );
}
Best Shadcn-Based Admin Templates for Customization
If you prefer a head start with Shadcn UI components, consider using these premium admin templates:
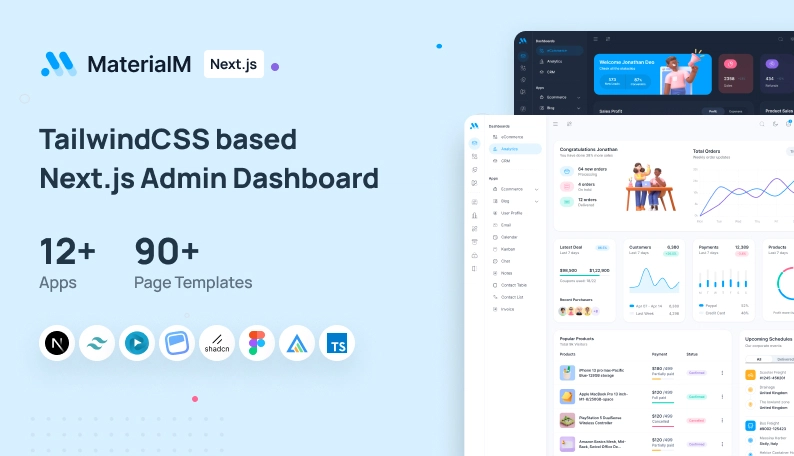
1. MaterialM Tailwind React Admin Template
- Live Preview: View Demo
2. MaterialM Tailwind Next.js Admin Template
- Live Preview: View Demo
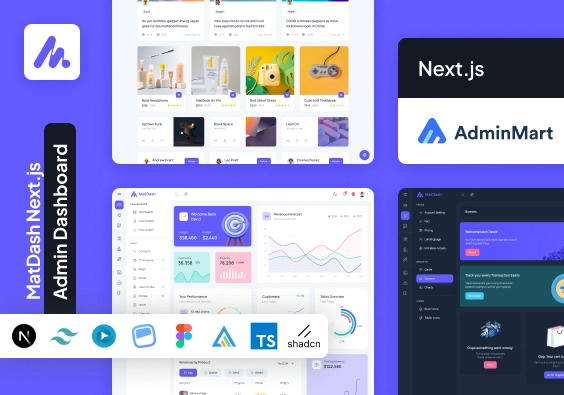
3. MatDash Tailwind Next.js Admin Template
- Live Preview: View Demo
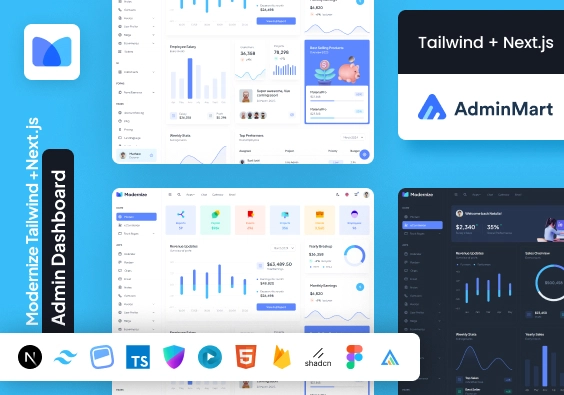
4. Modernize Tailwind and Next.js Dashboard Template
- Live Preview: View Demo
Conclusion
Shadcn provides an excellent foundation for building custom UI components with Tailwind CSS. By customizing components, developers can create unique, branded interfaces that align with their design vision. For those looking for ready-made solutions, the admin templates listed above offer a great starting point, allowing seamless integration with Shadcn components. Start customizing today and build an interface that stands out!


%20Abstract%20Background%20112024%20SOURCE%20Amazon.jpg)



![[The AI Show Episode 142]: ChatGPT’s New Image Generator, Studio Ghibli Craze and Backlash, Gemini 2.5, OpenAI Academy, 4o Updates, Vibe Marketing & xAI Acquires X](https://www.marketingaiinstitute.com/hubfs/ep%20142%20cover.png)








-Nintendo-Switch-2-–-Overview-trailer-00-00-10.png?width=1920&height=1920&fit=bounds&quality=80&format=jpg&auto=webp#)


_Anna_Berkut_Alamy.jpg?#)












![YouTube Announces New Creation Tools for Shorts [Video]](https://www.iclarified.com/images/news/96923/96923/96923-640.jpg)


![[Weekly funding roundup March 29-April 4] Steady-state VC inflow pre-empts Trump tariff impact](https://images.yourstory.com/cs/2/220356402d6d11e9aa979329348d4c3e/WeeklyFundingRoundupNewLogo1-1739546168054.jpg)


