![[The AI Show Episode 142]: ChatGPT’s New Image Generator, Studio Ghibli Craze and Backlash, Gemini 2.5, OpenAI Academy, 4o Updates, Vibe Marketing & xAI Acquires X](https://www.marketingaiinstitute.com/hubfs/ep%20142%20cover.png)


![From drop-out to software architect with Jason Lengstorf [Podcast #167]](https://cdn.hashnode.com/res/hashnode/image/upload/v1743796461357/f3d19cd7-e6f5-4d7c-8bfc-eb974bc8da68.png?#)


.png?#)


_Christophe_Coat_Alamy.jpg?#)
.webp?#)
.webp?#)


![Apple Considers Delaying Smart Home Hub Until 2026 [Gurman]](https://www.iclarified.com/images/news/96946/96946/96946-640.jpg)
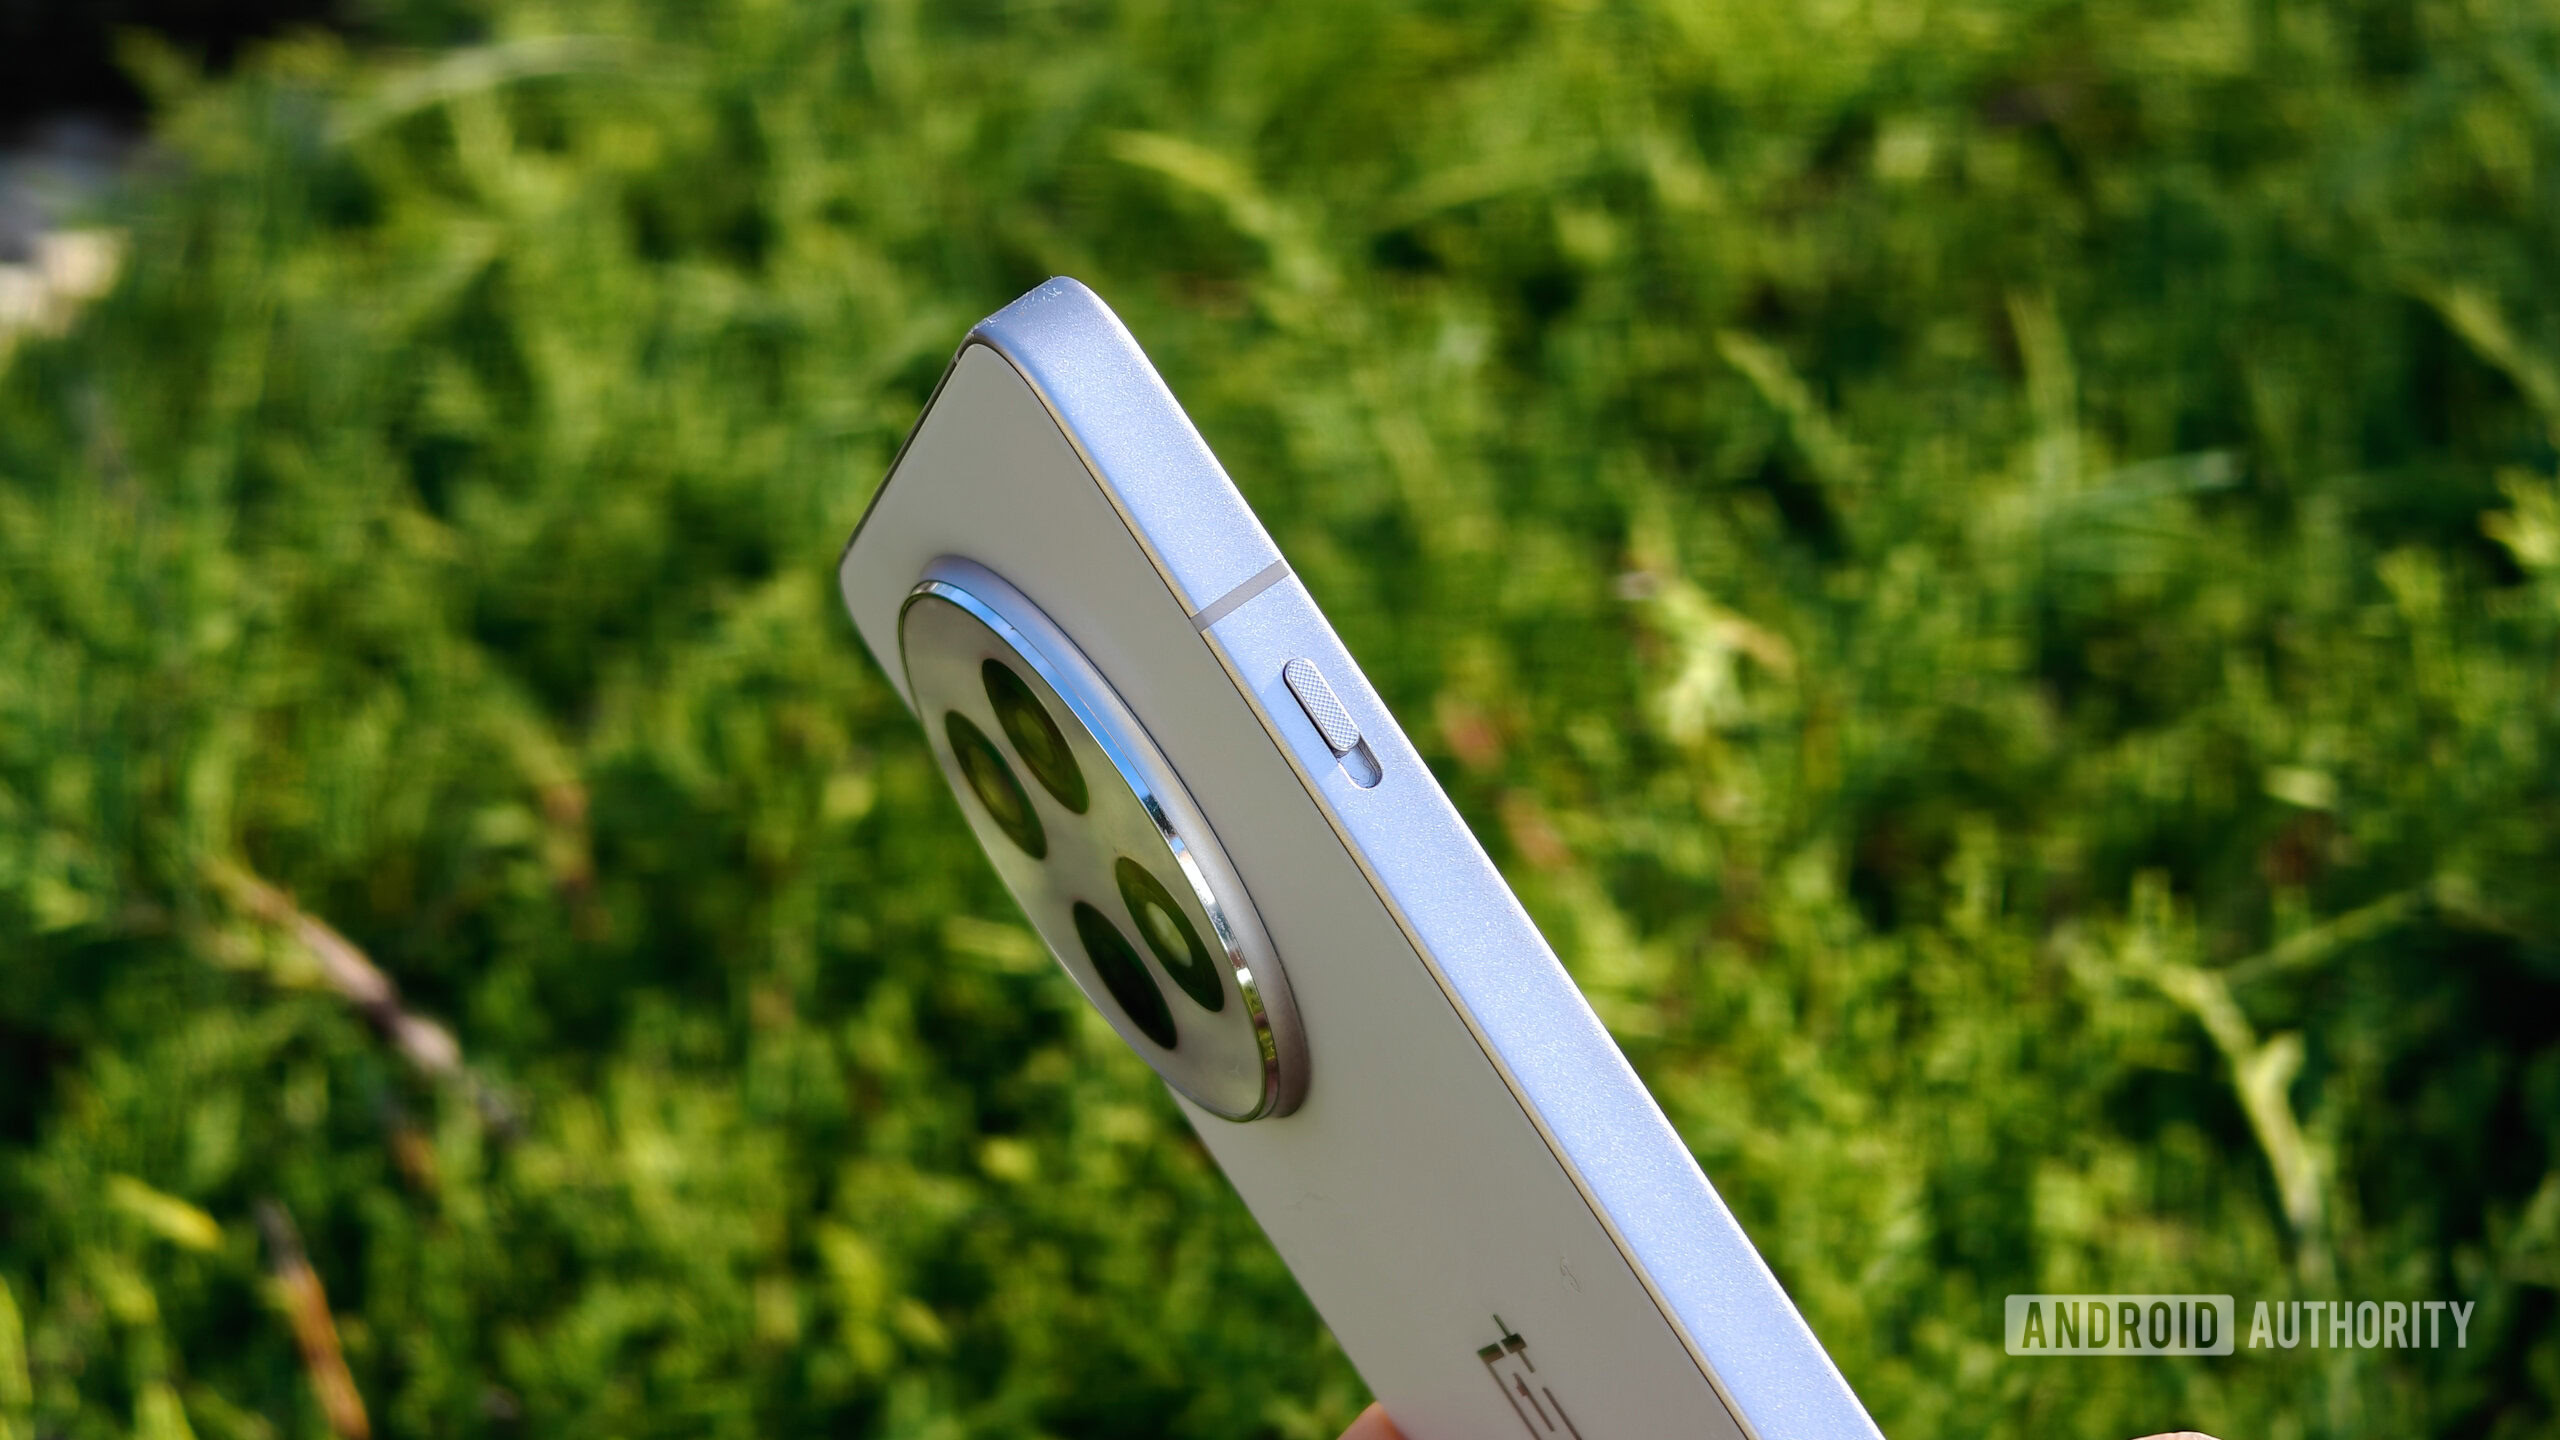
![iPhone 17 Pro Won't Feature Two-Toned Back [Gurman]](https://www.iclarified.com/images/news/96944/96944/96944-640.jpg)
![Tariffs Threaten Apple's $999 iPhone Price Point in the U.S. [Gurman]](https://www.iclarified.com/images/news/96943/96943/96943-640.jpg)


鸿蒙Next开发基础动画教程
在移动互联网时代,App的使用体验非常重要,比如布局的变化、页面的切换、弹窗的显示和隐藏都要是平顺的,丝滑的,这就需要用到动画。鸿蒙提供了很多种动画的方式,今天为大家一一分享。 布局更新动画 尺寸、位置等的变化都属于布局更新,鸿蒙提供了属性动画和显示动画两种方式。下面通过一个案例进行说明: 界面中有一个粉色的Text组件,宽高都是100,需求是点击button让Text组件的宽变成200,在没有动画的情况下,代码是这样的: Button('click') .width(60) .height(60) .margin({top:50}) .onClick(()=>{ this.textWidth = 200 }) 执行效果很生硬: 然后我们使用显示动画的方式给它加一个动画效果: 、、、 animateTo({duration:1000,curve:Curve.EaseIn},()=>{ this.textWidth = 200 }) 、、、 其中设置了动画执行时间1000毫秒,曲线为EaseIn,效果如下: 这样就很丝滑。 还可以使用属性动画来达到同样的效果,所谓属性动画,就是把animation添加到Text的属性当中: Text('text') .height(100) .width(this.textWidth) .animation({duration:1000,curve:Curve.EaseIn}) .backgroundColor(Color.Pink) .fontSize(20) .textAlign(TextAlign.Center) Button('click') .width(60) .height(60) .margin({top:50}) .onClick(()=>{ this.textWidth = 200 }) 要注意的是,animation只对它上面的属性有效,比如我们修改width一定要把width放到animation前面,不然是无效的,比如下面的代码 //无效 Text('text') .animation({duration:1000,curve:Curve.EaseIn}) .height(100) .width(this.textWidth) 组件插入和删除 组件的插入和删除动画通常使用transition,transition可以指定组件的入场和出场方式、位置、尺寸、角度、透明度等等 Image($r('app.media.mountain')).width(200).height(200) //入场 .transition({ type: TransitionType.Insert, translate: { x: 200, y: -200 } }) //出场 .transition({ type: TransitionType.Delete, opacity: 0, scale: { x: 0, y: 0 } }) 上面代码指定了入场时组件由正常位置为原点,x为200,y为-200的地方平移入场。出场时尺寸变为0,透明度变为0。下面我把它放到完整代码中执行一下: if(this.flag){ Image($r('app.media.image')).width(200).height(200) .transition({ type: TransitionType.Insert, translate: { x: 200, y: -200 } }) .transition({ type: TransitionType.Delete, opacity: 0, scale: { x: 0, y: 0 } }) } Button('click') .width(60) .height(60) .margin({top:50}) .onClick(()=>{ this.flag = true }) 发现并没有动画效果,为啥呢? 因为虽然指定了动画的出场和入场方式,但是并没有指定动画的完成时间,所以再给flag加一个显示动画 animateTo({ duration: 1000 }, () => { this.flag = !this.flag; }) 看下效果: 完美。 今天分享就到这里,感谢阅读。
在移动互联网时代,App的使用体验非常重要,比如布局的变化、页面的切换、弹窗的显示和隐藏都要是平顺的,丝滑的,这就需要用到动画。鸿蒙提供了很多种动画的方式,今天为大家一一分享。
布局更新动画
尺寸、位置等的变化都属于布局更新,鸿蒙提供了属性动画和显示动画两种方式。下面通过一个案例进行说明:
界面中有一个粉色的Text组件,宽高都是100,需求是点击button让Text组件的宽变成200,在没有动画的情况下,代码是这样的:
Button('click')
  .width(60)
  .height(60)
  .margin({top:50})
  .onClick(()=>{
      this.textWidth = 200
   })
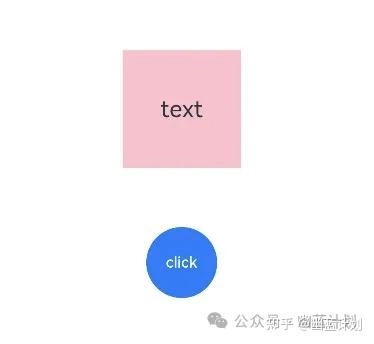
执行效果很生硬:
然后我们使用显示动画的方式给它加一个动画效果:
、、、
animateTo({duration:1000,curve:Curve.EaseIn},()=>{
this.textWidth = 200
})
、、、
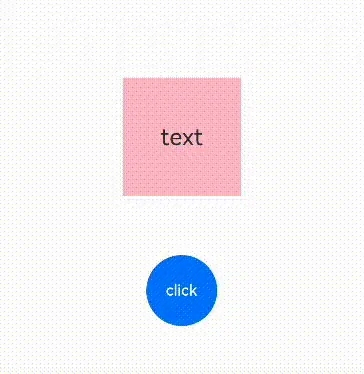
其中设置了动画执行时间1000毫秒,曲线为EaseIn,效果如下:
这样就很丝滑。
还可以使用属性动画来达到同样的效果,所谓属性动画,就是把animation添加到Text的属性当中:
Text('text')
   .height(100)
   .width(this.textWidth)
   .animation({duration:1000,curve:Curve.EaseIn})

   .backgroundColor(Color.Pink)
   .fontSize(20)
   .textAlign(TextAlign.Center)

   Button('click')
          .width(60)
          .height(60)
          .margin({top:50})
          .onClick(()=>{
            this.textWidth = 200
          })
要注意的是,animation只对它上面的属性有效,比如我们修改width一定要把width放到animation前面,不然是无效的,比如下面的代码
//无效
Text('text')
   .animation({duration:1000,curve:Curve.EaseIn})
   .height(100)
   .width(this.textWidth)
组件插入和删除
组件的插入和删除动画通常使用transition,transition可以指定组件的入场和出场方式、位置、尺寸、角度、透明度等等
Image($r('app.media.mountain')).width(200).height(200)
//入场
.transition({ type: TransitionType.Insert, translate: { x: 200, y: -200 } })
//出场
.transition({ type: TransitionType.Delete, opacity: 0, scale: { x: 0, y: 0 } })
上面代码指定了入场时组件由正常位置为原点,x为200,y为-200的地方平移入场。出场时尺寸变为0,透明度变为0。下面我把它放到完整代码中执行一下:
if(this.flag){
          Image($r('app.media.image')).width(200).height(200)
            .transition({ type: TransitionType.Insert, translate: { x: 200, y: -200 } })
            .transition({ type: TransitionType.Delete, opacity: 0, scale: { x: 0, y: 0 } })
        }
        Button('click')
          .width(60)
          .height(60)
          .margin({top:50})
          .onClick(()=>{
            this.flag = true
          })

发现并没有动画效果,为啥呢?
因为虽然指定了动画的出场和入场方式,但是并没有指定动画的完成时间,所以再给flag加一个显示动画
animateTo({ duration: 1000 }, () => {
      this.flag = !this.flag;
 })
看下效果:

完美。
今天分享就到这里,感谢阅读。