


![[The AI Show Episode 144]: ChatGPT’s New Memory, Shopify CEO’s Leaked “AI First” Memo, Google Cloud Next Releases, o3 and o4-mini Coming Soon & Llama 4’s Rocky Launch](https://www.marketingaiinstitute.com/hubfs/ep%20144%20cover.png)


![I'm researching how to architect a modern LLM-based conversational agent and would appreciate insights from the community [closed]](https://cdn.sstatic.net/Sites/softwareengineering/Img/apple-touch-icon@2.png?v=1ef7363febba)


![GrandChase tier list of the best characters available [April 2025]](https://media.pocketgamer.com/artwork/na-33057-1637756796/grandchase-ios-android-3rd-anniversary.jpg?#)


.png?width=1920&height=1920&fit=bounds&quality=70&format=jpg&auto=webp#)


![Apple M4 13-inch iPad Pro On Sale for $200 Off [Deal]](https://www.iclarified.com/images/news/97056/97056/97056-640.jpg)
![Apple Shares New 'Mac Does That' Ads for MacBook Pro [Video]](https://www.iclarified.com/images/news/97055/97055/97055-640.jpg)


![The Wheel of Time season 3 ending explained: who dies, who is [spoiler], will there be a season 4, and more questions answered](https://cdn.mos.cms.futurecdn.net/qq8MMqv8MTisstkx3phywA.jpg?#)


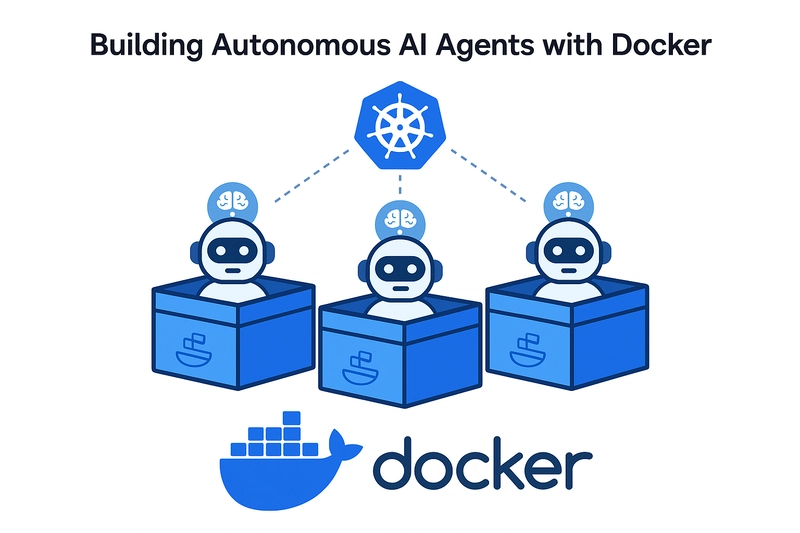
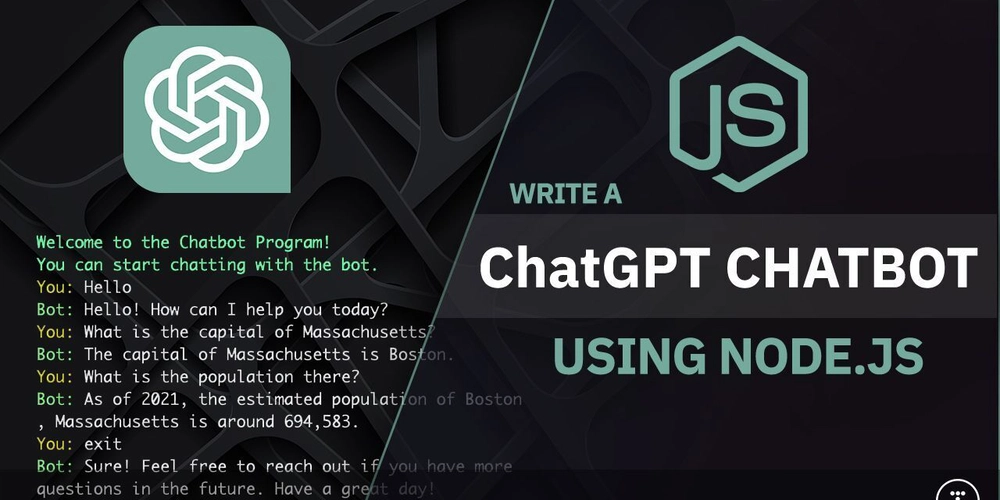
Integrating ChatGPT with Node.js: Build Your Own AI Chatbot
Introduction AI chatbots are revolutionizing how businesses and users interact with technology. By integrating ChatGPT with Node.js, you can build intelligent, conversational bots capable of answering queries, handling tasks, and improving customer experiences. In this blog, we’ll explore how to integrate OpenAI’s ChatGPT with a Node.js backend. Prerequisites Node.js installed OpenAI API key (get it from OpenAI) Basic knowledge of Express.js Step 1: Set Up Your Node.js Project mkdir chatgpt-chatbot cd chatgpt-chatbot npm init -y npm install express axios dotenv Create .env File OPENAI_API_KEY=your_openai_api_key Step 2: Create Express Server index.js const express = require('express'); const axios = require('axios'); require('dotenv').config(); const app = express(); app.use(express.json()); const OPENAI_API_KEY = process.env.OPENAI_API_KEY; app.post('/chat', async (req, res) => { const { message } = req.body; try { const response = await axios.post( 'https://api.openai.com/v1/chat/completions', { model: 'gpt-3.5-turbo', messages: [{ role: 'user', content: message }] }, { headers: { 'Authorization': `Bearer ${OPENAI_API_KEY}`, 'Content-Type': 'application/json' } } ); const reply = response.data.choices[0].message.content; res.json({ reply }); } catch (error) { res.status(500).json({ error: 'Something went wrong' }); } }); app.listen(3000, () => console.log('Server running on http://localhost:3000')); Step 3: Test Your Chatbot Use Postman or a frontend interface to make a POST request: Endpoint: http://localhost:3000/chat Method: POST Body (JSON): { "message": "What is the capital of France?" } Response: { "reply": "The capital of France is Paris." } Conclusion You’ve just built a simple AI chatbot using Node.js and OpenAI’s ChatGPT API! This is a foundational setup that can be expanded with user sessions, database integration, or even a real-time UI with WebSockets. AI is the future—build something amazing!
Introduction
AI chatbots are revolutionizing how businesses and users interact with technology. By integrating ChatGPT with Node.js, you can build intelligent, conversational bots capable of answering queries, handling tasks, and improving customer experiences. In this blog, we’ll explore how to integrate OpenAI’s ChatGPT with a Node.js backend.
Prerequisites
- Node.js installed
- OpenAI API key (get it from OpenAI)
- Basic knowledge of Express.js
Step 1: Set Up Your Node.js Project
mkdir chatgpt-chatbot
cd chatgpt-chatbot
npm init -y
npm install express axios dotenv
Create .env File
OPENAI_API_KEY=your_openai_api_key
Step 2: Create Express Server
index.js
const express = require('express');
const axios = require('axios');
require('dotenv').config();

const app = express();
app.use(express.json());

const OPENAI_API_KEY = process.env.OPENAI_API_KEY;

app.post('/chat', async (req, res) => {
  const { message } = req.body;

  try {
    const response = await axios.post(
      'https://api.openai.com/v1/chat/completions',
      {
        model: 'gpt-3.5-turbo',
        messages: [{ role: 'user', content: message }]
      },
      {
        headers: {
          'Authorization': `Bearer ${OPENAI_API_KEY}`,
          'Content-Type': 'application/json'
        }
      }
    );

    const reply = response.data.choices[0].message.content;
    res.json({ reply });
  } catch (error) {
    res.status(500).json({ error: 'Something went wrong' });
  }
});

app.listen(3000, () => console.log('Server running on http://localhost:3000'));
Step 3: Test Your Chatbot
Use Postman or a frontend interface to make a POST request:
-
Endpoint:
http://localhost:3000/chat - Method: POST
- Body (JSON):
{
  "message": "What is the capital of France?"
}
Response:
{
  "reply": "The capital of France is Paris."
}
Conclusion
You’ve just built a simple AI chatbot using Node.js and OpenAI’s ChatGPT API! This is a foundational setup that can be expanded with user sessions, database integration, or even a real-time UI with WebSockets. AI is the future—build something amazing!