


![[The AI Show Episode 145]: OpenAI Releases o3 and o4-mini, AI Is Causing “Quiet Layoffs,” Executive Order on Youth AI Education & GPT-4o’s Controversial Update](https://www.marketingaiinstitute.com/hubfs/ep%20145%20cover.png)


_Andy_Dean_Photography_Alamy.jpg?width=1280&auto=webp&quality=80&disable=upscale#)


![Apple Developing AI 'Vibe-Coding' Assistant for Xcode With Anthropic [Report]](https://www.iclarified.com/images/news/97200/97200/97200-640.jpg)
![Apple's New Ads Spotlight Apple Watch for Kids [Video]](https://www.iclarified.com/images/news/97197/97197/97197-640.jpg)


![[Weekly funding roundup April 26-May 2] VC inflow continues to remain downcast](https://images.yourstory.com/cs/2/220356402d6d11e9aa979329348d4c3e/WeeklyFundingRoundupNewLogo1-1739546168054.jpg)


Integrating authorization in a Spring Boot API
AuthAction is a powerful authentication and authorization platform that offers a range of features, including support for single-page applications (SPA) and machine-to-machine (M2M) applications. It provides an easy-to-use interface for managing users, roles, and organizations, and supports OAuth2 and social logins. Best of all, AuthAction is scalable, allowing up to 50,000 monthly active users for free. Whether you're developing an app for a startup or a large enterprise, AuthAction provides a flexible and secure solution for your authentication needs. In this blog, we'll explore how to authorise Spring Boot APIs using AuthAction. Prerequisites Before using this application, ensure you have: Java 17+ installed: You can download and install it from adoptium.net. Maven installed: Required for building and running the project. AuthAction API credentials: You will need to have the tenantDomain (e.g., tenant.region.authaction.com) and apiIdentifier from your AuthAction account. Installation Clone the repository (if applicable): git clone git@github.com:authaction/authaction-java-spring-api-example.git cd authaction-java-spring-api-example Install dependencies: ./mvnw clean install Configure your AuthAction credentials: Edit the src/main/resources/application.properties and replace the placeholders with your AuthAction configurations. spring.application.name=springoauth2demo server.port=3000 authaction.audience=your-authaction-api-identifier authaction.domain=your-authaction-tenant-domain spring.security.oauth2.resourceserver.jwt.issuer-uri=https://${authaction.domain}/ Usage Start the development server: ./mvnw spring-boot:run This will start the Spring Boot application on http://localhost:3000. Testing Authorization: To obtain an access token via client credentials, run the following curl command: curl --request POST \ --url https://your-authaction-tenant-domain/oauth2/m2m/token \ --header 'content-type: application/json' \ --data '{"client_id":"your-authaction-app-clientid","client_secret":"your-authaction-app-client-secret","audience":"your-authaction-api-identifier","grant_type":"client_credentials"}' Replace your-authaction-app-clientid, your-authaction-app-client-secret, and your-authaction-api-identifier with your actual AuthAction credentials. You should receive an access token in response, which you can use to access protected routes. You can call the public API without any authentication token. The GET /public endpoint can be accessed by any user or service but protected endpoint need to be called with access token. curl --request GET \ --url http://localhost:3000/protected \ --header 'Authorization: Bearer YOUR_ACCESS_TOKEN' \ --header 'content-type: application/json' { "message": "This is a protected message!" } Code Explanation Security Configuration (SecurityConfig) Overview: This configuration class integrates JWT authentication into the Spring Boot application using Spring Security OAuth2 Resource Server. It uses RS256 encryption with a public key retrieved dynamically from a JWKS (JSON Web Key Set) endpoint hosted by AuthAction. Security Filter Chain: Public Endpoints: .requestMatchers("/public").permitAll() - Allows access to public endpoints without authentication. Protected Endpoints: .anyRequest().authenticated() - Requires valid JWT tokens for all other endpoints. .oauth2ResourceServer().jwt() - Configures JWT validation using AuthAction's JWKS. JWT Validation: Issuer: Validates that tokens are issued by your AuthAction domain. Audience: Ensures tokens are intended for your API using the configured audience. Algorithm: Enforces RS256 algorithm for token validation. API Controller (ApiController) getPublicMessage(): This endpoint returns a public message that is accessible without any authentication. No security constraints are applied here, meaning any request can access it. getProtectedMessage(): This endpoint returns a protected message and requires the user to be authenticated. The @PreAuthorize("isAuthenticated()") annotation ensures that only users with valid JWTs can access this route. The JWT validation is handled by the Spring Security OAuth2 Resource Server configuration. Common Issues Invalid Token Errors: Ensure that the token being used is signed by AuthAction using the RS256 algorithm and contains the correct issuer and audience claims. Verify that the authaction.audience and authaction.domain properties are correctly set in application.properties. Public Key Fetching Errors: If there are issues retrieving the public keys from AuthAction, check the JWKS URI and ensure your application can reach the AuthAction servers. The JWKS URI should be: https://your-authaction
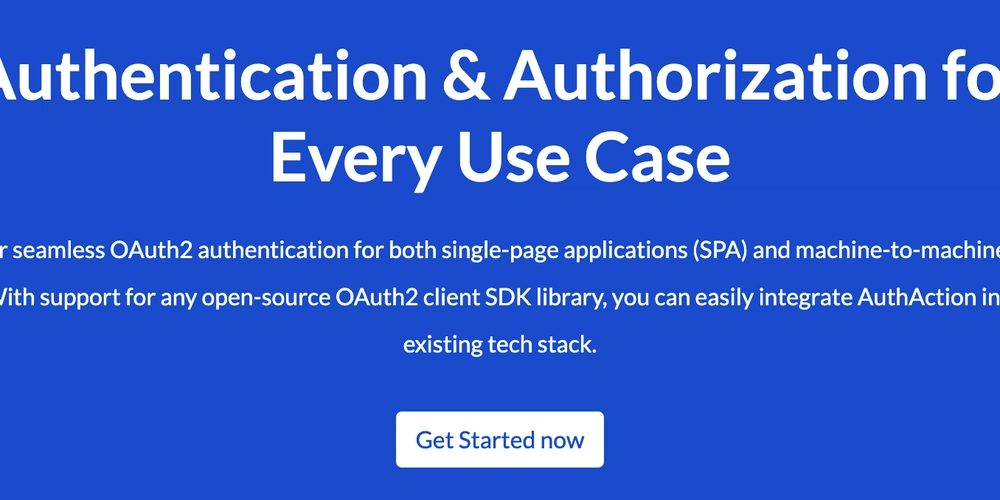
AuthAction is a powerful authentication and authorization platform that offers a range of features, including support for single-page applications (SPA) and machine-to-machine (M2M) applications. It provides an easy-to-use interface for managing users, roles, and organizations, and supports OAuth2 and social logins. Best of all, AuthAction is scalable, allowing up to 50,000 monthly active users for free. Whether you're developing an app for a startup or a large enterprise, AuthAction provides a flexible and secure solution for your authentication needs.
In this blog, we'll explore how to authorise Spring Boot APIs using AuthAction.
Prerequisites
Before using this application, ensure you have:
Java 17+ installed: You can download and install it from adoptium.net.
Maven installed: Required for building and running the project.
AuthAction API credentials: You will need to have the
tenantDomain(e.g.,tenant.region.authaction.com) andapiIdentifierfrom your AuthAction account.
Installation
- Clone the repository (if applicable):
   git clone git@github.com:authaction/authaction-java-spring-api-example.git
   cd authaction-java-spring-api-example
- Install dependencies:
./mvnw clean install
- Configure your AuthAction credentials:
Edit the src/main/resources/application.properties and replace the placeholders with your AuthAction configurations.
   spring.application.name=springoauth2demo
   server.port=3000

   authaction.audience=your-authaction-api-identifier
   authaction.domain=your-authaction-tenant-domain
   spring.security.oauth2.resourceserver.jwt.issuer-uri=https://${authaction.domain}/
Usage
- Start the development server:
./mvnw spring-boot:run
This will start the Spring Boot application on http://localhost:3000.
- Testing Authorization:
To obtain an access token via client credentials, run the following curl command:
curl --request POST \
--url https://your-authaction-tenant-domain/oauth2/m2m/token \
--header 'content-type: application/json' \
--data '{"client_id":"your-authaction-app-clientid","client_secret":"your-authaction-app-client-secret","audience":"your-authaction-api-identifier","grant_type":"client_credentials"}'
Replace your-authaction-app-clientid, your-authaction-app-client-secret, and your-authaction-api-identifier with your actual AuthAction credentials.
You should receive an access token in response, which you can use to access protected routes.
You can call the public API without any authentication token. The GET /public endpoint can be accessed by any user or service but protected endpoint need to be called with access token.
curl --request GET \
  --url http://localhost:3000/protected \
  --header 'Authorization: Bearer YOUR_ACCESS_TOKEN' \
  --header 'content-type: application/json'
{
  "message": "This is a protected message!"
}
Code Explanation
Security Configuration (SecurityConfig)
-
Overview:
- This configuration class integrates JWT authentication into the Spring Boot application using Spring Security OAuth2 Resource Server.
- It uses RS256 encryption with a public key retrieved dynamically from a JWKS (JSON Web Key Set) endpoint hosted by AuthAction.
Security Filter Chain:
-
Public Endpoints:
-
.requestMatchers("/public").permitAll()- Allows access to public endpoints without authentication.
-
-
Protected Endpoints:
-
.anyRequest().authenticated()- Requires valid JWT tokens for all other endpoints. -
.oauth2ResourceServer().jwt()- Configures JWT validation using AuthAction's JWKS.
-
JWT Validation:
- Issuer: Validates that tokens are issued by your AuthAction domain.
- Audience: Ensures tokens are intended for your API using the configured audience.
- Algorithm: Enforces RS256 algorithm for token validation.
API Controller (ApiController)
getPublicMessage():
- This endpoint returns a public message that is accessible without any authentication.
- No security constraints are applied here, meaning any request can access it.
getProtectedMessage():
- This endpoint returns a protected message and requires the user to be authenticated.
- The
@PreAuthorize("isAuthenticated()")annotation ensures that only users with valid JWTs can access this route. - The JWT validation is handled by the Spring Security OAuth2 Resource Server configuration.
Common Issues
Invalid Token Errors:
- Ensure that the token being used is signed by AuthAction using the
RS256algorithm and contains the correct issuer and audience claims. - Verify that the
authaction.audienceandauthaction.domainproperties are correctly set inapplication.properties.
Public Key Fetching Errors:
- If there are issues retrieving the public keys from AuthAction, check the JWKS URI and ensure your application can reach the AuthAction servers.
- The JWKS URI should be:
https://your-authaction-tenant-domain/.well-known/jwks.json
Unauthorized Access:
- If requests to the protected route (
/protected) are failing, ensure that:- The JWT token is being correctly included in the
Authorizationheader - The token is valid and not expired
- The token's audience matches your API identifier
- The token's issuer matches your AuthAction domain
- The JWT token is being correctly included in the
Conclusion
Integrating authorization into a spring boot application using AuthAction is a straightforward process. This example helps streamline the setup, offering developers a robust foundation to build secure applications with minimal effort.
If you run into any issues, double-check your configurations to ensure everything is set up correctly. Happy coding!
Feel free to leave your thoughts and questions in the comments below!