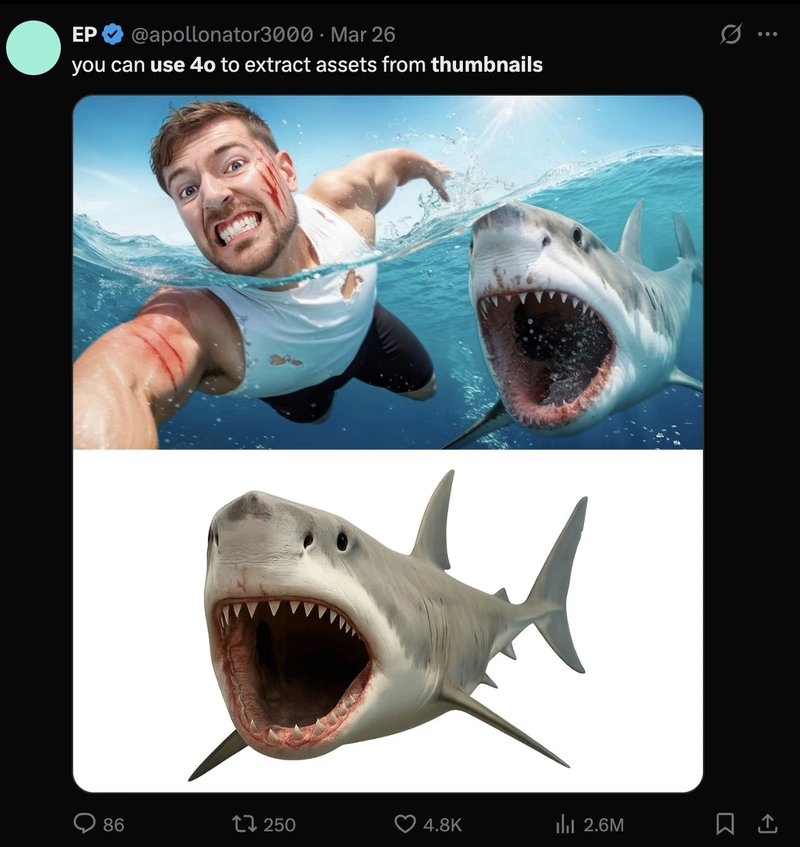


![[The AI Show Episode 145]: OpenAI Releases o3 and o4-mini, AI Is Causing “Quiet Layoffs,” Executive Order on Youth AI Education & GPT-4o’s Controversial Update](https://www.marketingaiinstitute.com/hubfs/ep%20145%20cover.png)


![From Art School Drop-out to Microsoft Engineer with Shashi Lo [Podcast #170]](https://cdn.hashnode.com/res/hashnode/image/upload/v1746203291209/439bf16b-c820-4fe8-b69e-94d80533b2df.png?#)


(1).jpg?#)


_Inge_Johnsson-Alamy.jpg?width=1280&auto=webp&quality=80&disable=upscale#)


![The Material 3 Expressive redesign of Google Clock leaks out [Gallery]](https://i0.wp.com/9to5google.com/wp-content/uploads/sites/4/2024/03/Google-Clock-v2.jpg?resize=1200%2C628&quality=82&strip=all&ssl=1)
![What Google Messages features are rolling out [May 2025]](https://i0.wp.com/9to5google.com/wp-content/uploads/sites/4/2023/12/google-messages-name-cover.png?resize=1200%2C628&quality=82&strip=all&ssl=1)


![New Apple iPad mini 7 On Sale for $399! [Lowest Price Ever]](https://www.iclarified.com/images/news/96096/96096/96096-640.jpg)
![Apple to Split iPhone Launches Across Fall and Spring in Major Shakeup [Report]](https://www.iclarified.com/images/news/97211/97211/97211-640.jpg)
![Apple to Move Camera to Top Left, Hide Face ID Under Display in iPhone 18 Pro Redesign [Report]](https://www.iclarified.com/images/news/97212/97212/97212-640.jpg)
![Apple Developing Battery Case for iPhone 17 Air Amid Battery Life Concerns [Report]](https://www.iclarified.com/images/news/97208/97208/97208-640.jpg)


How to Use the Kitty Graphics Protocol for Pixel Drawing in C?
Introduction In the realm of terminal graphics, drawing simulations with precision is a crucial aspect for developers and enthusiasts. You have raised an interesting challenge: wanting to draw individual pixels in your terminal rather than using larger character representations. While classical ANSI color coding often falls short due to its limited resolution, the Kitty Graphics Protocol emerges as a promising alternative, enabling detailed pixel-based graphics. However, implementing the Kitty Graphics Protocol can be a daunting task, especially when resources often reference image file display rather than dynamic pixel manipulation. In this article, we will explore how to harness this protocol in C to create your own pixel-based graphics. Why the Kitty Graphics Protocol? The Kitty Graphics Protocol offers significant advantages for rendering pixel graphics within modern terminal emulators. Unlike traditional ASCII and ANSI graphics, which can only draw with characters, Kitty's protocol allows direct manipulation of the graphical context, letting us set individual pixels efficiently. The speed at which Kitty processes pixel data makes it an attractive choice for real-time simulations. How to Set Up the Kitty Graphics Protocol Before we dive into actual coding, ensure your terminal supports the Kitty Graphics protocol. Popular terminals like Kitty and Alacritty are designed for this, ensuring the proper functionality of the features we will implement. Step-by-Step Guide to Drawing Pixels We will create a C program that uses the Kitty Graphics Protocol to render an array of pixels. Here’s how you can get started. 1. Include Required Headers First, make sure you have the necessary headers included in your C program: #include #include #include 2. Define Your Pixel Array Next, define the pixel array that will represent your simulation. Here, we’ll use a simple 10x10 pixel array for demonstration. #define WIDTH 10 #define HEIGHT 10 void draw_pixel(int x, int y, int r, int g, int b) { printf("\e_Ga=%d,b=%d,c=%d;P0\e[0m", r, g, b); printf("\e[0;0H\e[0;%dH\e[J\e[u", y, x); } 3. Implementing Pixel Rendering In the following function, we will take our pixel data and send it to the terminal using the Kitty graphics escape sequences. Each pixel will be defined by a color in RGB format: void render_pixels() { for (int y = 0; y < HEIGHT; y++) { for (int x = 0; x < WIDTH; x++) { // Ideally, an array of colors should be defined here int r = (x * 255) / WIDTH; int g = (y * 255) / HEIGHT; int b = 128; draw_pixel(x, y, r, g, b); } } } 4. Main Function Now, let’s finalize our C program with a main function to initialize and execute the rendering: int main() { printf("\e[?1049h"); // Enable alternate screen buffer printf("\e[H"); // Move cursor to home position render_pixels(); printf("\e[?1049l"); // Disable alternate screen buffer return 0; } 5. Compile and Run Your Program To compile your program, save the code to a file called pixel_render.c. Use the following command to compile it: gcc pixel_render.c -o pixel_render Then run your program using: ./pixel_render You should see a 10x10 grid of pixels rendered in varying colors based on their x and y coordinates. Adjust the pixel drawing function as necessary to implement your specific simulation logic. Tips for Further Development Dynamic Resizing: To make your application more interesting, consider allowing dynamic resizing of the display area. User Input: Implement user inputs that change pixel colors or shapes, making your simulation interactive. Optimization: Use buffering techniques to optimize redrawing of pixels by minimizing repetitive console operations. Frequently Asked Questions What terminal emulator do I need? To effectively use the Kitty Graphics protocol, you need a terminal emulator that supports it, such as Kitty itself or compatible alternatives. Can I use other colors? Yes! The RGB values you choose can depict various colors. Feel free to implement an array of RGB values for complex images rather than mere gradient colors. What if my terminal doesn't support Kitty? In that case, consider switching to a supported terminal or look into alternatives like Sixel for raster graphics, but note it might not perform as quickly as Kitty. Conclusion By implementing the Kitty Graphics Protocol in C, you can definitively overcome the limitations of traditional ASCII rendering. With the code provided, you should be able to visualize your simulations with individual pixel control. Explore further possibilities by enhancing and modifying the basic example to suit your needs!
Introduction
In the realm of terminal graphics, drawing simulations with precision is a crucial aspect for developers and enthusiasts. You have raised an interesting challenge: wanting to draw individual pixels in your terminal rather than using larger character representations. While classical ANSI color coding often falls short due to its limited resolution, the Kitty Graphics Protocol emerges as a promising alternative, enabling detailed pixel-based graphics.
However, implementing the Kitty Graphics Protocol can be a daunting task, especially when resources often reference image file display rather than dynamic pixel manipulation. In this article, we will explore how to harness this protocol in C to create your own pixel-based graphics.
Why the Kitty Graphics Protocol?
The Kitty Graphics Protocol offers significant advantages for rendering pixel graphics within modern terminal emulators. Unlike traditional ASCII and ANSI graphics, which can only draw with characters, Kitty's protocol allows direct manipulation of the graphical context, letting us set individual pixels efficiently. The speed at which Kitty processes pixel data makes it an attractive choice for real-time simulations.
How to Set Up the Kitty Graphics Protocol
Before we dive into actual coding, ensure your terminal supports the Kitty Graphics protocol. Popular terminals like Kitty and Alacritty are designed for this, ensuring the proper functionality of the features we will implement.
Step-by-Step Guide to Drawing Pixels
We will create a C program that uses the Kitty Graphics Protocol to render an array of pixels. Here’s how you can get started.
1. Include Required Headers
First, make sure you have the necessary headers included in your C program:
#include
#include
#include
2. Define Your Pixel Array
Next, define the pixel array that will represent your simulation. Here, we’ll use a simple 10x10 pixel array for demonstration.
#define WIDTH 10
#define HEIGHT 10

void draw_pixel(int x, int y, int r, int g, int b) {
    printf("\e_Ga=%d,b=%d,c=%d;P0\e[0m", r, g, b);
    printf("\e[0;0H\e[0;%dH\e[J\e[u", y, x);
}
3. Implementing Pixel Rendering
In the following function, we will take our pixel data and send it to the terminal using the Kitty graphics escape sequences. Each pixel will be defined by a color in RGB format:
void render_pixels() {
    for (int y = 0; y < HEIGHT; y++) {
        for (int x = 0; x < WIDTH; x++) {
            // Ideally, an array of colors should be defined here
            int r = (x * 255) / WIDTH;
            int g = (y * 255) / HEIGHT;
            int b = 128;
            draw_pixel(x, y, r, g, b);
        }
    }
}
4. Main Function
Now, let’s finalize our C program with a main function to initialize and execute the rendering:
int main() {
    printf("\e[?1049h"); // Enable alternate screen buffer
    printf("\e[H"); // Move cursor to home position

    render_pixels();

    printf("\e[?1049l"); // Disable alternate screen buffer
    return 0;
}
5. Compile and Run Your Program
To compile your program, save the code to a file called pixel_render.c. Use the following command to compile it:
gcc pixel_render.c -o pixel_render
Then run your program using:
./pixel_render
You should see a 10x10 grid of pixels rendered in varying colors based on their x and y coordinates. Adjust the pixel drawing function as necessary to implement your specific simulation logic.
Tips for Further Development
- Dynamic Resizing: To make your application more interesting, consider allowing dynamic resizing of the display area.
- User Input: Implement user inputs that change pixel colors or shapes, making your simulation interactive.
- Optimization: Use buffering techniques to optimize redrawing of pixels by minimizing repetitive console operations.
Frequently Asked Questions
What terminal emulator do I need?
To effectively use the Kitty Graphics protocol, you need a terminal emulator that supports it, such as Kitty itself or compatible alternatives.
Can I use other colors?
Yes! The RGB values you choose can depict various colors. Feel free to implement an array of RGB values for complex images rather than mere gradient colors.
What if my terminal doesn't support Kitty?
In that case, consider switching to a supported terminal or look into alternatives like Sixel for raster graphics, but note it might not perform as quickly as Kitty.
Conclusion
By implementing the Kitty Graphics Protocol in C, you can definitively overcome the limitations of traditional ASCII rendering. With the code provided, you should be able to visualize your simulations with individual pixel control. Explore further possibilities by enhancing and modifying the basic example to suit your needs!