


![[The AI Show Episode 143]: ChatGPT Revenue Surge, New AGI Timelines, Amazon’s AI Agent, Claude for Education, Model Context Protocol & LLMs Pass the Turing Test](https://www.marketingaiinstitute.com/hubfs/ep%20143%20cover.png)


![Hostinger Horizons lets you effortlessly turn ideas into web apps without coding [10% off]](https://i0.wp.com/9to5mac.com/wp-content/uploads/sites/6/2025/04/IMG_1551.png?resize=1200%2C628&quality=82&strip=all&ssl=1)


![This new Google TV streaming dongle looks just like a Chromecast [Gallery]](https://i0.wp.com/9to5google.com/wp-content/uploads/sites/4/2025/04/thomson-cast-150-google-tv-1.jpg?resize=1200%2C628&quality=82&strip=all&ssl=1)


![Apple Drops New Immersive Adventure Episode for Vision Pro: 'Hill Climb' [Video]](https://www.iclarified.com/images/news/97133/97133/97133-640.jpg)

![Most iPhones Sold in the U.S. Will Be Made in India by 2026 [Report]](https://www.iclarified.com/images/news/97130/97130/97130-640.jpg)
![Apple to Shift Robotics Unit From AI Division to Hardware Engineering [Report]](https://www.iclarified.com/images/news/97128/97128/97128-640.jpg)


How to Turn Code Into Art and Games with p5.js
What possibilities emerge at the intersection of art and programming? Artists express themselves using mediums like paint, pencils, film, clay, and even sound. But one medium you might not expect? Code! In this article, co-authored by @krarneas, we will explore the world of creative coding with a popular tool called p5.js. What is Creative Coding? Rather than aiming to be purely functional, creative coding focuses more on the expressive and artistic outcome, just like art. It basically combines programming and creativity to produce visuals, sounds, and interactive experiences. There are countless possibilities of what creative coding can produce. Sample Works Made with Creative Coding Southern Chile 2 by Andrew Bryant The random black squares in the image weren't drawn by the artist. Instead, they were generated randomly by the program! Here's another example Mushroom Spore Print by The Hobby Hopper Node Garden by deconbatch Quite mesmerizing, right? Now that you know what creative coding is, let’s dive into one of the most popular and beginner-friendly tools for creative coding, p5.js. What is p5.js? p5.js is an open-source JavaScript library with beginner-friendly tools for creating beautiful, interactive art. It’s based on a language called Processing (also known as Processing 5 or P5). Processing is a Java-based sketchbook designed to help artists and designers learn programming in the context of visual art. Eventually, p5.js was developed, using JavaScript to make creative coding more accessible on the web. It supports modern web development tools and plugins, making it the perfect choice for developing interactive experiences directly in the browser. What is it used for? p5.js is used to create interactive experiences on the web. Here are a few examples of the things you can do with it: Generative Art Animations Audio Visualization Image Manipulation Game Development Getting Started In this article, we will mainly focus on writing codes on the p5.js web editor. But, you can go to this link to download the library file if you want to develop locally. The Web Editor Click here to open the web editor. You can code here and run the program to see the result instantly, but it’s important to note that in order to save your sketches, you have to make an account. Tip: You can choose between Light, Dark, or High Contrast for the theme. You can find this under the General Settings. When you first open the editor, you will see something like this: function setup() { createCanvas(400, 400); } function draw() { background(220); } Let’s break it down to understand how it works: setup() The setup function runs only once at the beginning. It’s where you set initial configurations like the canvas size. In the code above, we’re creating a canvas of size 400x400 pixels using createCanvas(width, height). draw() The draw function runs over and over, updating the canvas every time it’s called. Its default rate is 60 FPS (frames per second), which means it updates the canvas 60 times per second. This loop continues until the program is stopped. Inside the draw function, you can see background(220). This turns the color of your canvas into light gray. The number you pass to this function represents a grayscale value: 0 for black 255 for white Any number in between gives a shade of gray Building your first sketch with simple shapes Let's start with a simple line first. function setup() { createCanvas(400, 400); } function draw(){ line(0, 200, 300, 200); // x1, y1, x2, y2 } Note: The top-left corner of the canvas is the origin (0,0) in the p5.js coordinate system Draw a circle using this code function setup() { createCanvas(400, 400); // Set canvas size background(220); // Set background color } function draw() { ellipse(200, 200, 100, 100); // Circle at position (200, 200) 100px size } Change its position or resize it by adjusting the values in the parameters! Try making a triangle. function setup() { createCanvas(400, 400); background(240); } function draw(){ fill(0 , 255, 0); // fill with green triangle(200, 100, 100, 300, 300, 300); // top point, bottom-left, bottom-right } We colored the shape using fill()! Make a Drawing Pad Let’s turn your mouse into a brush! function setup() { createCanvas(800, 400); //Set canvas size background(255); // White background } function draw() { if (mouseIsPressed) { // If mouse button is pressed stroke(0); // Set stroke color to black strokeWeight(4); // Set line thickness to 4px line(pmouseX, pmouseY, mouseX, mouseY); // Draw line from previous to current mouse position } } Try this: Change the stroke(0) to another color like stroke(‘red’) or change strokeWeight(4) to strokeWeight(
What possibilities emerge at the intersection of art and programming?
Artists express themselves using mediums like paint, pencils, film, clay, and even sound. But one medium you might not expect? Code!
In this article, co-authored by @krarneas, we will explore the world of creative coding with a popular tool called p5.js.
What is Creative Coding?
Rather than aiming to be purely functional, creative coding focuses more on the expressive and artistic outcome, just like art. It basically combines programming and creativity to produce visuals, sounds, and interactive experiences. There are countless possibilities of what creative coding can produce.
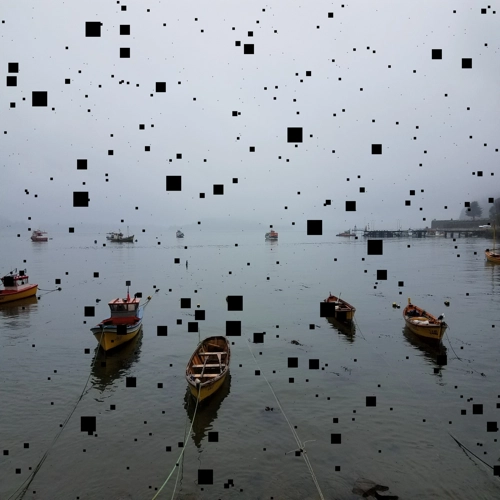
Sample Works Made with Creative Coding
Southern Chile 2 by Andrew Bryant
The random black squares in the image weren't drawn by the artist. Instead, they were generated randomly by the program!
Here's another example
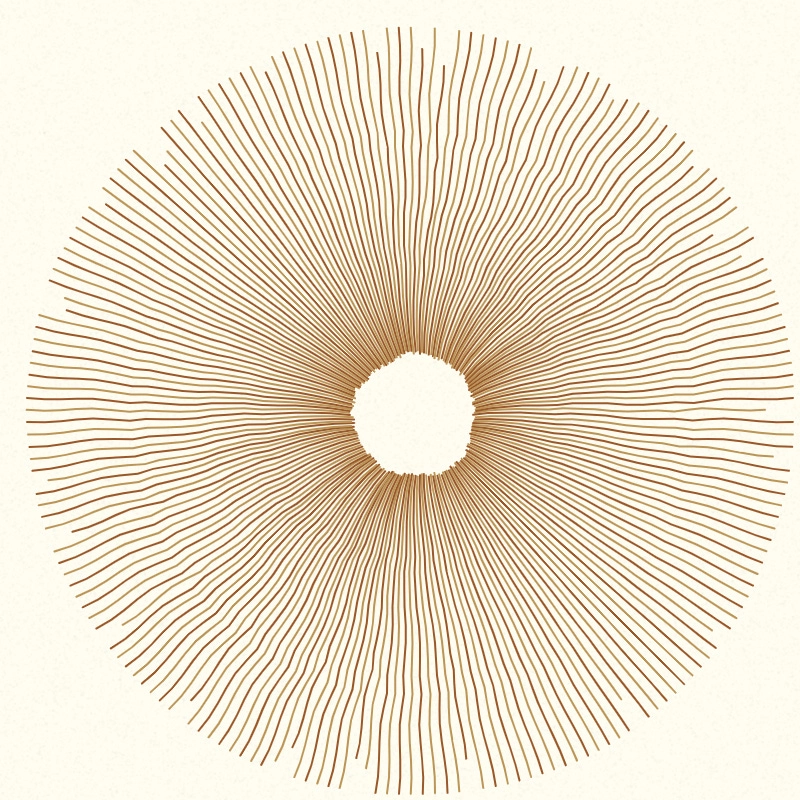 Mushroom Spore Print by The Hobby Hopper
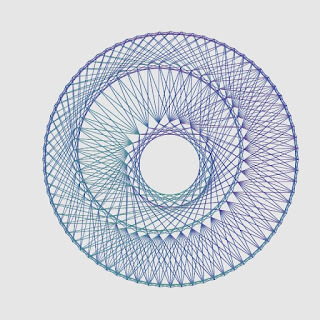
Quite mesmerizing, right?
Now that you know what creative coding is, let’s dive into one of the most popular and beginner-friendly tools for creative coding, p5.js.
What is p5.js?
p5.js is an open-source JavaScript library with beginner-friendly tools for creating beautiful, interactive art.
It’s based on a language called Processing (also known as Processing 5 or P5). Processing is a Java-based sketchbook designed to help artists and designers learn programming in the context of visual art. Eventually, p5.js was developed, using JavaScript to make creative coding more accessible on the web. It supports modern web development tools and plugins, making it the perfect choice for developing interactive experiences directly in the browser.
What is it used for?
p5.js is used to create interactive experiences on the web. Here are a few examples of the things you can do with it:
- Generative Art
- Animations
- Audio Visualization
- Image Manipulation
- Game Development
Getting Started
In this article, we will mainly focus on writing codes on the p5.js web editor. But, you can go to this link to download the library file if you want to develop locally.
The Web Editor
Click here to open the web editor. You can code here and run the program to see the result instantly, but it’s important to note that in order to save your sketches, you have to make an account.
Tip: You can choose between Light, Dark, or High Contrast for the theme. You can find this under the General Settings.
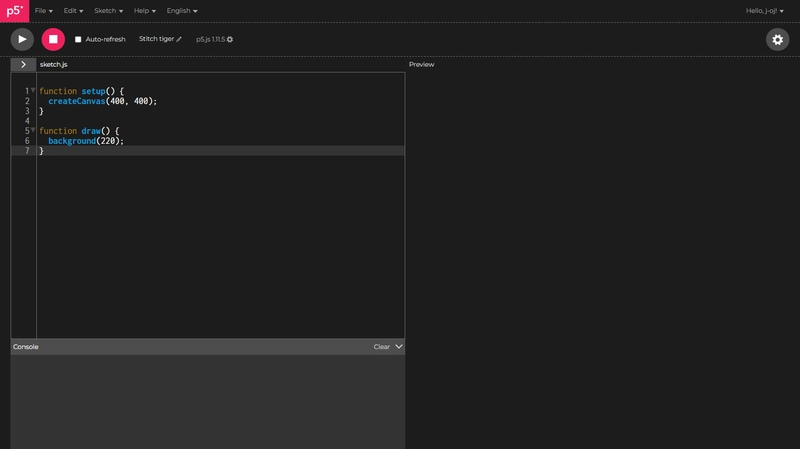
When you first open the editor, you will see something like this:
function setup() {
  createCanvas(400, 400);
}

function draw() {
  background(220);
}
Let’s break it down to understand how it works:
setup()
The setup function runs only once at the beginning. It’s where you set initial configurations like the canvas size. In the code above, we’re creating a canvas of size 400x400 pixels using createCanvas(width, height).
draw()
The draw function runs over and over, updating the canvas every time it’s called. Its default rate is 60 FPS (frames per second), which means it updates the canvas 60 times per second. This loop continues until the program is stopped.
Inside the draw function, you can see background(220). This turns the color of your canvas into light gray. The number you pass to this function represents a grayscale value:
- 0 for black
- 255 for white
- Any number in between gives a shade of gray
Building your first sketch with simple shapes
Let's start with a simple line first.
function setup() {
  createCanvas(400, 400);
}

function draw(){
  line(0, 200, 300, 200); // x1, y1, x2, y2
}
Note: The top-left corner of the canvas is the origin (0,0) in the p5.js coordinate system
Draw a circle using this code
function setup() {
  createCanvas(400, 400); // Set canvas size
  background(220);  // Set background color
}

function draw() {
  ellipse(200, 200, 100, 100);  // Circle at position (200, 200) 100px size
}
Change its position or resize it by adjusting the values in the parameters!
Try making a triangle.
function setup() {
  createCanvas(400, 400);
  background(240);
}

function draw(){
  fill(0 , 255, 0);   // fill with green
  triangle(200, 100, 100, 300, 300, 300); // top point, bottom-left, bottom-right
}
We colored the shape using
fill()!
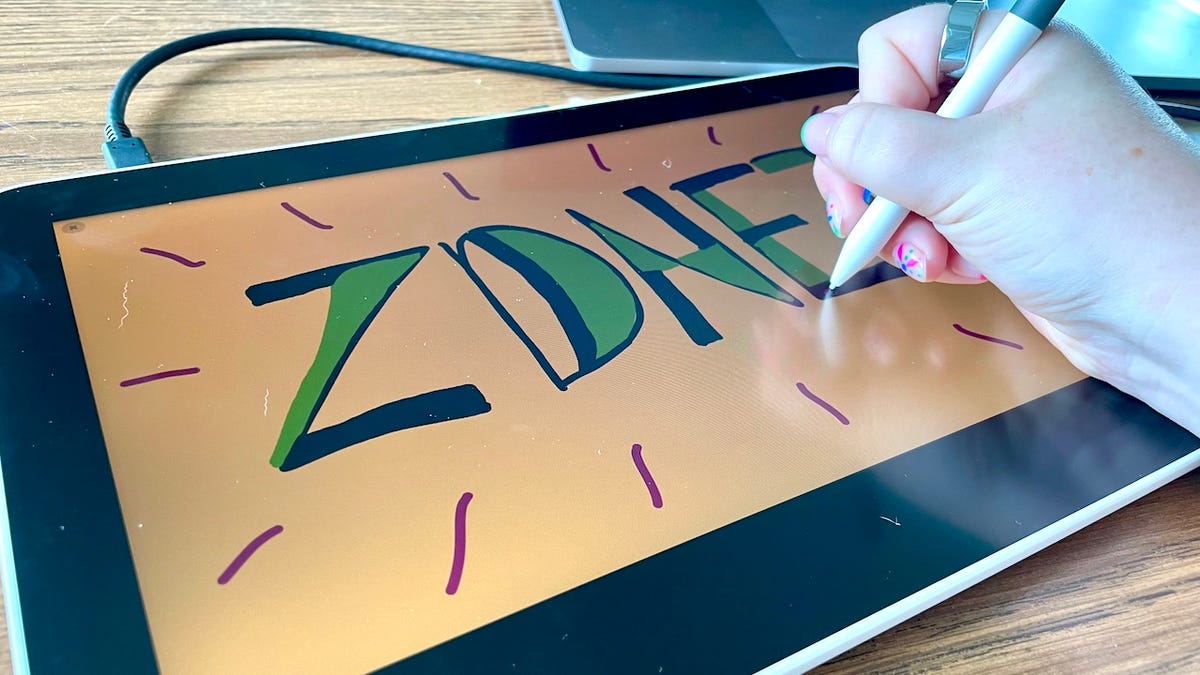
Make a Drawing Pad
Let’s turn your mouse into a brush!
function setup() {
  createCanvas(800, 400); //Set canvas size
  background(255); // White background
}

function draw() {

  if (mouseIsPressed) { // If mouse button is pressed
    stroke(0);      // Set stroke color to black
    strokeWeight(4);    // Set line thickness to 4px
    line(pmouseX, pmouseY, mouseX, mouseY); // Draw line from previous to current mouse position
  }
}
Try this: Change the
stroke(0)to another color likestroke(‘red’)or changestrokeWeight(4)tostrokeWeight(10)
Building a Basic Shooter Game
In this example, we’ll create a simple interactive game mechanic where a player can shoot bullets and move left or right.
let playerX;      // Player's x position
let bullets = []; // Array to store bullets

function setup() {
  createCanvas(700, 500);  // Set canvas size
  playerX = width / 2;     // Position player to center
}

function draw() {
  background(0);  // Black background

  // Draw player
  fill(255);  // Fill with white
  rect(playerX, 400, 40, 20);  // Draw rectangle (player)

  // Draw bullets
  for (let i = 0; i < bullets.length; i++) {
    bullets[i].y -= 5;                        // Move bullet up
    rect(bullets[i].x, bullets[i].y, 5, 10);
  }

  // Remove bullets offscreen
  bullets = bullets.filter(b => b.y > 0);
}

function keyPressed() {
  // Move player left
  if (keyCode === LEFT_ARROW) {
    playerX -= 20;
  }
  // Move player right
  else if (keyCode === RIGHT_ARROW) {
    playerX += 20;
  }
  // Shoot bullets when spacebar is pressed
  else if (key === ' ') {
    bullets.push({ x: playerX + 17.5, y: 350 });
  }
}
You can keep expanding the code to create objects to shoot at and even add some logic to turn it into a fully functional game!
Game Development
At this point, you've already created the foundation of a simple game. But creating a fully developed game starts with understanding the basics of p5.js:
Lines and shapes
Draw characters, objects, and environments using functions likeline(),ellipse(), andrect().Animation
Animate objects by updating visuals frame by frame. This is achieved by thedraw()function.Interaction
Make the game responsive through mouse and keyboard inputs likemouseX,mouseY, andkeyPressed().Media
Enhance the game experience by adding media assets like images and audios using functions likeloadImage()andplaySound().
For the complete list of predefined functions, visit the p5.js reference documentation.
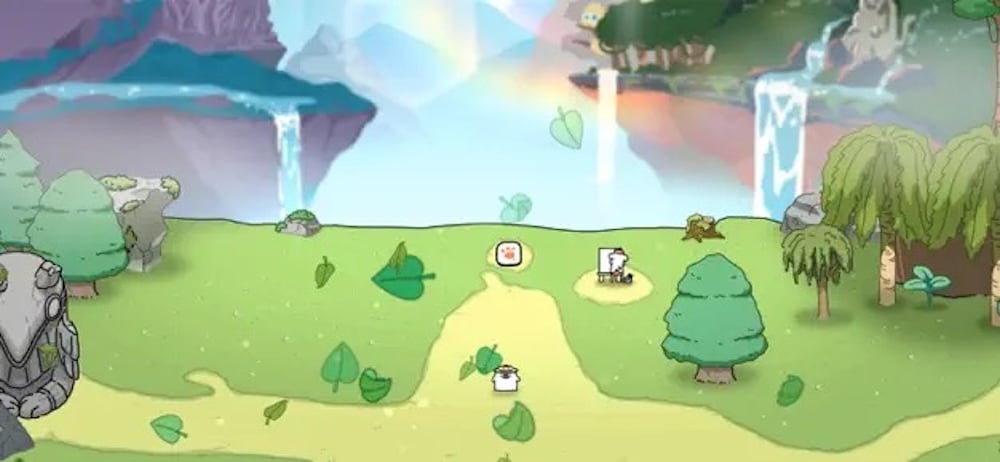
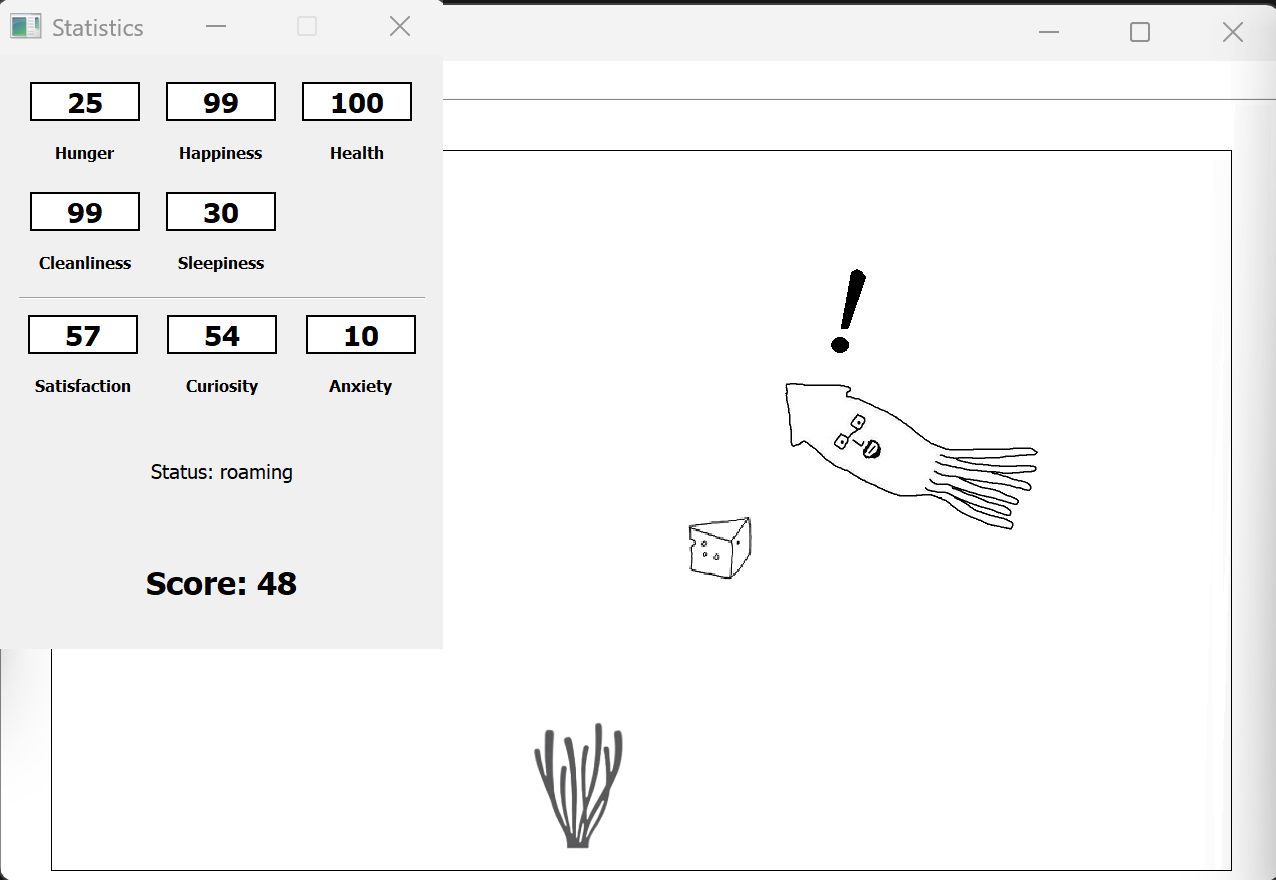
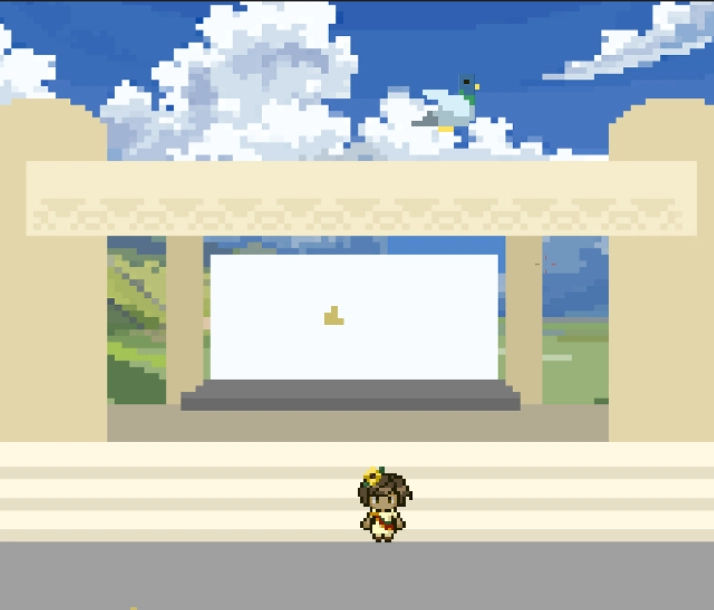
Sample Game
Wanna see what you can do by combining the basics?
Check out this game we made!
Where to Go From Here
One of the best things about p5.js is its welcoming and inclusive community. As their official site says:
“We are all learners. We share and value many kinds of knowledge. We do not assume knowledge or imply that somebody should already know. We maintain a beginner’s mind, and believe that newcomers are just as valuable as experts.”
So don’t be afraid to explore. Keep experimenting and see where your creativity takes you. Most importantly, have fun!
Here are some amazing resources to help you get started:
- p5.js Video Tutorials by The Coding Train
- Creative Coding for Beginners Playlist by Patt Vira
- Exploring the Power of p5.js
- p5.js Tutorials
- Learn p5.js Course by Codecademy
Thank you for reading this article! We hope you're curious enough to build something great with p5.js <3
Special thanks to @rakunnn for his helpful feedback.
Happy coding!