


![[The AI Show Episode 144]: ChatGPT’s New Memory, Shopify CEO’s Leaked “AI First” Memo, Google Cloud Next Releases, o3 and o4-mini Coming Soon & Llama 4’s Rocky Launch](https://www.marketingaiinstitute.com/hubfs/ep%20144%20cover.png)


_Andreas_Prott_Alamy.jpg?width=1280&auto=webp&quality=80&disable=upscale#)


![What features do you get with Gemini Advanced? [April 2025]](https://i0.wp.com/9to5google.com/wp-content/uploads/sites/4/2024/02/gemini-advanced-cover.jpg?resize=1200%2C628&quality=82&strip=all&ssl=1)


![Apple Shares Official Trailer for 'Long Way Home' Starring Ewan McGregor and Charley Boorman [Video]](https://www.iclarified.com/images/news/97069/97069/97069-640.jpg)
![Apple Watch Series 10 Back On Sale for $299! [Lowest Price Ever]](https://www.iclarified.com/images/news/96657/96657/96657-640.jpg)
![EU Postpones Apple App Store Fines Amid Tariff Negotiations [Report]](https://www.iclarified.com/images/news/97068/97068/97068-640.jpg)


Hosting web app on your old Android phone
Recently, I was developing a simple bot to interact with a WhatsApp group. The code was pretty straightforward: a webhook that would read messages from the app and save data to a MongoDB database. As I continued working on the bot, I realized I needed to learn more about deploying such applications in real-world environments. To do this, I decided I wanted to self-host the application on a local server, like a Raspberry Pi, and started researching different models and their prices. However, to my surprise, the prices for these devices had significantly increased due to a global chip shortage and the rising demand for Raspberry Pis. After spending some time looking at the inflated prices, I grew frustrated and began considering alternative solutions. That's when it hit me: I have an old Android phone – a Galaxy S9 – which is still quite powerful and functional even by today’s standards. Since it’s an Android, I wondered, could I run Linux on it? Curious to explore this possibility, I began researching how I could run a Node.js application on my phone. Spoiler alert: it worked! In this article, I’ll walk you through how I managed to turn my Galaxy S9 into a fully functional Node.js server using Termux. Along the way, I learned how Termux transforms an Android device into a powerful Linux environment, and how you can leverage your old phone as a local server for development or even small-scale production tasks. This setup can be incredibly useful if you’re looking to experiment or deploy projects without investing in extra hardware. Installing Termux The first step is to install Termux, which is a powerful terminal emulator for Android that provides a Linux-like environment. Go to the Play Store on your Android phone and install Termux. Opening Termux Once installed, open the Termux app, and let’s start by updating all the Termux packages: pkg update Setting Up SSH Access To make things easier and avoid constantly typing on the phone’s small keyboard, I decided to set up SSH so that I could access the phone remotely from my computer. 1- Install the openssh package: pkg install openssh 2- Start the SSH server: sshd 3- Find the Termux IP address: ifconfig 4- Find the Termux username: whoami 5- Set a password for SSH access: passwd Now, from your computer, you can connect to your phone via SSH: ssh @ At this point, you have a fully functional Linux environment running on your phone, and you can access it remotely via SSH. Optionally, you can install tmux, a terminal multiplexer, which allows you to execute multiple applications in the same terminal session. I used tmux to manage tasks like port forwarding and running the Node.js application simultaneously. Setting Up a Cloudflare Tunnel To expose your application to the internet, you can use Cloudflare Tunnel. This will create a secure connection between your local server and the internet, making your Node.js application accessible. 1- Install cloudflared: pkg install cloudflared 2- Run the following command to create a tunnel for your application: cloudflared tunnel --url http://localhost:3000 Once the tunnel is running, you’ll be provided with a public URL that you can use to access your API from anywhere. Installing Node.js Termux makes it incredibly easy to install Node.js and start building applications. 1- To install Node.js, simply run the following command: pkg install nodejs 2- Once Node.js is installed, you can start your Node.js application and expose it to the internet using the Cloudflare tunnel we set up earlier. After completing these steps, my Node.js application was successfully running and publicly accessible, all from my old Android phone! I was able to deploy my bot, which interacted with the WhatsApp group and stored data in MongoDB, directly from my phone. This setup is surprisingly powerful and proves that you don’t need expensive hardware to host applications; an old Android phone can easily do the job.
Recently, I was developing a simple bot to interact with a WhatsApp group. The code was pretty straightforward: a webhook that would read messages from the app and save data to a MongoDB database. As I continued working on the bot, I realized I needed to learn more about deploying such applications in real-world environments. To do this, I decided I wanted to self-host the application on a local server, like a Raspberry Pi, and started researching different models and their prices.
However, to my surprise, the prices for these devices had significantly increased due to a global chip shortage and the rising demand for Raspberry Pis. After spending some time looking at the inflated prices, I grew frustrated and began considering alternative solutions. That's when it hit me: I have an old Android phone – a Galaxy S9 – which is still quite powerful and functional even by today’s standards. Since it’s an Android, I wondered, could I run Linux on it?
Curious to explore this possibility, I began researching how I could run a Node.js application on my phone. Spoiler alert: it worked!
In this article, I’ll walk you through how I managed to turn my Galaxy S9 into a fully functional Node.js server using Termux. Along the way, I learned how Termux transforms an Android device into a powerful Linux environment, and how you can leverage your old phone as a local server for development or even small-scale production tasks. This setup can be incredibly useful if you’re looking to experiment or deploy projects without investing in extra hardware.
Installing Termux
The first step is to install Termux, which is a powerful terminal emulator for Android that provides a Linux-like environment.
- Go to the Play Store on your Android phone and install Termux.
Opening Termux
Once installed, open the Termux app, and let’s start by updating all the Termux packages:
pkg update
Setting Up SSH Access
To make things easier and avoid constantly typing on the phone’s small keyboard, I decided to set up SSH so that I could access the phone remotely from my computer.
1- Install the openssh package:
pkg install openssh
2- Start the SSH server:
sshd
3- Find the Termux IP address:
ifconfig
4- Find the Termux username:
whoami
5- Set a password for SSH access:
passwd
Now, from your computer, you can connect to your phone via SSH:
ssh @
At this point, you have a fully functional Linux environment running on your phone, and you can access it remotely via SSH.
Optionally, you can install tmux, a terminal multiplexer, which allows you to execute multiple applications in the same terminal session. I used tmux to manage tasks like port forwarding and running the Node.js application simultaneously.
Setting Up a Cloudflare Tunnel
To expose your application to the internet, you can use Cloudflare Tunnel. This will create a secure connection between your local server and the internet, making your Node.js application accessible.
1- Install cloudflared:
pkg install cloudflared
2- Run the following command to create a tunnel for your application:
cloudflared tunnel --url http://localhost:3000
Once the tunnel is running, you’ll be provided with a public URL that you can use to access your API from anywhere.
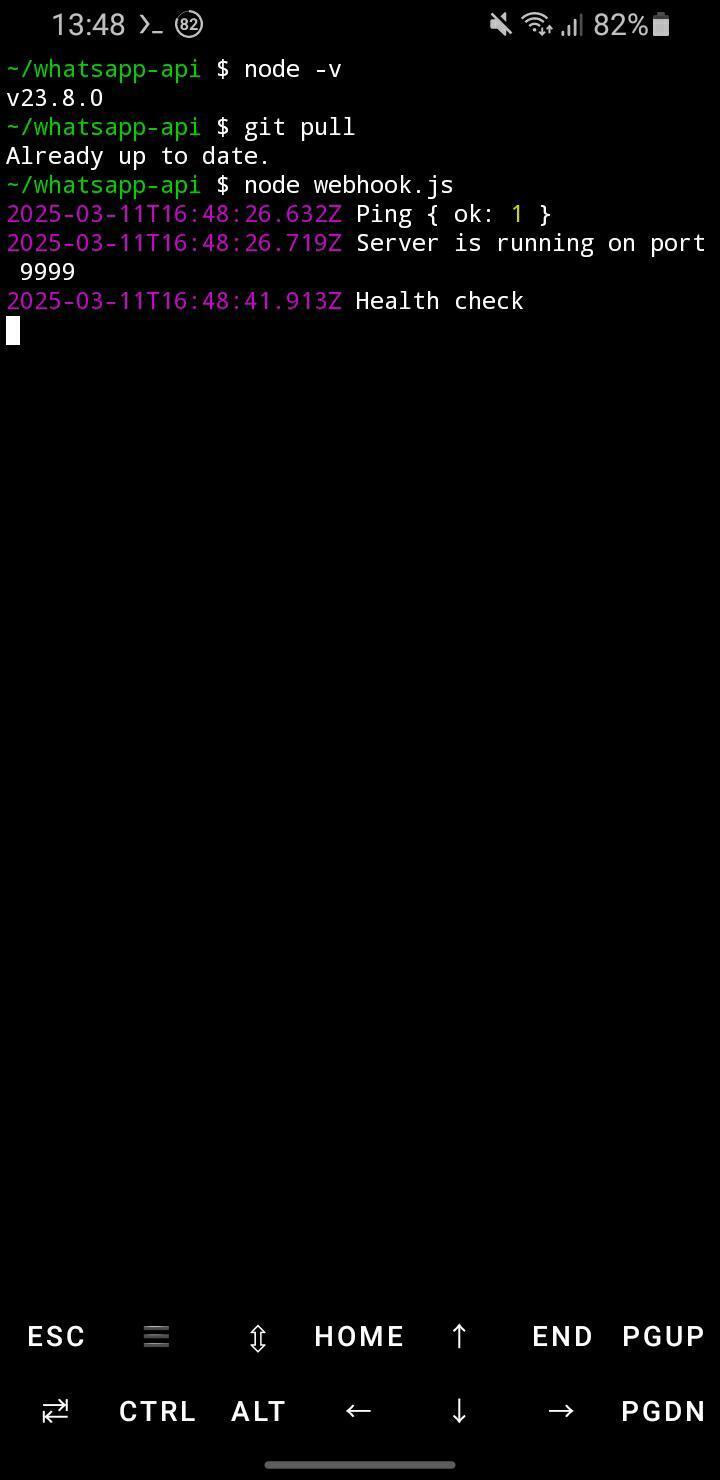
Installing Node.js
Termux makes it incredibly easy to install Node.js and start building applications.
1- To install Node.js, simply run the following command:
pkg install nodejs
2- Once Node.js is installed, you can start your Node.js application and expose it to the internet using the Cloudflare tunnel we set up earlier.
After completing these steps, my Node.js application was successfully running and publicly accessible, all from my old Android phone! I was able to deploy my bot, which interacted with the WhatsApp group and stored data in MongoDB, directly from my phone. This setup is surprisingly powerful and proves that you don’t need expensive hardware to host applications; an old Android phone can easily do the job.