A BLOG ON HOW TO HOST STATIC WEBSITE ON AZURE BLOG STORAGE
Step 1: Create a Storage Account Go to the Azure Portal. Click on "Create a resource" → Search for "Storage account" → Click "Create". Fill in the necessary fields: Subscription and Resource group Storage account name (must be unique globally) Choose Region Choose Performance and Replication as needed Click "Review + create" → then "Create". Step 2: Enable Static Website Hosting After deployment, go to the Storage Account you just created. In the left sidebar, scroll to the "Data management" section and click "Static website". Click "Enable". Set the following: Index document name (e.g., index.html) Error document path (e.g., 404.html) – optional Click Save. Step 3: Upload Website Files In the same storage account, go to "Containers" in the sidebar. You’ll see a new container named $web created automatically for static website hosting. Click on $web → then click "Upload". Upload your index.html, 404.html, and any CSS/JS/images. Ensure files are uploaded with the correct Content-Type (e.g., .html as text/html, .css as text/css). Step 4: Test Your Site Go back to the "Static website" blade. Click on the primary endpoint URL — it should load your index.html.
Step 1: Create a Storage Account
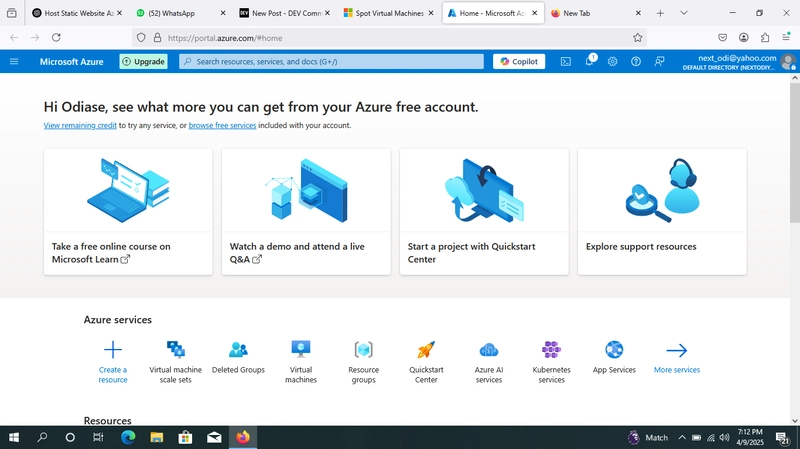
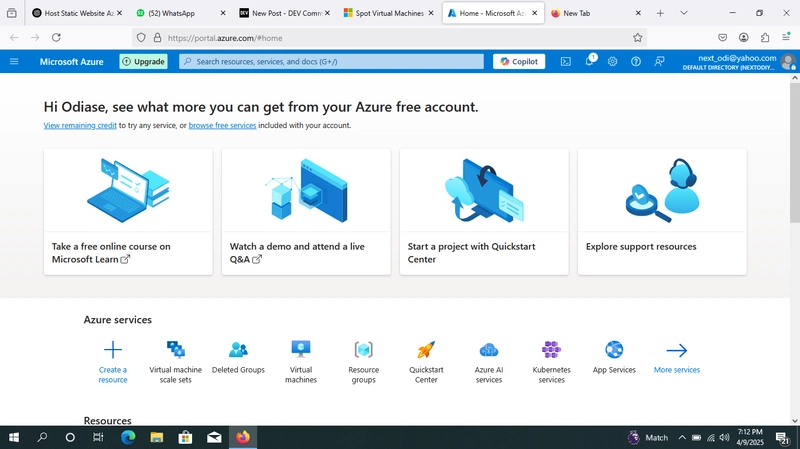
Go to the Azure Portal.

Click on "Create a resource" → Search for "Storage account" → Click "Create".

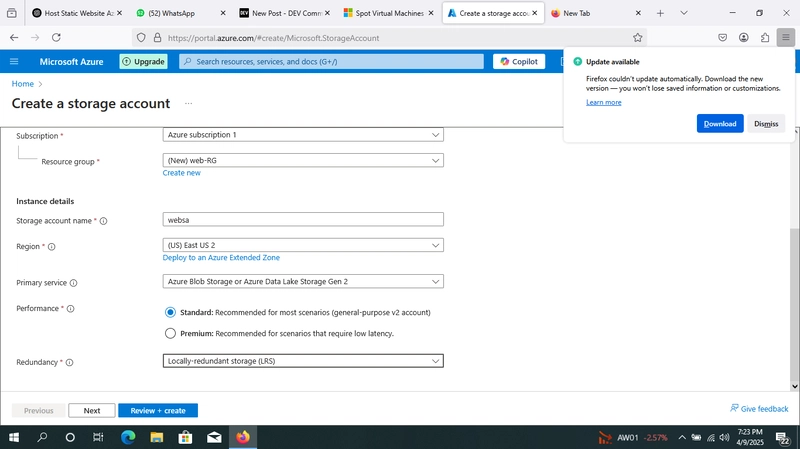
Fill in the necessary fields:

    Subscription and Resource group

    Storage account name (must be unique globally)

    Choose Region

    Choose Performance and Replication as needed

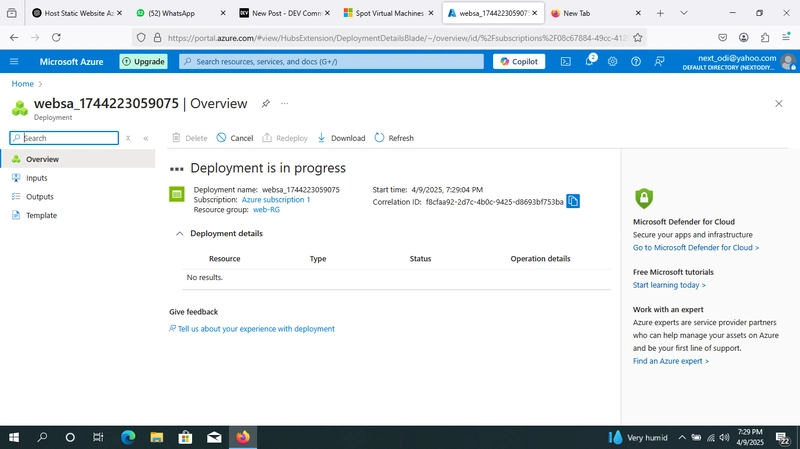
Click "Review + create" → then "Create".
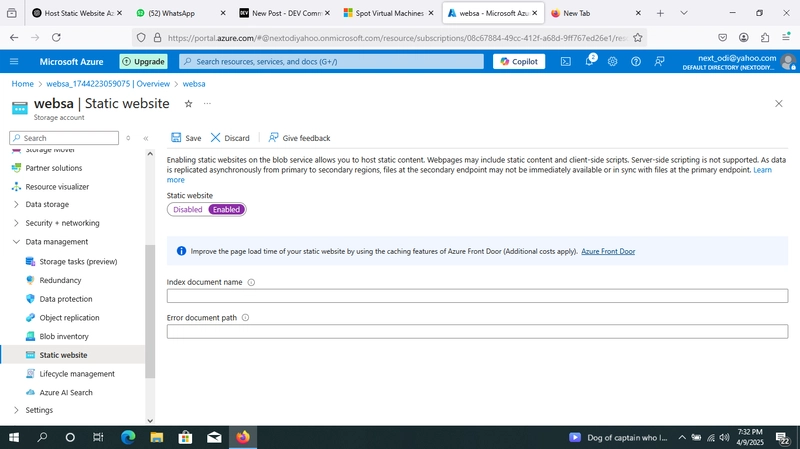
Step 2: Enable Static Website Hosting
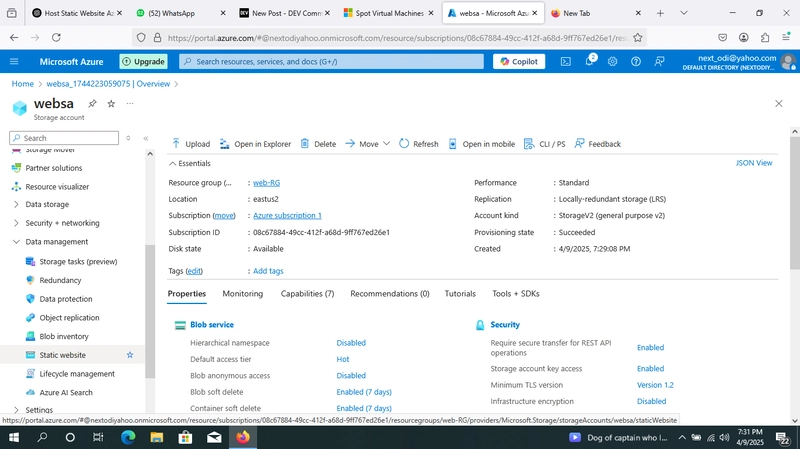
After deployment, go to the Storage Account you just created.

In the left sidebar, scroll to the "Data management" section and click "Static website".

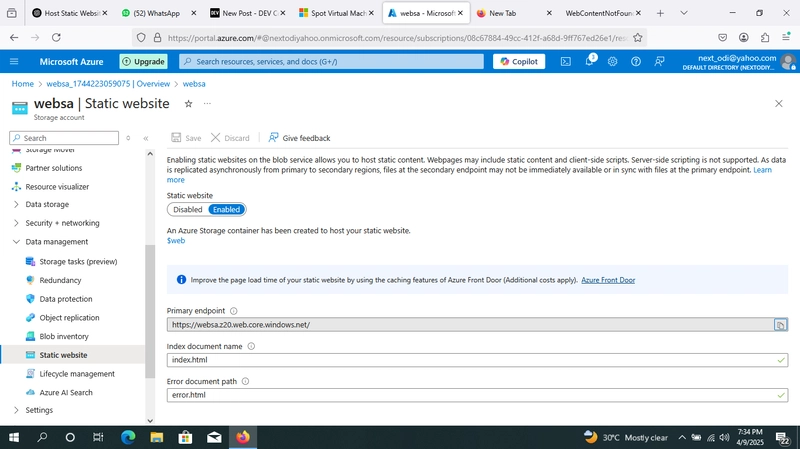
Click "Enable".

Set the following:

    Index document name (e.g., index.html)

    Error document path (e.g., 404.html) – optional

Click Save.
Step 3: Upload Website Files
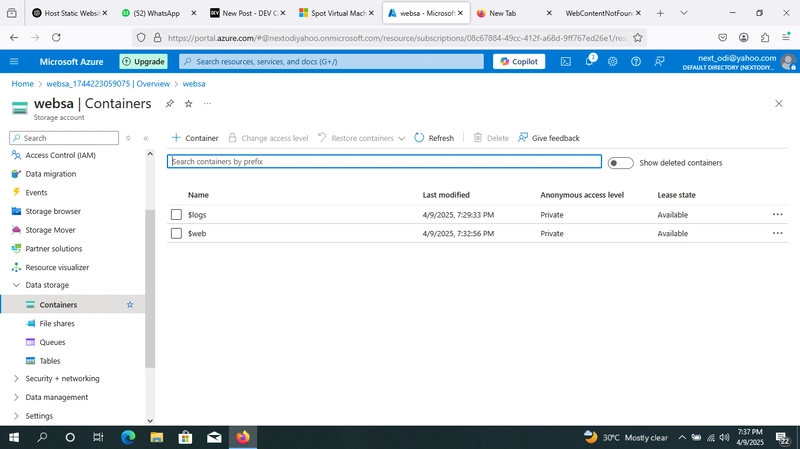
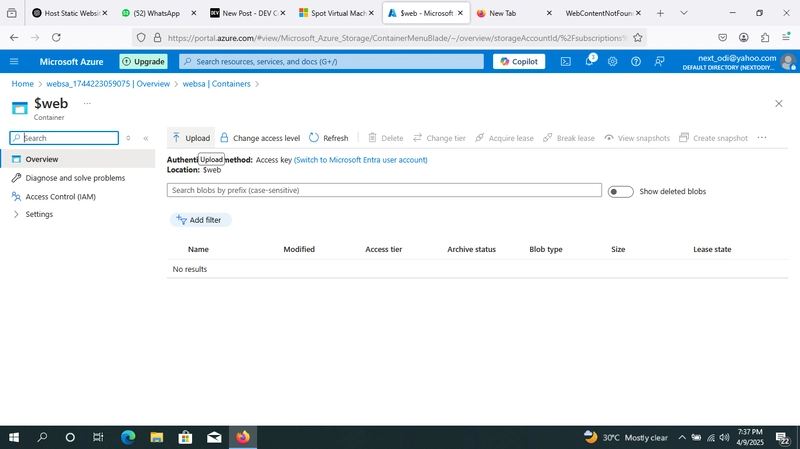
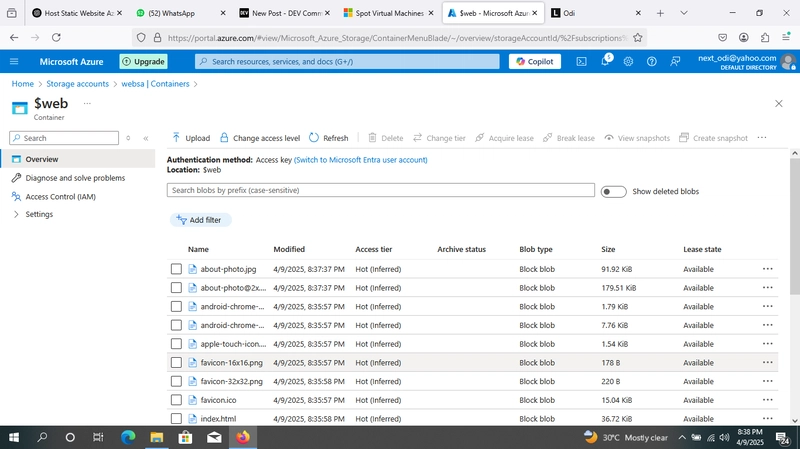
In the same storage account, go to "Containers" in the sidebar.

You’ll see a new container named $web created automatically for static website hosting.

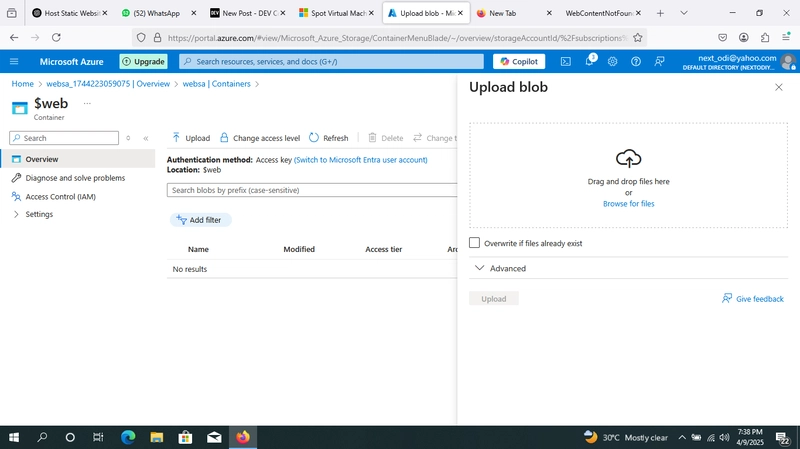
Click on $web → then click "Upload".

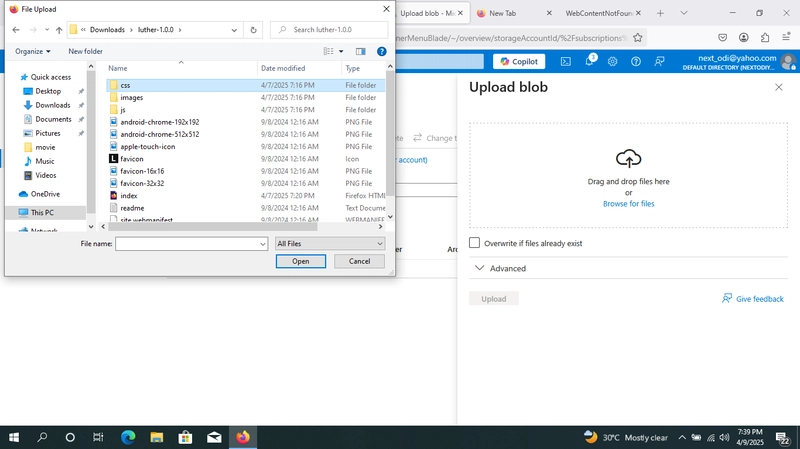
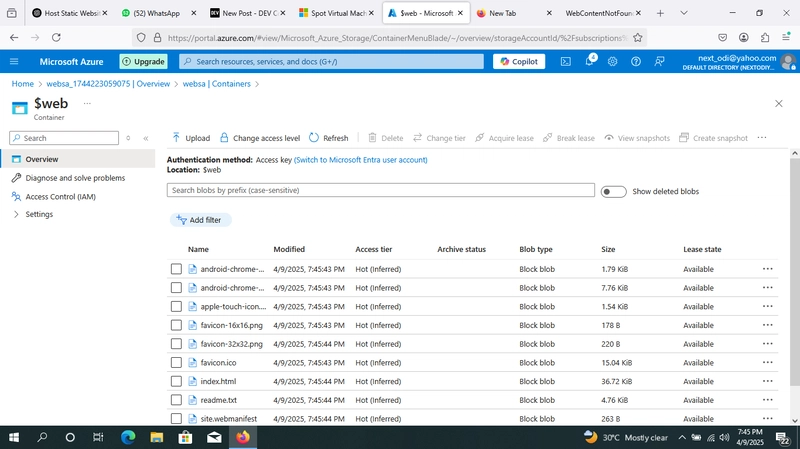
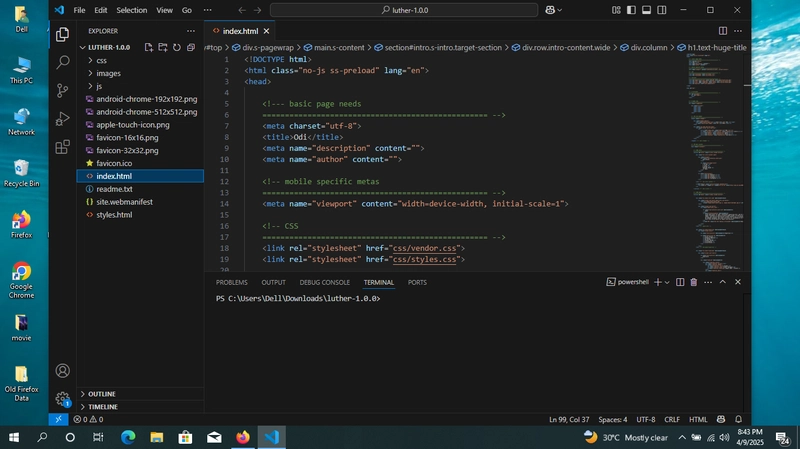
Upload your index.html, 404.html, and any CSS/JS/images.

    Ensure files are uploaded with the correct Content-Type (e.g., .html as text/html, .css as text/css).
Step 4: Test Your Site
Go back to the "Static website" blade.

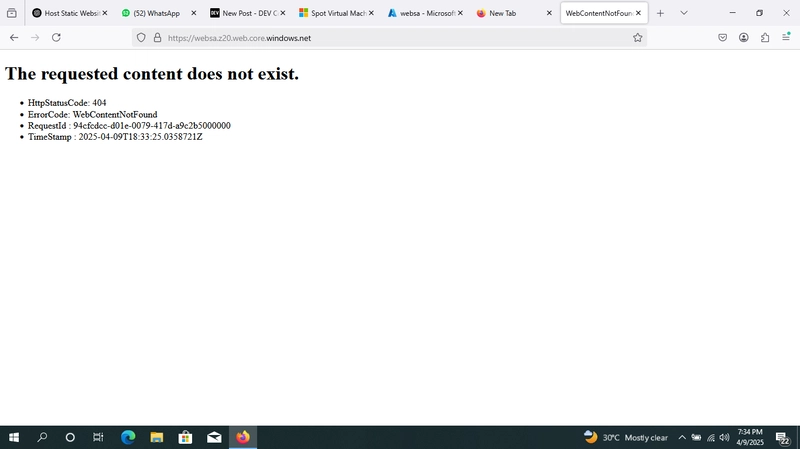
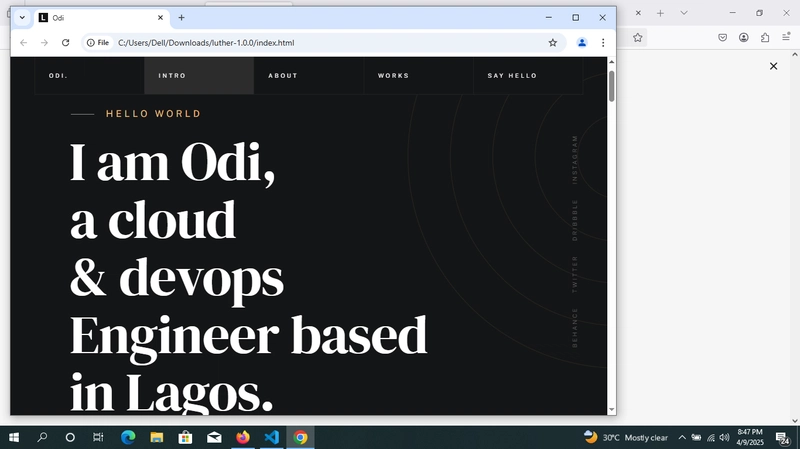
Click on the primary endpoint URL — it should load your index.html.


![[The AI Show Episode 144]: ChatGPT’s New Memory, Shopify CEO’s Leaked “AI First” Memo, Google Cloud Next Releases, o3 and o4-mini Coming Soon & Llama 4’s Rocky Launch](https://www.marketingaiinstitute.com/hubfs/ep%20144%20cover.png)





![[DEALS] The All-in-One Microsoft Office Pro 2019 for Windows: Lifetime License + Windows 11 Pro Bundle (89% off) & Other Deals Up To 98% Off](https://www.javacodegeeks.com/wp-content/uploads/2012/12/jcg-logo.jpg)


![Is this too much for a modular monolith system? [closed]](https://i.sstatic.net/pYL1nsfg.png)


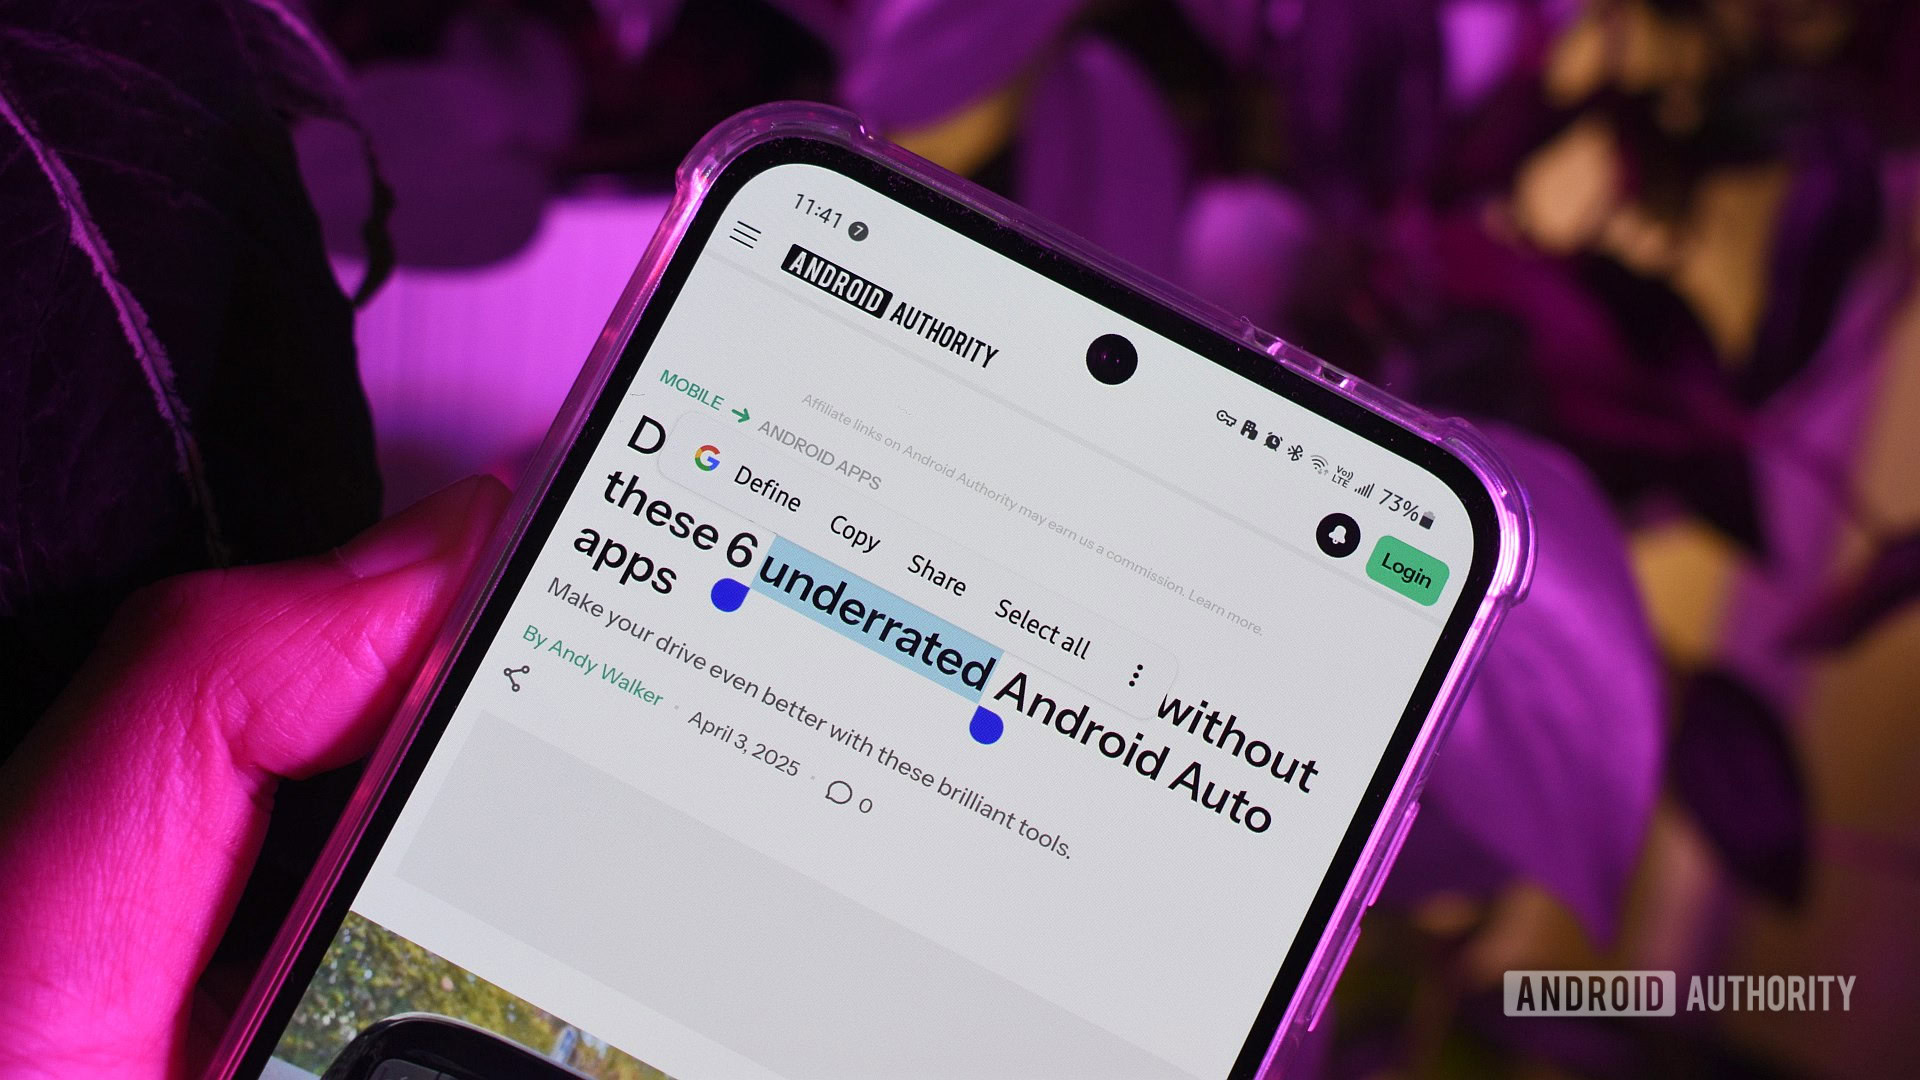



_Andreas_Prott_Alamy.jpg?width=1280&auto=webp&quality=80&disable=upscale#)


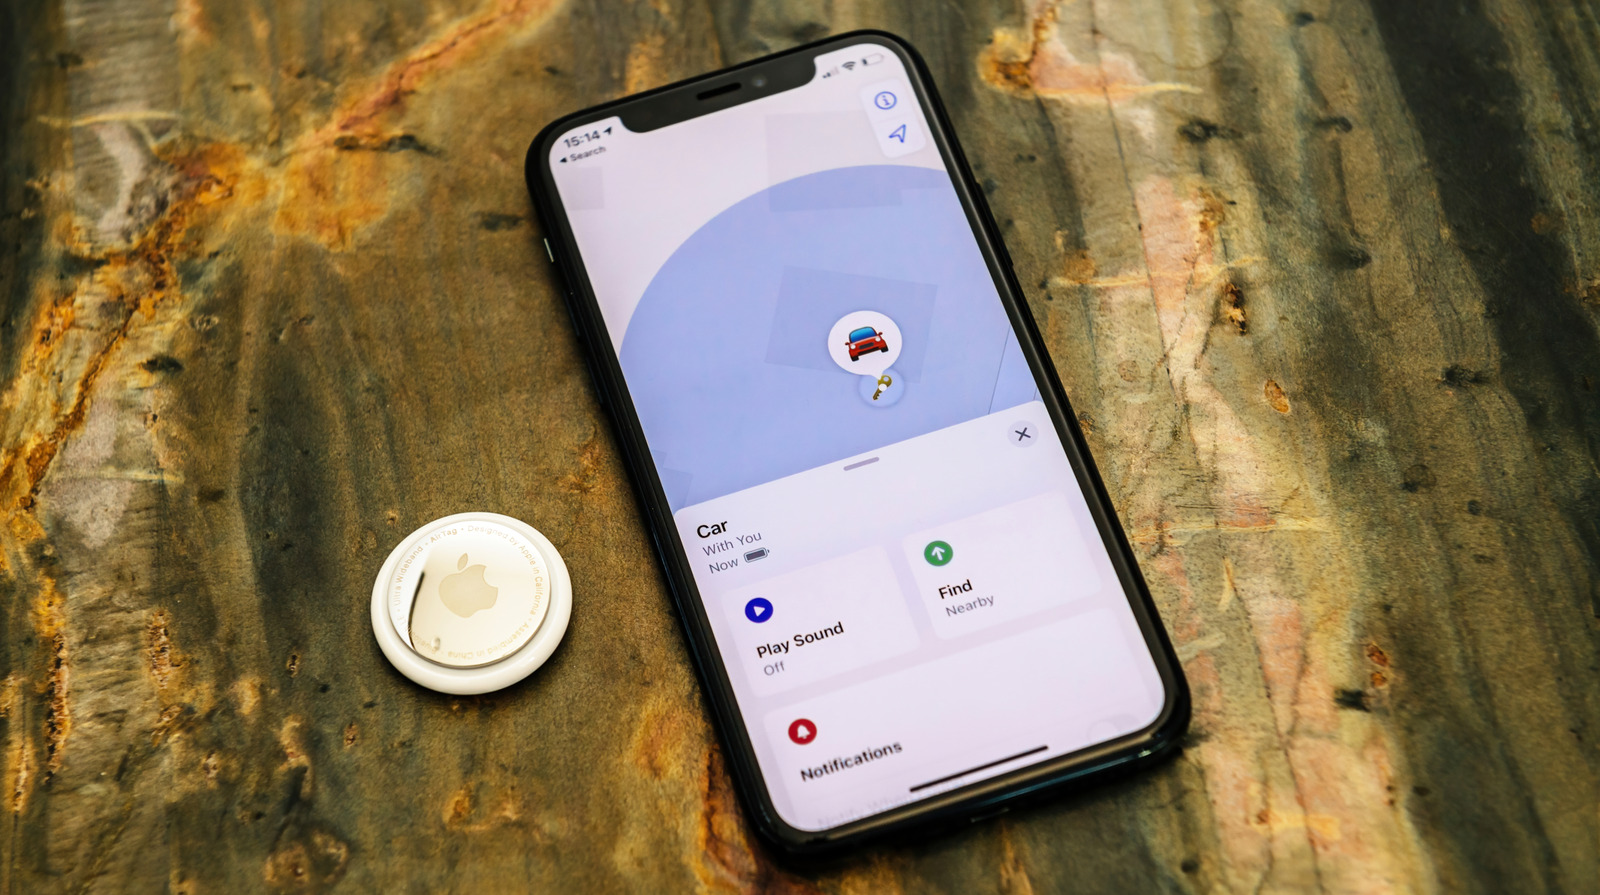





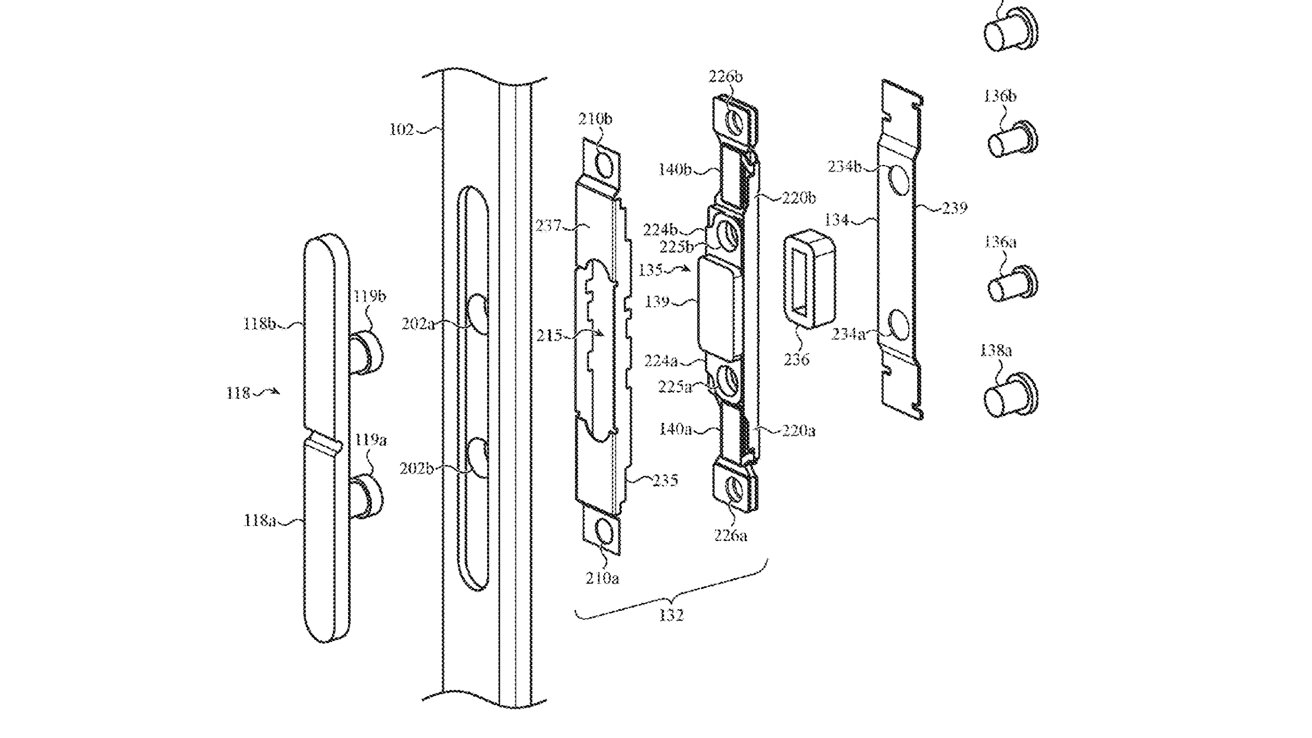


![What features do you get with Gemini Advanced? [April 2025]](https://i0.wp.com/9to5google.com/wp-content/uploads/sites/4/2024/02/gemini-advanced-cover.jpg?resize=1200%2C628&quality=82&strip=all&ssl=1)


![Apple Shares Official Trailer for 'Long Way Home' Starring Ewan McGregor and Charley Boorman [Video]](https://www.iclarified.com/images/news/97069/97069/97069-640.jpg)
![Apple Watch Series 10 Back On Sale for $299! [Lowest Price Ever]](https://www.iclarified.com/images/news/96657/96657/96657-640.jpg)
![EU Postpones Apple App Store Fines Amid Tariff Negotiations [Report]](https://www.iclarified.com/images/news/97068/97068/97068-640.jpg)
![Apple Slips to Fifth in China's Smartphone Market with 9% Decline [Report]](https://www.iclarified.com/images/news/97065/97065/97065-640.jpg)


