


![[The AI Show Episode 142]: ChatGPT’s New Image Generator, Studio Ghibli Craze and Backlash, Gemini 2.5, OpenAI Academy, 4o Updates, Vibe Marketing & xAI Acquires X](https://www.marketingaiinstitute.com/hubfs/ep%20142%20cover.png)


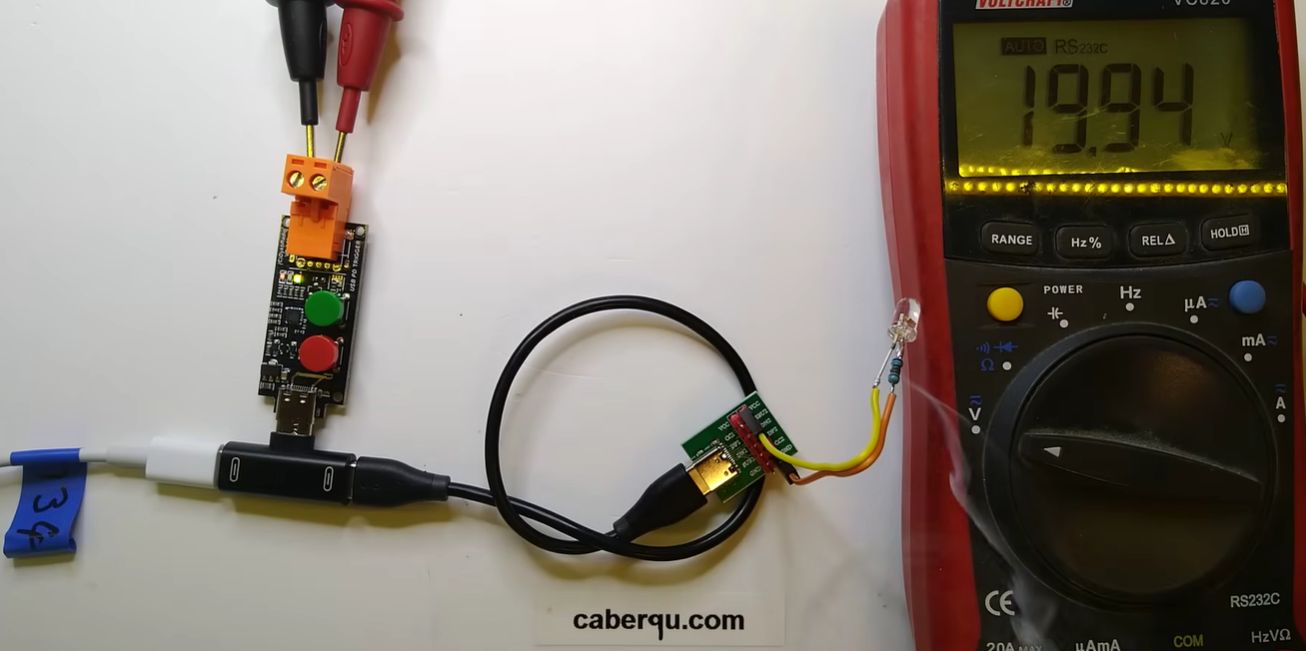
![From drop-out to software architect with Jason Lengstorf [Podcast #167]](https://cdn.hashnode.com/res/hashnode/image/upload/v1743796461357/f3d19cd7-e6f5-4d7c-8bfc-eb974bc8da68.png?#)


![Switch 2 Pre-Order Rules Are Some BS: Here's How They Work [Update]](https://i.kinja-img.com/image/upload/c_fill,h_675,pg_1,q_80,w_1200/485ec87fd3cea832387b2699e4cbd2a1.jpg)


.png?#)


(1).jpg?width=1920&height=1920&fit=bounds&quality=80&format=jpg&auto=webp#)


-Mario-Kart-World-Hands-On-Preview-Is-It-Good-00-08-36.jpg?width=1920&height=1920&fit=bounds&quality=80&format=jpg&auto=webp#)


_NicoElNino_Alamy.png?#)
_Igor_Mojzes_Alamy.jpg?#)

.webp?#)
.webp?#)


![Blackmagic Design Unveils DaVinci Resolve 20 With Over 100 New Features and AI Tools [Video]](https://www.iclarified.com/images/news/96951/96951/96951-640.jpg)


![Apple Considers Delaying Smart Home Hub Until 2026 [Gurman]](https://www.iclarified.com/images/news/96946/96946/96946-640.jpg)


Hands-on Android Development: Building Apps with Java & Android Studio
What is Android Studio? Android Studio is the official Integrated Development Environment (IDE) for Android app development, built by Google. It provides developers with a powerful and flexible environment to design, develop, test, and debug Android applications efficiently. Key Features of Android Studio: ✅ Intelligent Code Editor: It supports Java, Kotlin, and C++, offering features like code completion, refactoring, and real-time error checking. ✅ Layout Editor: A drag-and-drop UI designer that helps developers design app interfaces visually without writing XML manually. ✅ Gradle Build System: Automates and optimizes app building, making it easier to manage dependencies and configurations. ✅ Emulator for Testing: Provides a virtual Android device to test applications without needing a physical phone. ✅ APK Analyzer: Helps inspect the app’s APK file size and resources to optimize performance. ✅ Version Control Integration: Supports Git and other version control tools for collaborative development. ✅ Real-time Performance Profiler: Monitors CPU, memory, and network usage to optimize app performance. Why Developers Love Android Studio? User-friendly UI with a sleek and intuitive interface. Deep integration with Google Services, including Firebase and Google Play. Regular updates with the latest Android features and improvements. Cross-platform support for Wear OS, Android TV, and more. Android Studio is the ultimate toolkit for any developer looking to create high-performance Android applications! In this Workshop, I Have Developed 4 Applications, and here is a detailed Overview of Every Application 1.Simple Counter App This XML layout defines a simple Tap Counter App UI using a LinearLayout, two Button elements, and a TextView. Let’s break it down step by step. Root Layout - LinearLayout Count Button TextView - Display Counter Value Toast Button MainActivity.java File Package and Imports package com.example.android_workshop; This defines the package name of APP import android.os.Bundle; import android.view.View; import android.widget.TextView; import android.widget.Toast; import androidx.activity.EdgeToEdge; import androidx.appcompat.app.AppCompatActivity; import androidx.core.graphics.Insets; import androidx.core.view.ViewCompat; import androidx.core.view.WindowInsetsCompat; Defining Variables and Extending AppCompatActivity public class MainActivity extends AppCompatActivity { TextView t1; int count = 0; onCreate() Method - Initializing the UI @Override protected void onCreate(Bundle savedInstanceState) { super.onCreate(savedInstanceState); EdgeToEdge.enable(this); setContentView(R.layout.activity_main); Linking TextView from XML to Java t1 = this.findViewById(R.id.text1); Handling Window Insets (Edge-to-Edge UI) ViewCompat.setOnApplyWindowInsetsListener(findViewById(R.id.main), (v, insets) -> { Insets systemBars = insets.getInsets(WindowInsetsCompat.Type.systemBars()); v.setPadding(systemBars.left, systemBars.top, systemBars.right, systemBars.bottom); return insets; }); count() Method - Increasing the Counter public void count(View view) { count++; t1.setText("" + count); } toast() Method - Showing a Toast Message public void toast(View view) { Toast.makeText(MainActivity.this, "Hello my dear Connections" + count, Toast.LENGTH_LONG).show(); } How Does the App Works? 1️⃣ Pressing the "Count" button increases the counter and updates the TextView. 2️⃣ Pressing the "Toast" button displays a message showing the current count. Simple Calculator App This XML file defines the UI for a simple calculator app in Android using LinearLayout. Overview: Dark Theme (android:background="#000") for a stylish look. Title (TextView): Displays "Calculator" in red text. Two Input Fields (EditText): Allow users to enter two numbers. Four Buttons (Button): Perform addition (+), subtraction (-), multiplication (*), and division (/). Result Display (TextView): Shows the output after a calculation. Next step? Implement logic in MainActivity.java to perform calculations when buttons are clicked! This Java class defines the logic for a simple calculator app in Android. It handles basic arithmetic operations (+, -, *, /) based on user input. Key Highlights: UI Elements: EditText e1, e2; → Input fields for user-entered numbers. TextView t1; → Displays the result. Arithmetic Operations: Addition (Pluse) – Adds two numbers. Subtraction (Minus) – Subtracts second number from the first. Multiplication (Multiplication) – Multiplies two numbers. Division (Division) – Divides first number by second. EdgeToEdge & Insets Handling: Ensures UI adapts to system bars. Event Handling: Click events trigger calculations when users pres

What is Android Studio?
Android Studio is the official Integrated Development Environment (IDE) for Android app development, built by Google. It provides developers with a powerful and flexible environment to design, develop, test, and debug Android applications efficiently.
Key Features of Android Studio:
✅ Intelligent Code Editor: It supports Java, Kotlin, and C++, offering features like code completion, refactoring, and real-time error checking.
✅ Layout Editor: A drag-and-drop UI designer that helps developers design app interfaces visually without writing XML manually.
✅ Gradle Build System: Automates and optimizes app building, making it easier to manage dependencies and configurations.
✅ Emulator for Testing: Provides a virtual Android device to test applications without needing a physical phone.
✅ APK Analyzer: Helps inspect the app’s APK file size and resources to optimize performance.
✅ Version Control Integration: Supports Git and other version control tools for collaborative development.
✅ Real-time Performance Profiler: Monitors CPU, memory, and network usage to optimize app performance.
Why Developers Love Android Studio?
User-friendly UI with a sleek and intuitive interface.
Deep integration with Google Services, including Firebase and Google Play.
Regular updates with the latest Android features and improvements.
Cross-platform support for Wear OS, Android TV, and more.
Android Studio is the ultimate toolkit for any developer looking to create high-performance Android applications!
In this Workshop, I Have Developed 4 Applications, and here is a detailed Overview of Every Application
1.Simple Counter App
This XML layout defines a simple Tap Counter App UI using a LinearLayout, two Button elements, and a TextView. Let’s break it down step by step.
- Root Layout - LinearLayout
- Count Button
- TextView - Display Counter Value
- Toast Button
MainActivity.java File
- Package and Imports
package com.example.android_workshop;
This defines the package name of APP
import android.os.Bundle;
import android.view.View;
import android.widget.TextView;
import android.widget.Toast;

import androidx.activity.EdgeToEdge;
import androidx.appcompat.app.AppCompatActivity;
import androidx.core.graphics.Insets;
import androidx.core.view.ViewCompat;
import androidx.core.view.WindowInsetsCompat;
- Defining Variables and Extending AppCompatActivity
public class MainActivity extends AppCompatActivity {
    TextView t1;
    int count = 0;
- onCreate() Method - Initializing the UI
@Override
protected void onCreate(Bundle savedInstanceState) {
    super.onCreate(savedInstanceState);
    EdgeToEdge.enable(this);
    setContentView(R.layout.activity_main);
- Linking TextView from XML to Java
t1 = this.findViewById(R.id.text1);
- Handling Window Insets (Edge-to-Edge UI)
    ViewCompat.setOnApplyWindowInsetsListener(findViewById(R.id.main), (v, insets) -> {
        Insets systemBars = insets.getInsets(WindowInsetsCompat.Type.systemBars());
        v.setPadding(systemBars.left, systemBars.top, systemBars.right, systemBars.bottom);
        return insets;
    });
- count() Method - Increasing the Counter
public void count(View view) {
    count++;
    t1.setText("" + count);
}
- toast() Method - Showing a Toast Message
public void toast(View view) {
    Toast.makeText(MainActivity.this, "Hello my dear Connections" + count,
            Toast.LENGTH_LONG).show();
}
How Does the App Works?
1️⃣ Pressing the "Count" button increases the counter and updates the TextView.
2️⃣ Pressing the "Toast" button displays a message showing the current count.
- Simple Calculator App
This XML file defines the UI for a simple calculator app in Android using LinearLayout.
Overview:
-
Dark Theme (
android:background="#000") for a stylish look. -
Title (
TextView): Displays "Calculator" in red text. -
Two Input Fields (
EditText): Allow users to enter two numbers. -
Four Buttons (
Button): Perform addition (+), subtraction (-), multiplication (*), and division (/). -
Result Display (
TextView): Shows the output after a calculation.
Next step? Implement logic in MainActivity.java to perform calculations when buttons are clicked!
This Java class defines the logic for a simple calculator app in Android. It handles basic arithmetic operations (+, -, *, /) based on user input.
Key Highlights:
UI Elements:
EditText e1, e2; → Input fields for user-entered numbers.
TextView t1; → Displays the result.
Arithmetic Operations:
Addition (Pluse) – Adds two numbers.
Subtraction (Minus) – Subtracts second number from the first.
Multiplication (Multiplication) – Multiplies two numbers.
Division (Division) – Divides first number by second.
EdgeToEdge & Insets Handling: Ensures UI adapts to system bars.
Event Handling: Click events trigger calculations when users press buttons.