Step by step of How to Build your First Laravel Project
Are you just getting started with Laravel? Laravel is a popular PHP framework used to build web applications. Before you begin, ensure you have PHP, Composer and a database (MySQL, PostgreSQL, etc.) installed on your computer. Follow these steps to create your first Laravel project. Step 1: Create a Laravel Project Open your command-line tool (Terminal on macOS or Command Prompt on Windows). Move to the folder where you want to create your project. Run this command to install Laravel: composer create-project --prefer-dist laravel/laravel project-name Replace project-name with your preferred name. Step 2: Set Up Your Project Open your project folder: cd project-name Copy the environment file: cp .env.example .env Generate an application key: php artisan key:generate Step 3: Configure the Database Open the .env file in a text editor like Visual Studio Code or Sublime Text. Update the database settings: DB_CONNECTION=mysql DB_HOST=127.0.0.1 DB_PORT=3306 DB_DATABASE=your_database_name DB_USERNAME=your_username DB_PASSWORD=your_password MySQL credentials: The username is usually root, and the password is empty ("") by default. Create the DB in your mysql Ensure you create the database in MySQL before proceeding. Create needed tables by running php artisan make:migration create_table_name_table Replace table_name with your preferred table name. Run database migrations to create tables: php artisan migrate Step 4: Start the Development Server Run this command to start your local server: php artisan serve Visit http://127.0.0.1/8000 in your browser and you should see the Laravel welcome page.. Congratulations, you’ve successfully set up your first Laravel project. From here, you can explore routes, controllers, and other features to build a full-fledged web application. To learn more, check out Laravel’s official documentation: https://laravel.com/docs/11.x/readme
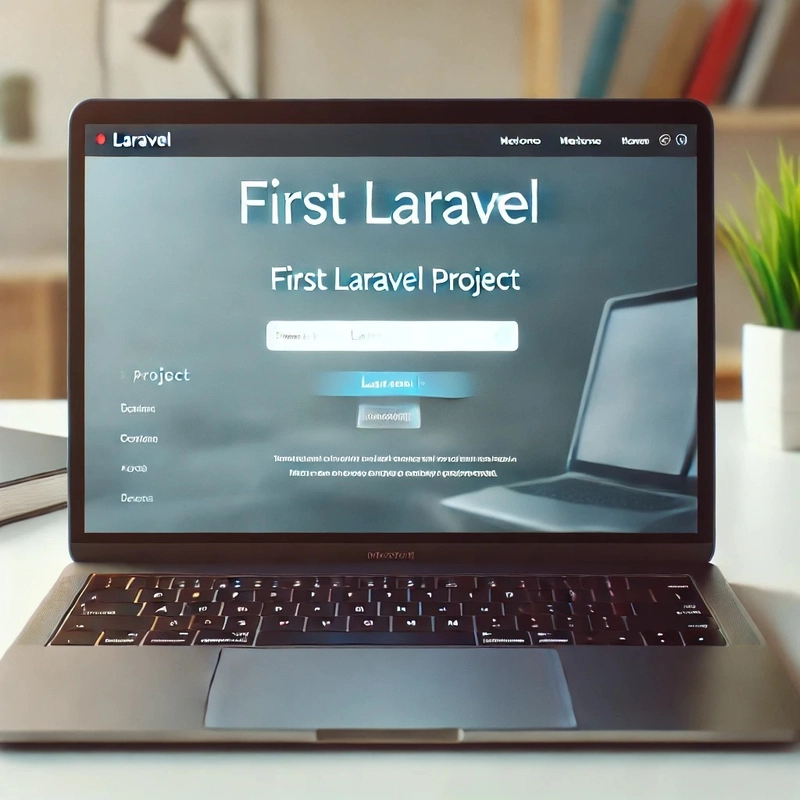
Are you just getting started with Laravel? Laravel is a popular PHP framework used to build web applications. Before you begin, ensure you have PHP, Composer and a database (MySQL, PostgreSQL, etc.) installed on your computer.
Follow these steps to create your first Laravel project.
Step 1: Create a Laravel Project
Open your command-line tool (Terminal on macOS or Command Prompt on Windows).
Move to the folder where you want to create your project.
Run this command to install Laravel:
composer create-project --prefer-dist laravel/laravel project-name
Replace project-name with your preferred name.
Step 2: Set Up Your Project
Open your project folder:
cd project-name
Copy the environment file:
cp .env.example .env
Generate an application key:
php artisan key:generate
Step 3: Configure the Database
Open the .env file in a text editor like Visual Studio Code or Sublime Text.
Update the database settings:
DB_CONNECTION=mysql
DB_HOST=127.0.0.1
DB_PORT=3306
DB_DATABASE=your_database_name
DB_USERNAME=your_username
DB_PASSWORD=your_password
MySQL credentials: The username is usually root, and the password is empty ("") by default.
Create the DB in your mysql Ensure you create the database in MySQL before proceeding.
Create needed tables by running php artisan make:migration create_table_name_table
Replace table_name with your preferred table name.
Run database migrations to create tables:
php artisan migrate
Step 4: Start the Development Server
Run this command to start your local server:
php artisan serve
Visit http://127.0.0.1/8000 in your browser and you should see the Laravel welcome page..
Congratulations, you’ve successfully set up your first Laravel project. From here, you can explore routes, controllers, and other features to build a full-fledged web application. To learn more, check out Laravel’s official documentation: https://laravel.com/docs/11.x/readme


![[The AI Show Episode 142]: ChatGPT’s New Image Generator, Studio Ghibli Craze and Backlash, Gemini 2.5, OpenAI Academy, 4o Updates, Vibe Marketing & xAI Acquires X](https://www.marketingaiinstitute.com/hubfs/ep%20142%20cover.png)




![[DEALS] The Premium Learn to Code Certification Bundle (97% off) & Other Deals Up To 98% Off – Offers End Soon!](https://www.javacodegeeks.com/wp-content/uploads/2012/12/jcg-logo.jpg)

![From drop-out to software architect with Jason Lengstorf [Podcast #167]](https://cdn.hashnode.com/res/hashnode/image/upload/v1743796461357/f3d19cd7-e6f5-4d7c-8bfc-eb974bc8da68.png?#)


-(1).png?width=1920&height=1920&fit=bounds&quality=80&format=jpg&auto=webp#)


.png?#)


_Christophe_Coat_Alamy.jpg?#)
.webp?#)
.webp?#)




![Apple Considers Delaying Smart Home Hub Until 2026 [Gurman]](https://www.iclarified.com/images/news/96946/96946/96946-640.jpg)
![iPhone 17 Pro Won't Feature Two-Toned Back [Gurman]](https://www.iclarified.com/images/news/96944/96944/96944-640.jpg)
![Tariffs Threaten Apple's $999 iPhone Price Point in the U.S. [Gurman]](https://www.iclarified.com/images/news/96943/96943/96943-640.jpg)


