How to deploy Karpenter on AWS Kubernetes with kOps
kOps is a widely used tool for deploying and managing Kubernetes clusters in multi-cloud or hybrid cloud environments. It provides a unified configuration system (YAML or JSON), which lets you easy to set up clusters across AWS, GCP, Azure, and on-premises environments. With flexible customization options, kOps lets you adjust everything from control plane and worker node operating systems to network plugins (like Calico and Cilium) and storage solutions, which makes it a great fit for complex setups. To optimize Kubernetes resource efficiency, many teams choose Karpenter—an open-source autoscaler that provisions nodes dynamically based on workload demands. It supports multiple instance types, schedules AWS Spot Instances to cut costs, and eliminates the need for predefined node groups, offering greater flexibility. However, kOps no longer provides official support for Karpenter, meaning its latest versions require manual setup to integrate with Karpenter. This blog walks you through the step-by-step process of deploying Karpenter on a kOps-managed AWS Kubernetes cluster, helping you enable automatic scaling and improve resource efficiency. Prerequisites Before you begin, ensure you have the following: An AWS account with IAM permissions to create EC2 instances. AWS CLI installed and configured/ kubectl (Kubernetes CLI) installed. Helm (Kubernetes package manager) installed. kOps installed Create a Cluster with kOps Configure the Cluster Before creating the cluster, you need to specify the AWS region and cluster name. To simplify deployment, we will use a Gossip-based DNS cluster:

kOps is a widely used tool for deploying and managing Kubernetes clusters in multi-cloud or hybrid cloud environments. It provides a unified configuration system (YAML or JSON), which lets you easy to set up clusters across AWS, GCP, Azure, and on-premises environments.
With flexible customization options, kOps lets you adjust everything from control plane and worker node operating systems to network plugins (like Calico and Cilium) and storage solutions, which makes it a great fit for complex setups.
To optimize Kubernetes resource efficiency, many teams choose Karpenter—an open-source autoscaler that provisions nodes dynamically based on workload demands.
It supports multiple instance types, schedules AWS Spot Instances to cut costs, and eliminates the need for predefined node groups, offering greater flexibility.
However, kOps no longer provides official support for Karpenter, meaning its latest versions require manual setup to integrate with Karpenter.
This blog walks you through the step-by-step process of deploying Karpenter on a kOps-managed AWS Kubernetes cluster, helping you enable automatic scaling and improve resource efficiency.
Prerequisites
Before you begin, ensure you have the following:
- An AWS account with IAM permissions to create EC2 instances.
- AWS CLI installed and configured/
- kubectl (Kubernetes CLI) installed.
- Helm (Kubernetes package manager) installed.
- kOps installed
Create a Cluster with kOps
Configure the Cluster
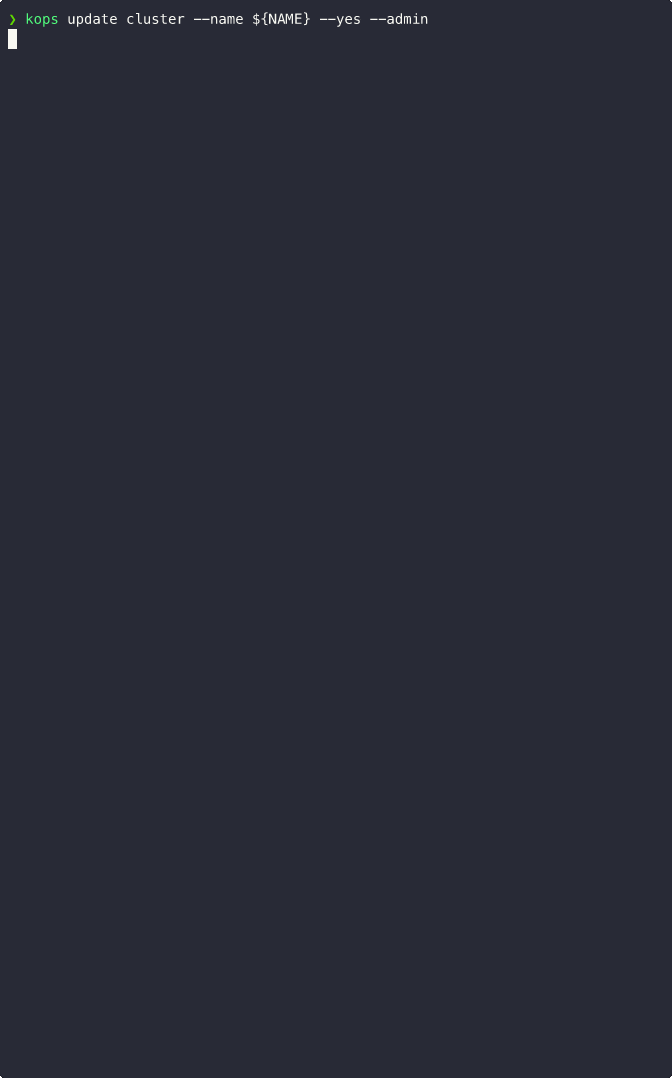
Before creating the cluster, you need to specify the AWS region and cluster name. To simplify deployment, we will use a Gossip-based DNS cluster:


![[The AI Show Episode 142]: ChatGPT’s New Image Generator, Studio Ghibli Craze and Backlash, Gemini 2.5, OpenAI Academy, 4o Updates, Vibe Marketing & xAI Acquires X](https://www.marketingaiinstitute.com/hubfs/ep%20142%20cover.png)


![[DEALS] The Premium Learn to Code Certification Bundle (97% off) & Other Deals Up To 98% Off – Offers End Soon!](https://www.javacodegeeks.com/wp-content/uploads/2012/12/jcg-logo.jpg)


![From drop-out to software architect with Jason Lengstorf [Podcast #167]](https://cdn.hashnode.com/res/hashnode/image/upload/v1743796461357/f3d19cd7-e6f5-4d7c-8bfc-eb974bc8da68.png?#)


.png?#)


_Christophe_Coat_Alamy.jpg?#)
 (1).webp?#)


![iPhone 17 Pro Won't Feature Two-Toned Back [Gurman]](https://www.iclarified.com/images/news/96944/96944/96944-640.jpg)
![Tariffs Threaten Apple's $999 iPhone Price Point in the U.S. [Gurman]](https://www.iclarified.com/images/news/96943/96943/96943-640.jpg)


