![[The AI Show Episode 142]: ChatGPT’s New Image Generator, Studio Ghibli Craze and Backlash, Gemini 2.5, OpenAI Academy, 4o Updates, Vibe Marketing & xAI Acquires X](https://www.marketingaiinstitute.com/hubfs/ep%20142%20cover.png)


![From drop-out to software architect with Jason Lengstorf [Podcast #167]](https://cdn.hashnode.com/res/hashnode/image/upload/v1743796461357/f3d19cd7-e6f5-4d7c-8bfc-eb974bc8da68.png?#)


.png?#)


_Christophe_Coat_Alamy.jpg?#)
 (1).webp?#)


![Apple Considers Delaying Smart Home Hub Until 2026 [Gurman]](https://www.iclarified.com/images/news/96946/96946/96946-640.jpg)
![iPhone 17 Pro Won't Feature Two-Toned Back [Gurman]](https://www.iclarified.com/images/news/96944/96944/96944-640.jpg)
![Tariffs Threaten Apple's $999 iPhone Price Point in the U.S. [Gurman]](https://www.iclarified.com/images/news/96943/96943/96943-640.jpg)


Create a personal website for Free
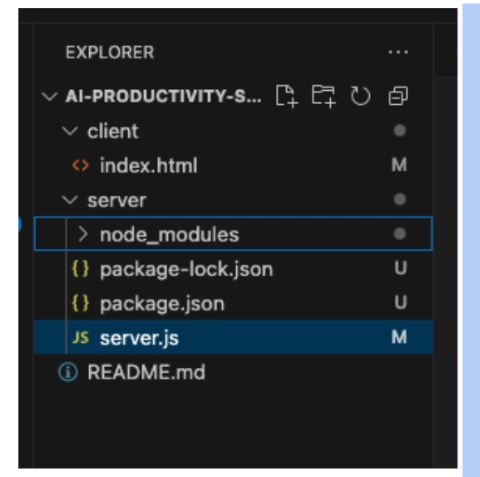
Building a personal website quickly using free personal website templates is a great way to showcase your skills, portfolio, or resume. Here's a step-by-step guide to help you get started: Step 1: Choose a Free HTML Template There are many websites offering free HTML templates. Some popular sources include: TemplatesJungle Start Bootstrap Templatemo Colorlib FreeHTML5 For this example, let's use a simple template from HTML5 UP. Step 2: Download and Extract the Template Go to TemplatesJungle and choose a template (e.g., "Julia"). Download the template and extract the ZIP file to your working directory. Step 3: Customize the Template Open the extracted folder in a code editor like VS Code. Here's how to customize the template: 1. Update the index.html File Replace the placeholder content with your personal information. Example: Your Name - Personal Website Your Name Your Profession About Me Portfolio Contact About Me Hello! I'm [Your Name], a [Your Profession] based in [Your Location]. I specialize in [Your Skills]. Portfolio Here are some of my recent projects: Project 1 Description of Project 1. Project 2 Description of Project 2. Contact Me Feel free to reach out to me at your.email@example.com. © [Your Name]. All rights reserved. 2. Replace Images Replace the placeholder images in the images folder with your own (e.g., avatar, portfolio projects). Update the image paths in the HTML file if necessary. 3. Update Styles (Optional) Open the assets/css/main.css file to customize colors, fonts, or layout. Example: body { font-family: 'Arial', sans-serif; background-color: #f4f4f4; color: #333; } h1, h2, h3 { color: #007BFF; } Step 4: Test Your Website Open the index.html file in your browser to preview your website. Ensure all links, images, and sections are working correctly. Step 5: Host Your Website To make your website live, you can use free hosting services: GitHub Pages: Upload your project to a GitHub repository. Go to the repository settings and enable GitHub Pages. Your site will be live at https://username.github.io/repository-name. Netlify: Drag and drop your project folder into the Netlify dashboard. Your site will be deployed instantly. Vercel: Upload your project and deploy it with a few clicks. Step 6: Share Your Website Once your website is live, share the link on your social media, resume, or portfolio to showcase your work! Example Template Sources Here are some free templates you can use: Daniel (TemplatesJungle): Download Jessica (TemplatesJungle): Download Julia (TemplatesJungle): Download By following these steps, you can quickly build and deploy a professional personal website using free HTML templates. Happy coding!
Building a personal website quickly using free personal website templates is a great way to showcase your skills, portfolio, or resume. Here's a step-by-step guide to help you get started:
Step 1: Choose a Free HTML Template
There are many websites offering free HTML templates. Some popular sources include:
For this example, let's use a simple template from HTML5 UP.
Step 2: Download and Extract the Template
- Go to TemplatesJungle and choose a template (e.g., "Julia").
- Download the template and extract the ZIP file to your working directory.
Step 3: Customize the Template
Open the extracted folder in a code editor like VS Code. Here's how to customize the template:
1. Update the index.html File
- Replace the placeholder content with your personal information.
-
Example:
</span>Your Name - Personal Website<span class="nt">