


![[The AI Show Episode 143]: ChatGPT Revenue Surge, New AGI Timelines, Amazon’s AI Agent, Claude for Education, Model Context Protocol & LLMs Pass the Turing Test](https://www.marketingaiinstitute.com/hubfs/ep%20143%20cover.png)


![Is this too much for a modular monolith system? [closed]](https://i.sstatic.net/pYL1nsfg.png)


![M4 MacBook Air Drops to Just $849 - Act Fast! [Lowest Price Ever]](https://www.iclarified.com/images/news/97140/97140/97140-640.jpg)


_roibu_Alamy.jpg?width=1280&auto=webp&quality=80&disable=upscale#)


 CISO’s Core Focus.webp?#)


![Apple Smart Glasses Not Close to Being Ready as Meta Targets 2025 [Gurman]](https://www.iclarified.com/images/news/97139/97139/97139-640.jpg)
![iPadOS 19 May Introduce Menu Bar, iOS 19 to Support External Displays [Rumor]](https://www.iclarified.com/images/news/97137/97137/97137-640.jpg)


A Game Programmer Learns Blender
Hey everyone, I'm back with a quick post to show some progress I've made recently outside the world of programming. I'm going indie (more on that in a future post) which has led me to start learning Blender. I'm new to 3D modeling, so I thought I'd bring you along my journey to learning this from scratch. There are so many resources to learn from that it can be quite overwhelming. Luckily, I'm a long time fan of GameDev.tv, I found the perfect beginner course called "Complete Blender Creator 3: Learn 3D Modeling for Beginners" by Grant Abbitt. He also has a YouTube channel full of tutorials that I recommend checking out Creating Meshes After learning the basics of navigating the Blender UI, we start by learning how to place meshes in the scene in object mode and manipulate them via translation (move), rotation, and scale. Adding a new mesh via keyboard is quick using Shift+A, and you can even type to filter immediately after the menu appears. After adding a few meshes and getting them set in the scene, I ended with this EEVEE render. Creating Materials Next I learned how to create materials and adjust basic settings in Blender. I used purple, red, and green materials on the scene meshes using the graphical node editor. Notice that the cube and cylinder share the same material which will cause both meshes to update when the material settings are changed, as you'd expect. Metallic Materials and HDRIs With some materials created, I then played around with the metallic and roughness settings. I applied "Shade Smooth" on the sphere and "Shade Auto Smooth" on the cylinder, which is why it retains the hard edge while shading the faces. Notice there's now a background image that has some influence on the overall lighting of the meshes. This is what's called and HDRI image, or High Dynamic Range Image. These exist to brighten images taken with a digital camera to make them more natural. The one I used can be found on Poly Haven. In the header of the node editor there's a dropdown to select the shader Shader Type. To set a background image, set the shader type to World, then add an Environment Texture node using Shift+A and navigating to Texture -> Environment Texture. With the node created, navigate to the HDRI image you want to use and you should see it applied to the scene in Rendered view. After some more texture tweaking, I made the three background meshes highly reflective by updating the metallic and roughness properties of their materials. Summary I'm loving the journey into 3D modeling so far. Although this is not my usual programming content, I hope you'll find these posts on topics I'm learning from scratch valuable as well. Thanks for reading, and until next time. Take care. Stay awesome.

Hey everyone, I'm back with a quick post to show some progress I've made recently outside the world of programming.
I'm going indie (more on that in a future post) which has led me to start learning Blender. I'm new to 3D modeling, so I thought I'd bring you along my journey to learning this from scratch.
There are so many resources to learn from that it can be quite overwhelming. Luckily, I'm a long time fan of GameDev.tv, I found the perfect beginner course called "Complete Blender Creator 3: Learn 3D Modeling for Beginners" by Grant Abbitt. He also has a YouTube channel full of tutorials that I recommend checking out
Creating Meshes
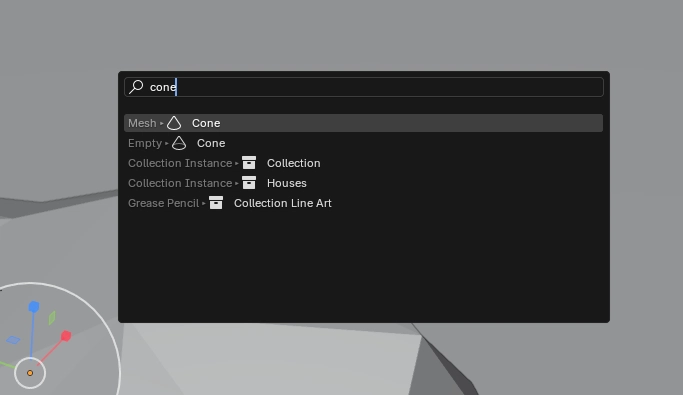
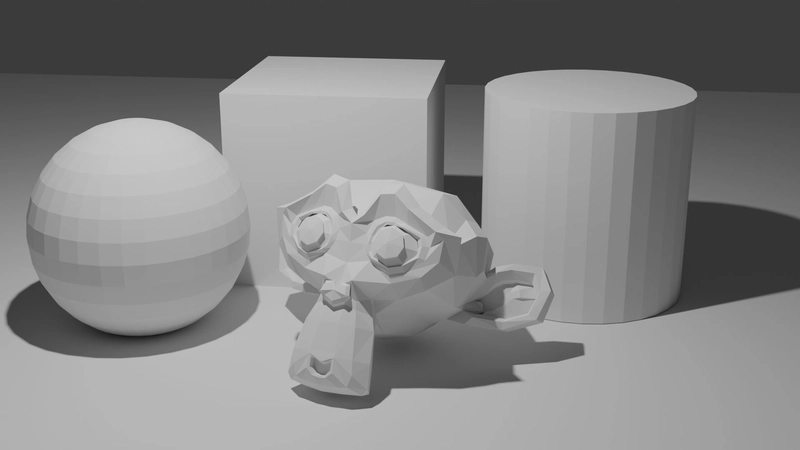
After learning the basics of navigating the Blender UI, we start by learning how to place meshes in the scene in object mode and manipulate them via translation (move), rotation, and scale.
Adding a new mesh via keyboard is quick using Shift+A, and you can even type to filter immediately after the menu appears.
After adding a few meshes and getting them set in the scene, I ended with this EEVEE render.
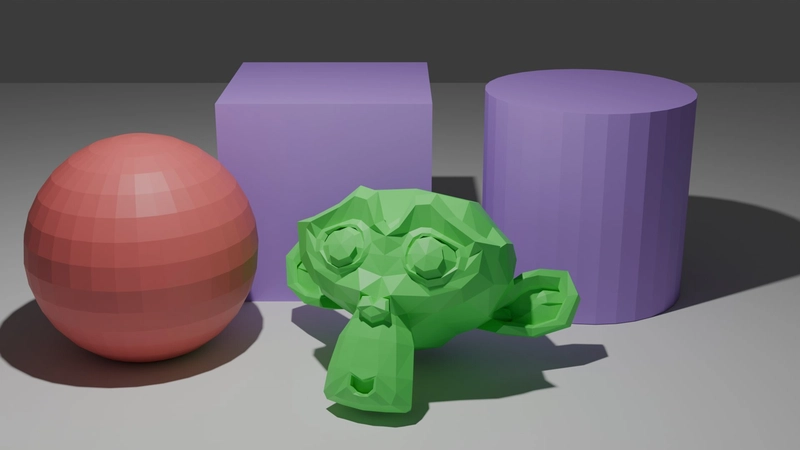
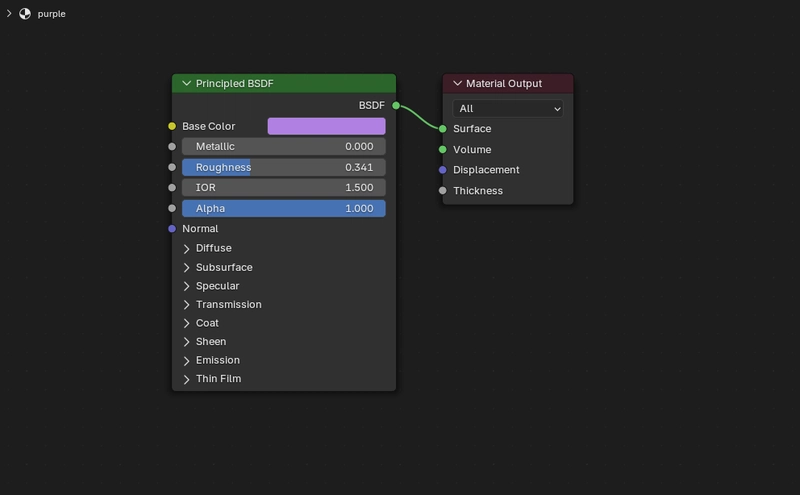
Creating Materials
Next I learned how to create materials and adjust basic settings in Blender. I used purple, red, and green materials on the scene meshes using the graphical node editor. Notice that the cube and cylinder share the same material which will cause both meshes to update when the material settings are changed, as you'd expect.
Metallic Materials and HDRIs
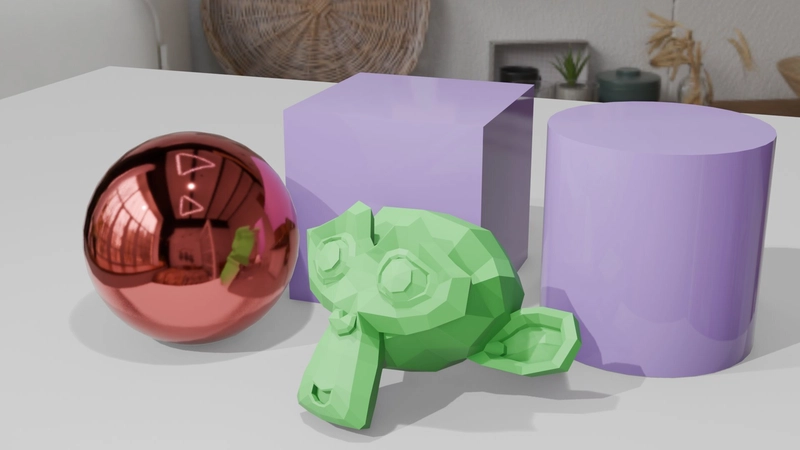
With some materials created, I then played around with the metallic and roughness settings. I applied "Shade Smooth" on the sphere and "Shade Auto Smooth" on the cylinder, which is why it retains the hard edge while shading the faces.
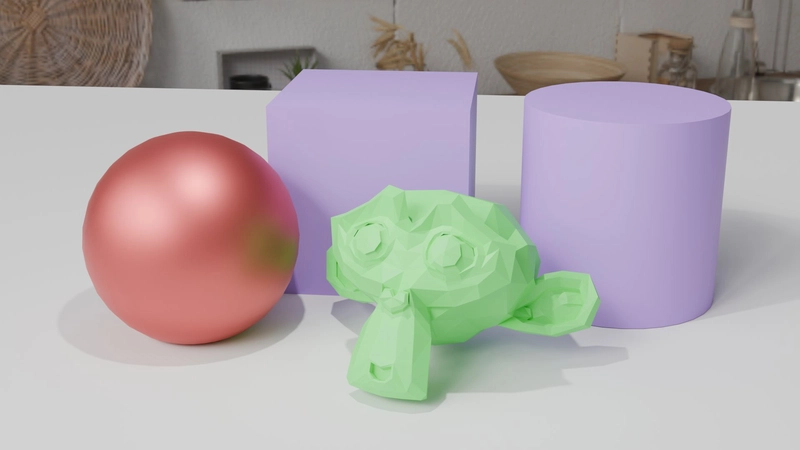
Notice there's now a background image that has some influence on the overall lighting of the meshes. This is what's called and HDRI image, or High Dynamic Range Image. These exist to brighten images taken with a digital camera to make them more natural.
The one I used can be found on Poly Haven.
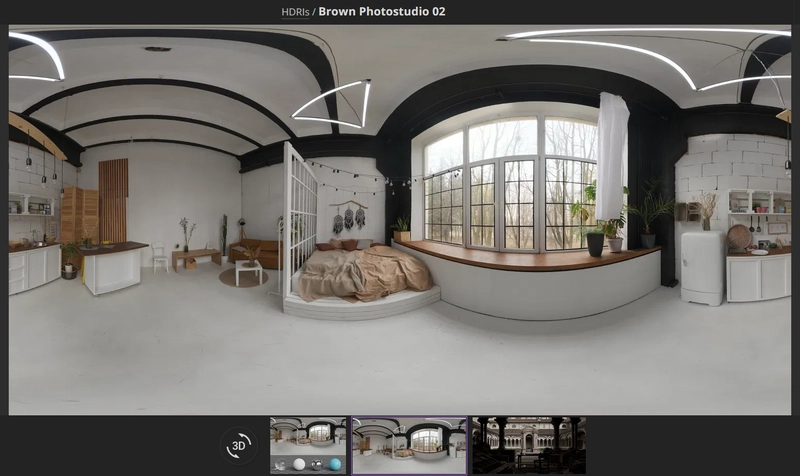
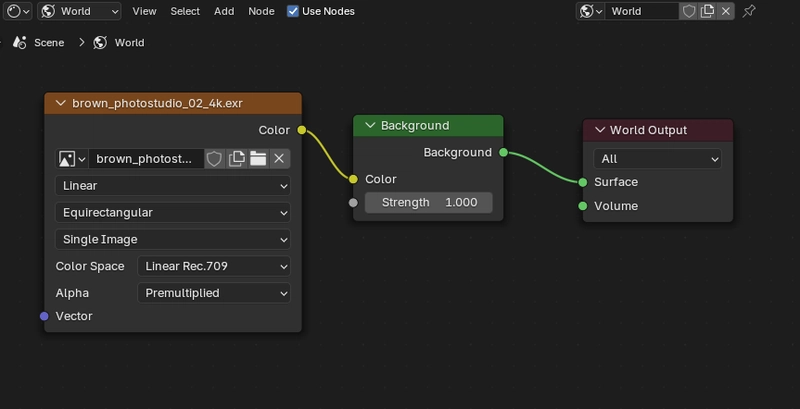
In the header of the node editor there's a dropdown to select the shader Shader Type. To set a background image, set the shader type to World, then add an Environment Texture node using Shift+A and navigating to Texture -> Environment Texture. With the node created, navigate to the HDRI image you want to use and you should see it applied to the scene in Rendered view.
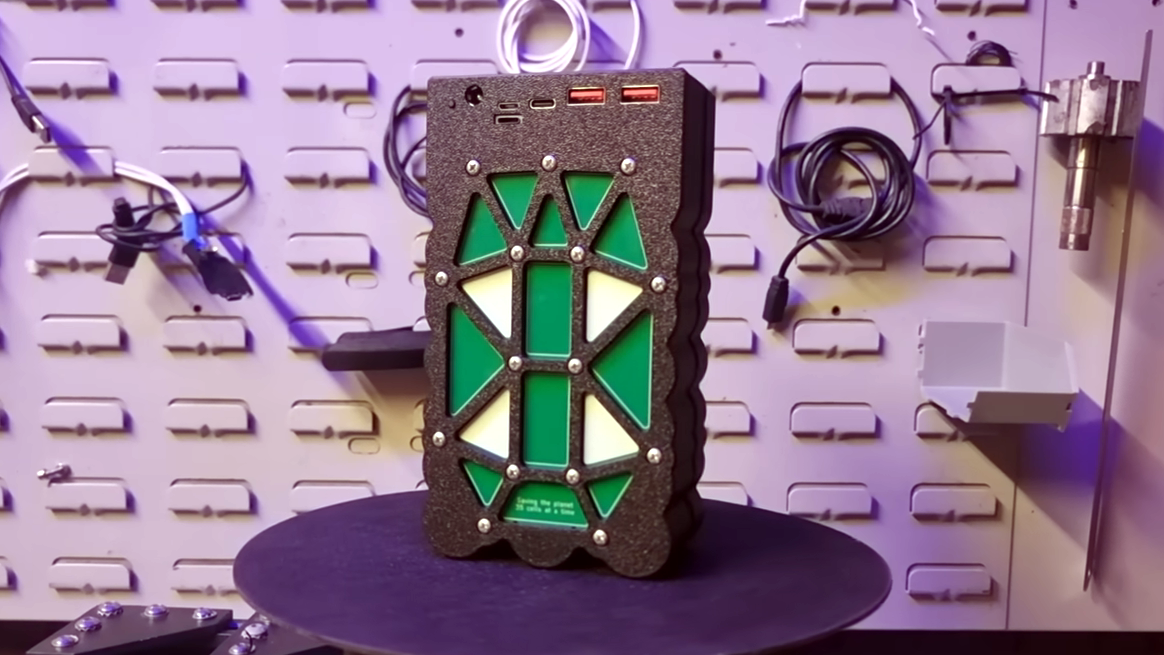
After some more texture tweaking, I made the three background meshes highly reflective by updating the metallic and roughness properties of their materials.
Summary
I'm loving the journey into 3D modeling so far. Although this is not my usual programming content, I hope you'll find these posts on topics I'm learning from scratch valuable as well.
Thanks for reading, and until next time.
Take care.
Stay awesome.